This post is sponsored by Tulip and contains affiliate links.
Learn to make your own Tie Dye DIY Spirit Shirt! This project is a fun way to create a one-of-a-kind shirt to show your school pride!


Back to School Tie Dye DIY Spirit Shirt
What better way to head back-to-school than with your own DIY spirit shirt with a trendy tie dye design? Use your school colors, or colors that you prefer, to make something unique to your style! And with one stop at Joann, you’ll have everything you need to get started!
Materials needed to make a tie-dye DIY spirit shirt
Gildan T-Shirt
Tulip Tie Dye
ColorShot Fabric Color Spray
Stencil letters


How do you tie-dye a spirit shirt?
There are lots of ways you can make your own spirit shirt. You can buy a printed shirt and add tie dye, you can tie dye a blank shirt and add a vinyl decal—we could go on and on.
In this tutorial, we add tie dye to a colored shirt for a fun monochromatic effect, and add words with a stencil (we made ours with a cutting machine, but you can buy stencil letters) and fabric spray paint!
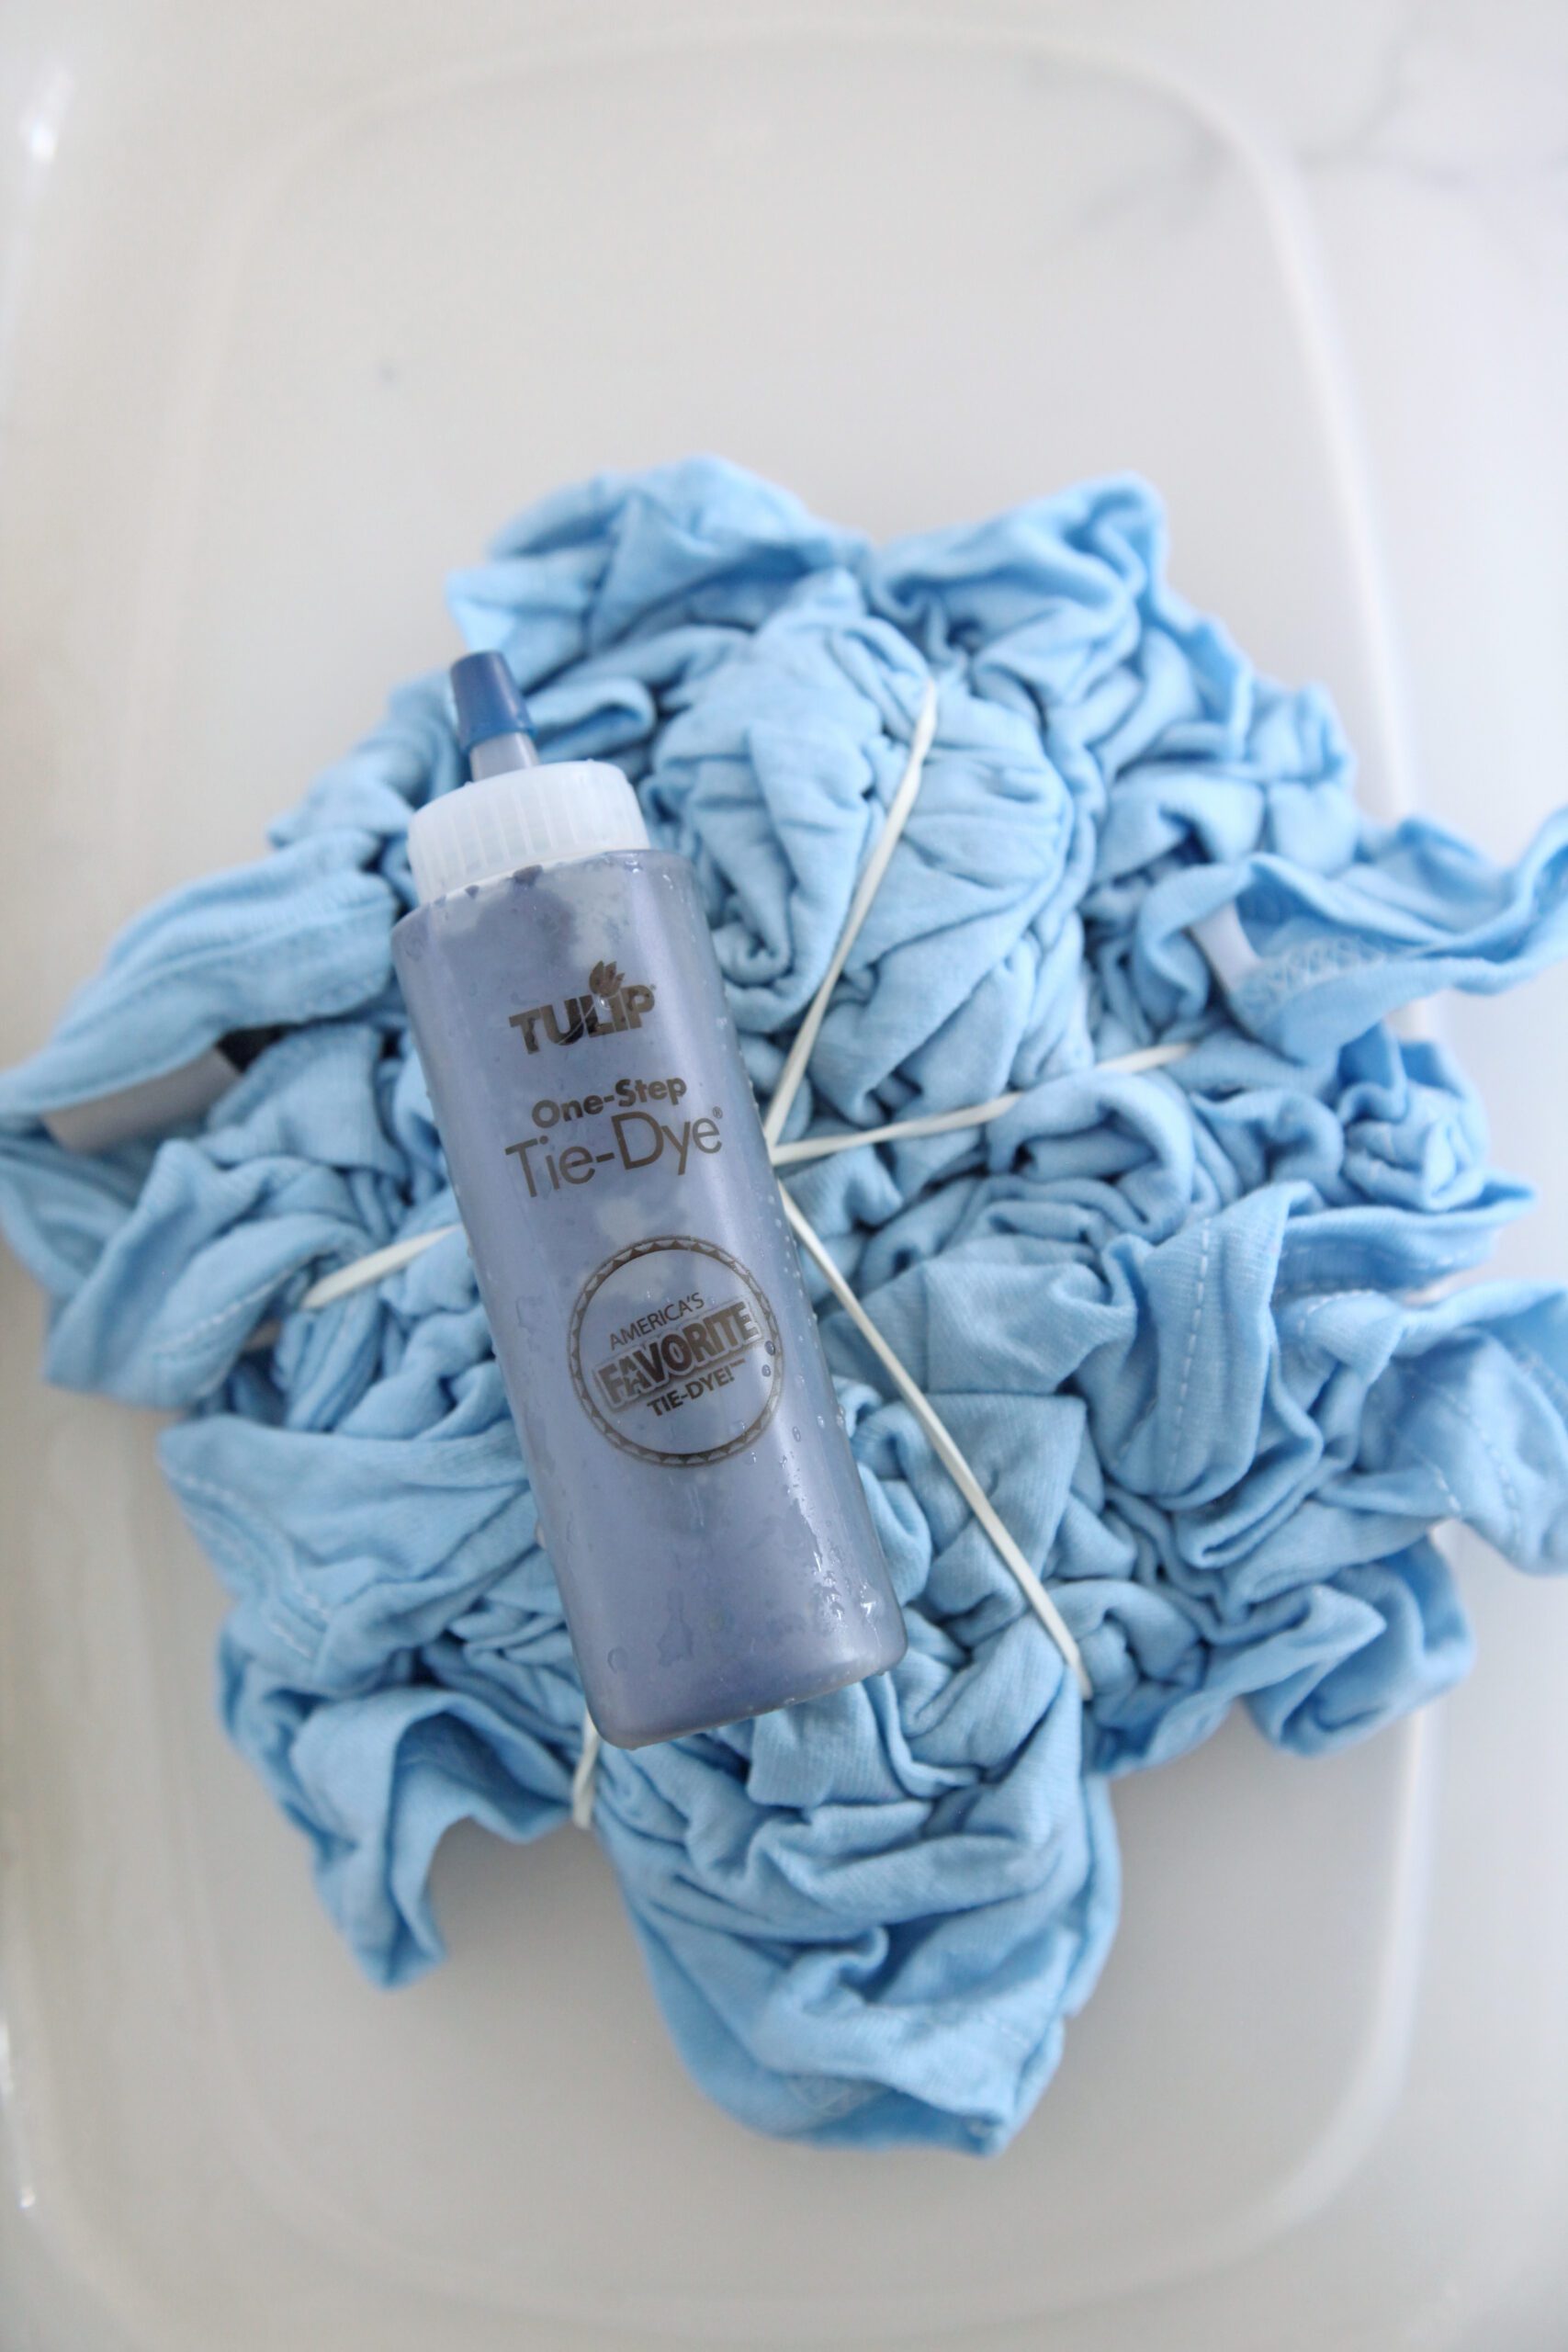
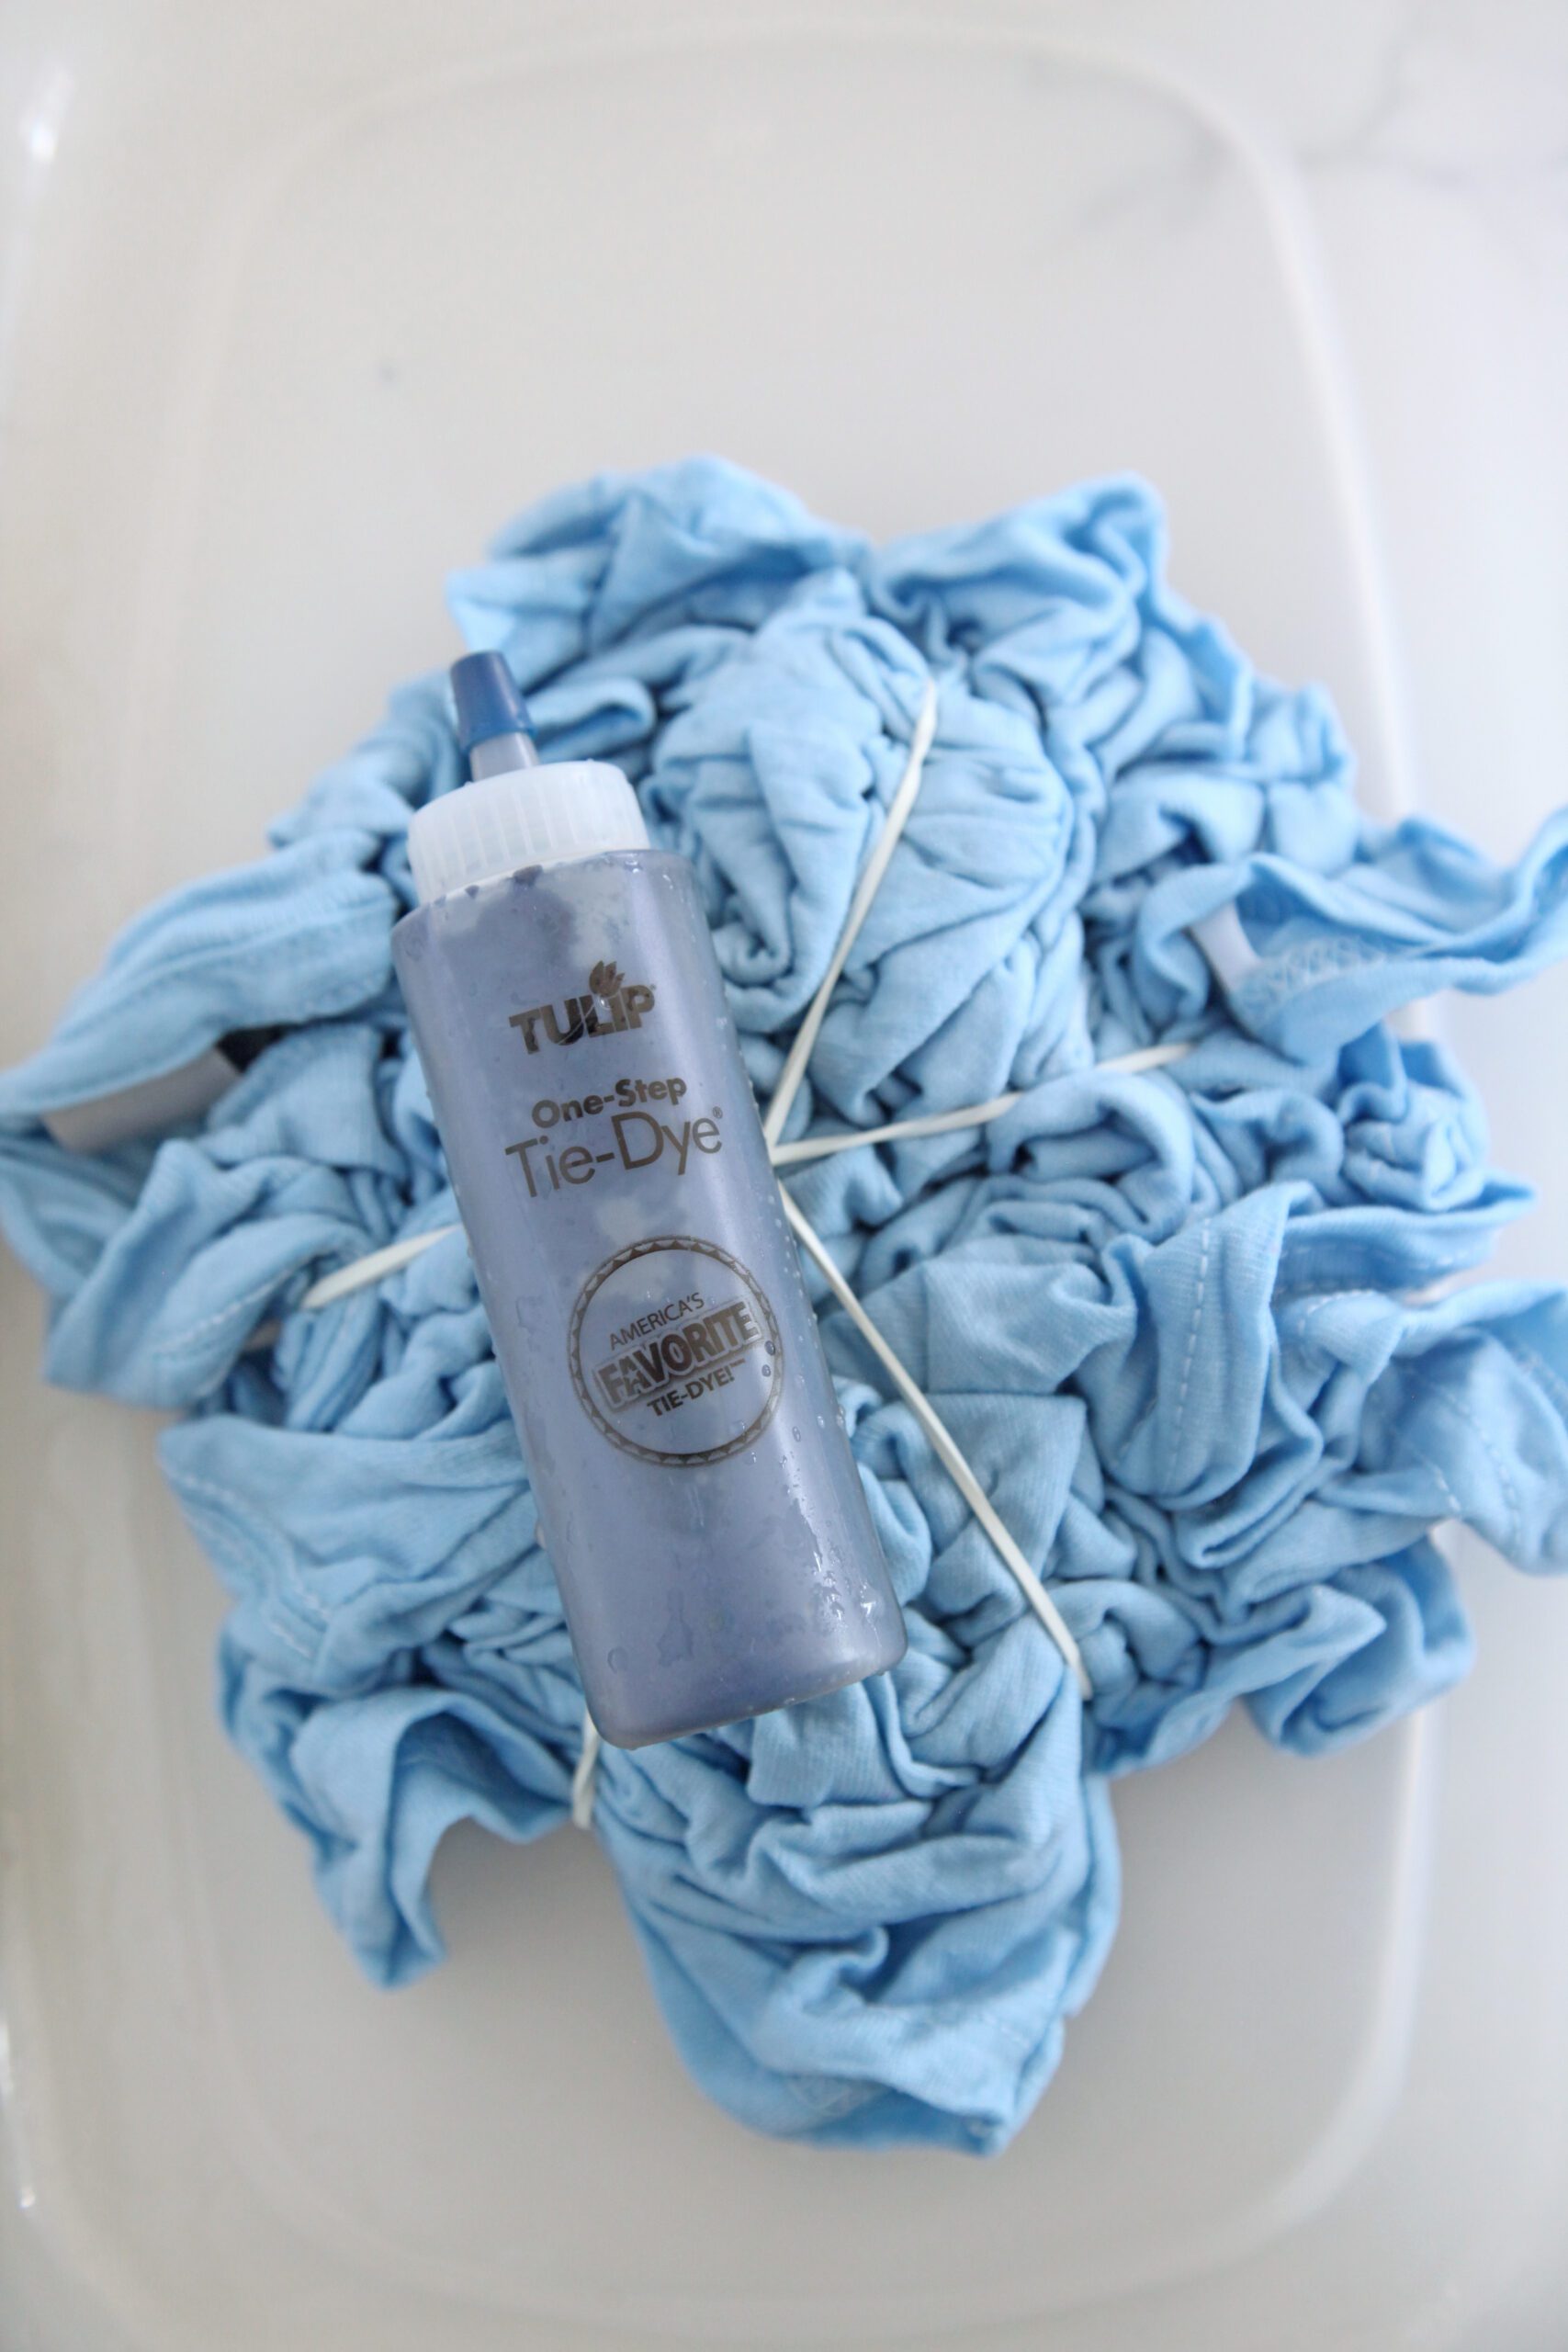
Step 1: Dampen your shirt. Lay it out flat and scrunch it together with your fingers. Bind it loosely with rubber bands. Mix the dye according to package directions.
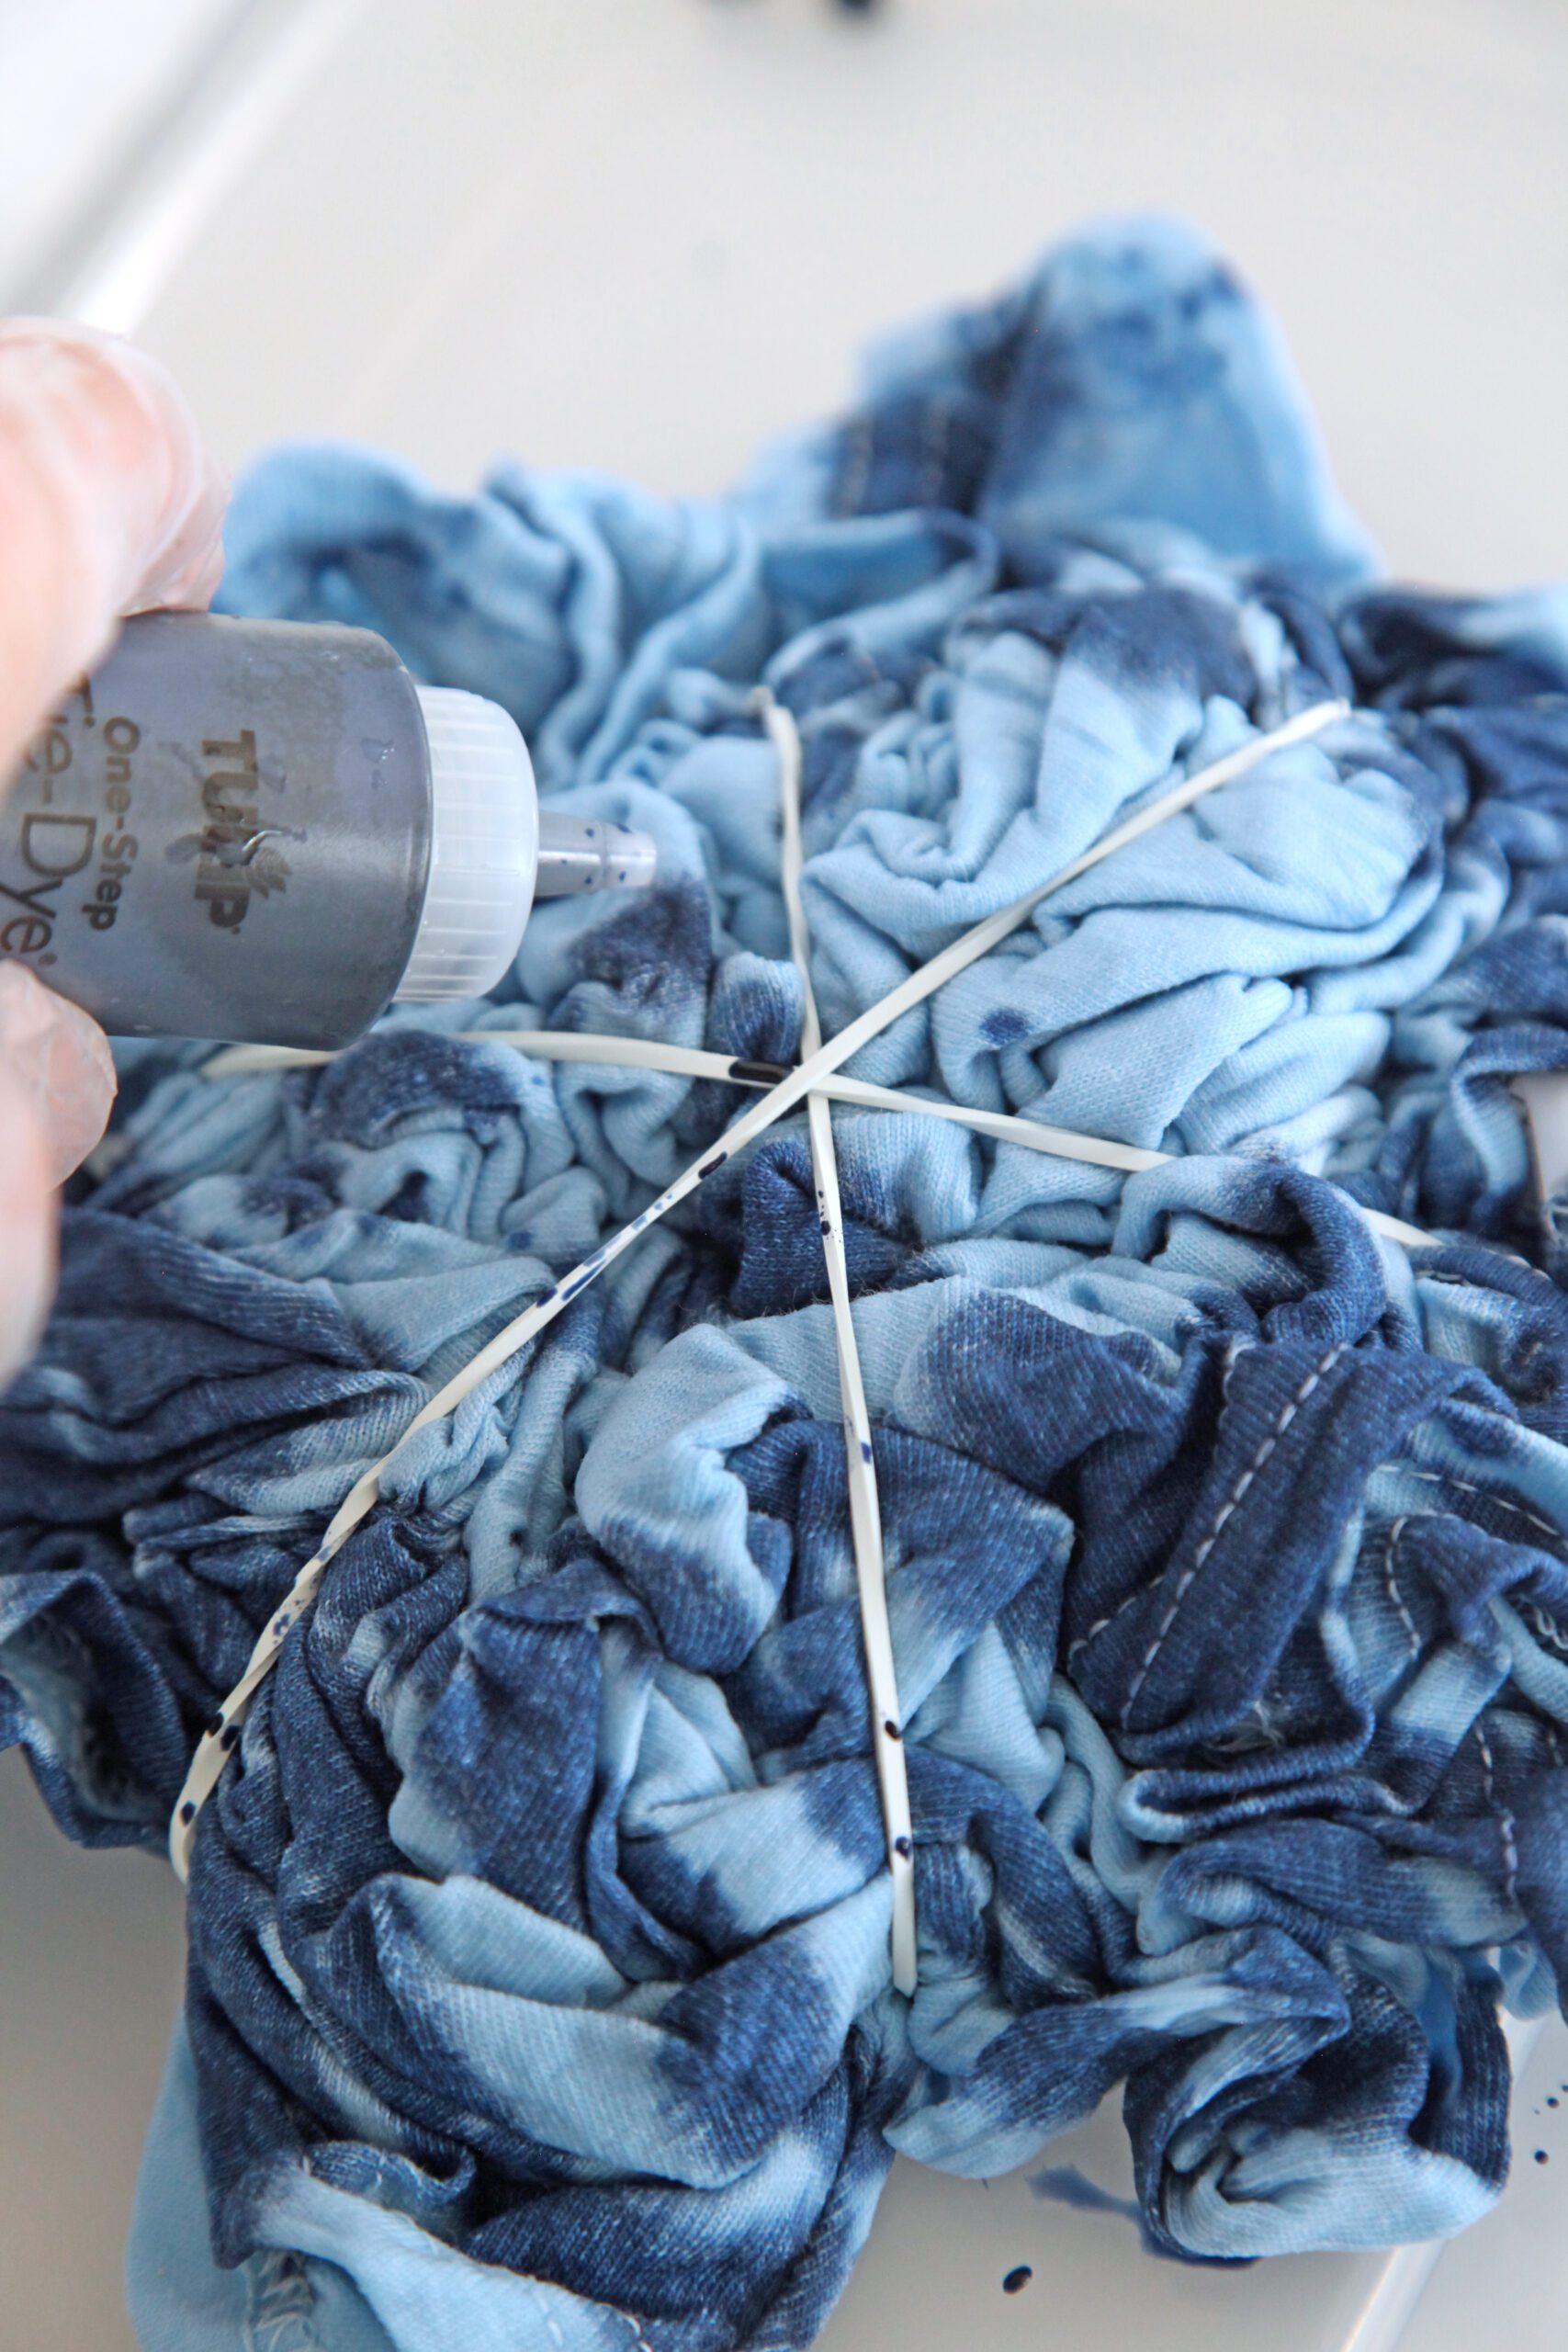
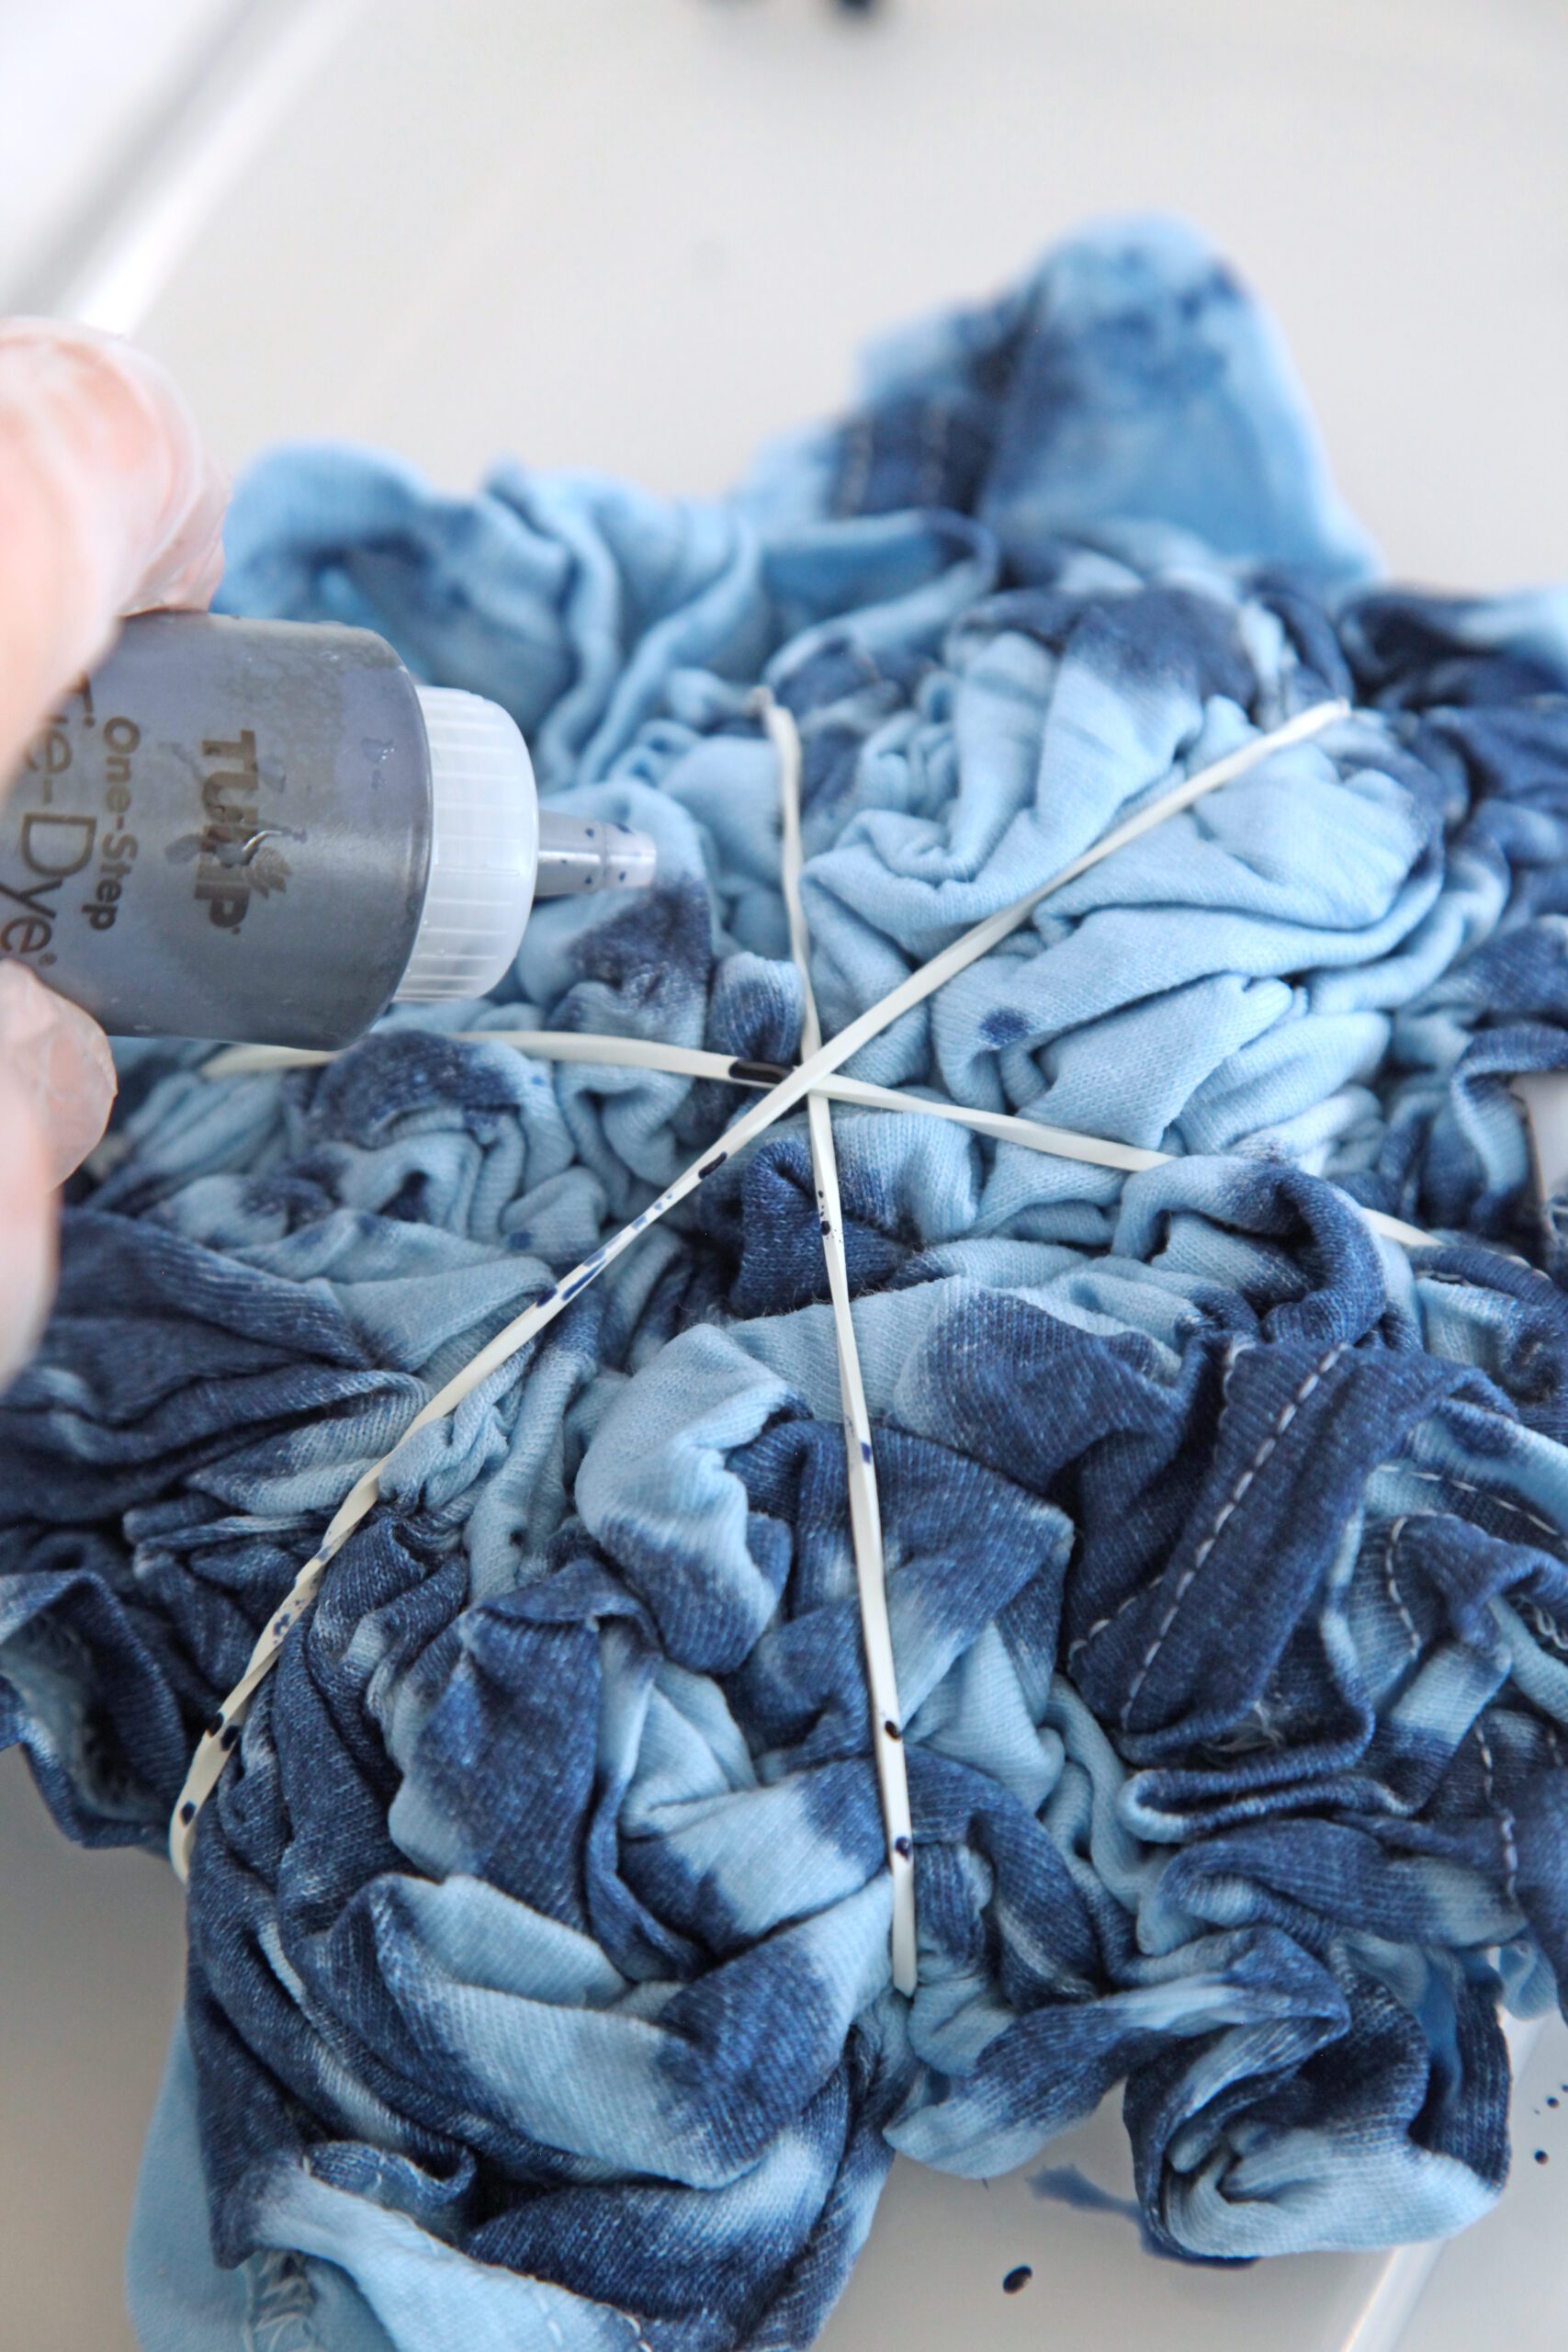
Step 2: Apply dye to the shirt. Set according to package directions.
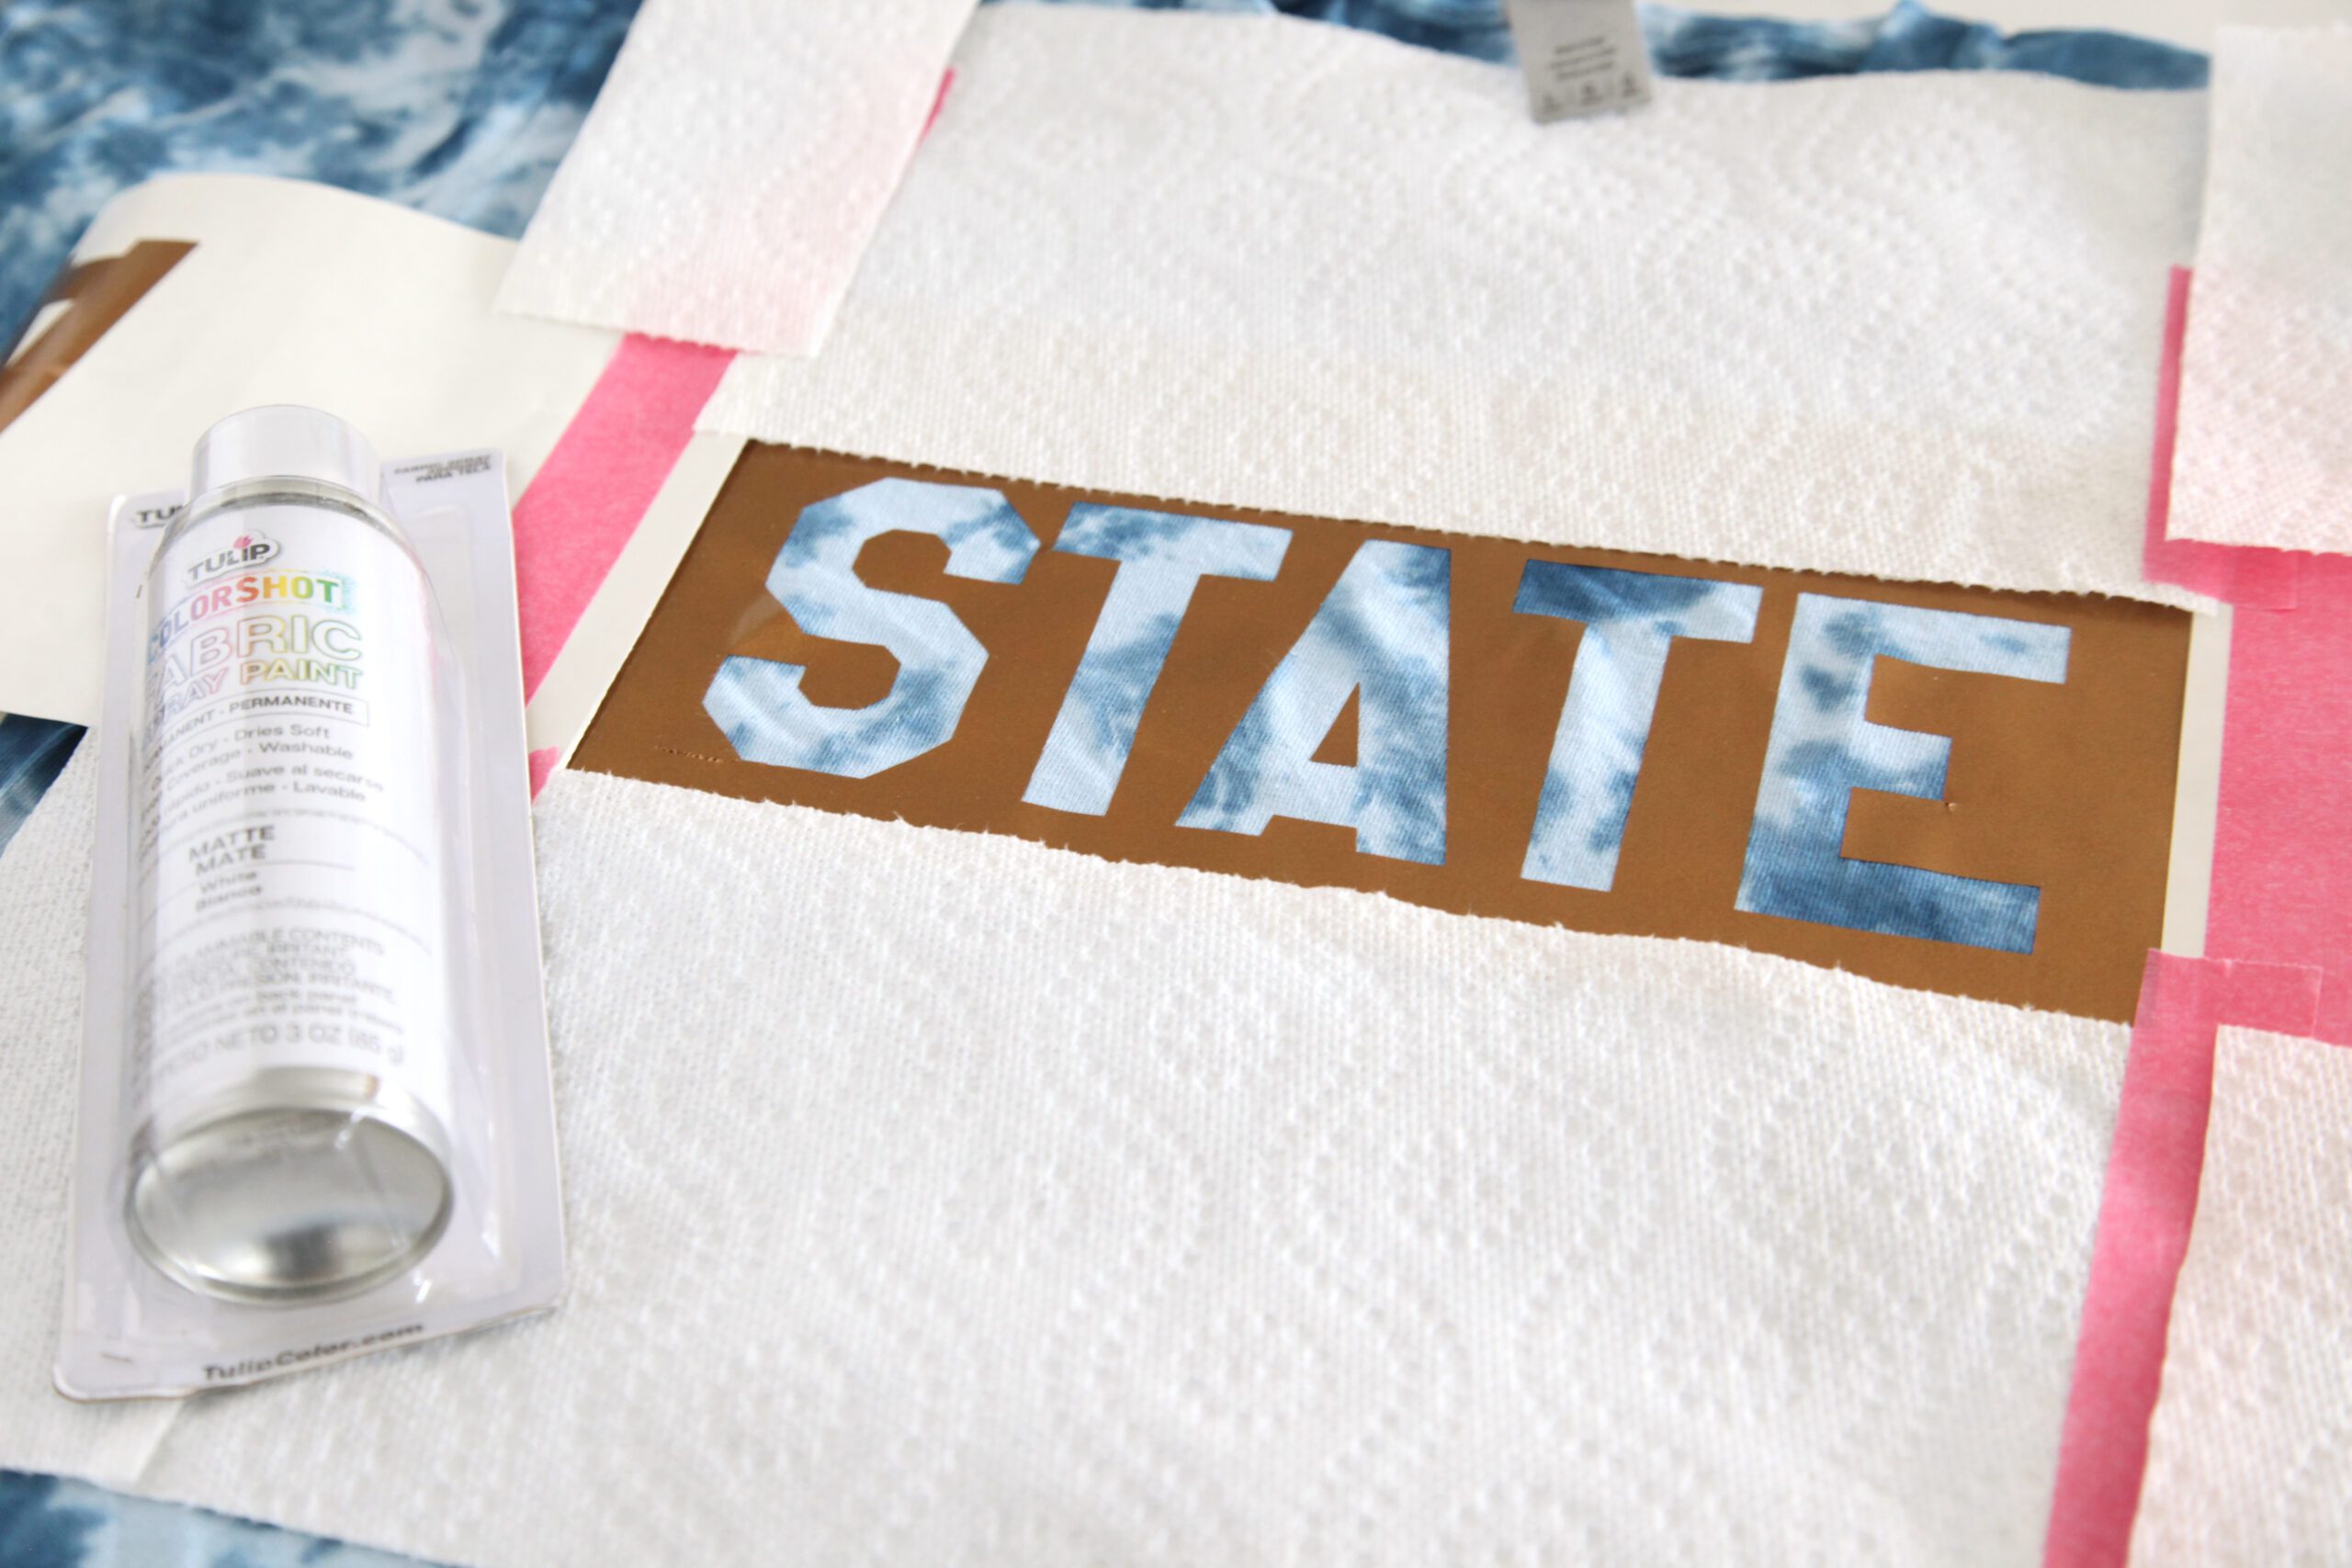
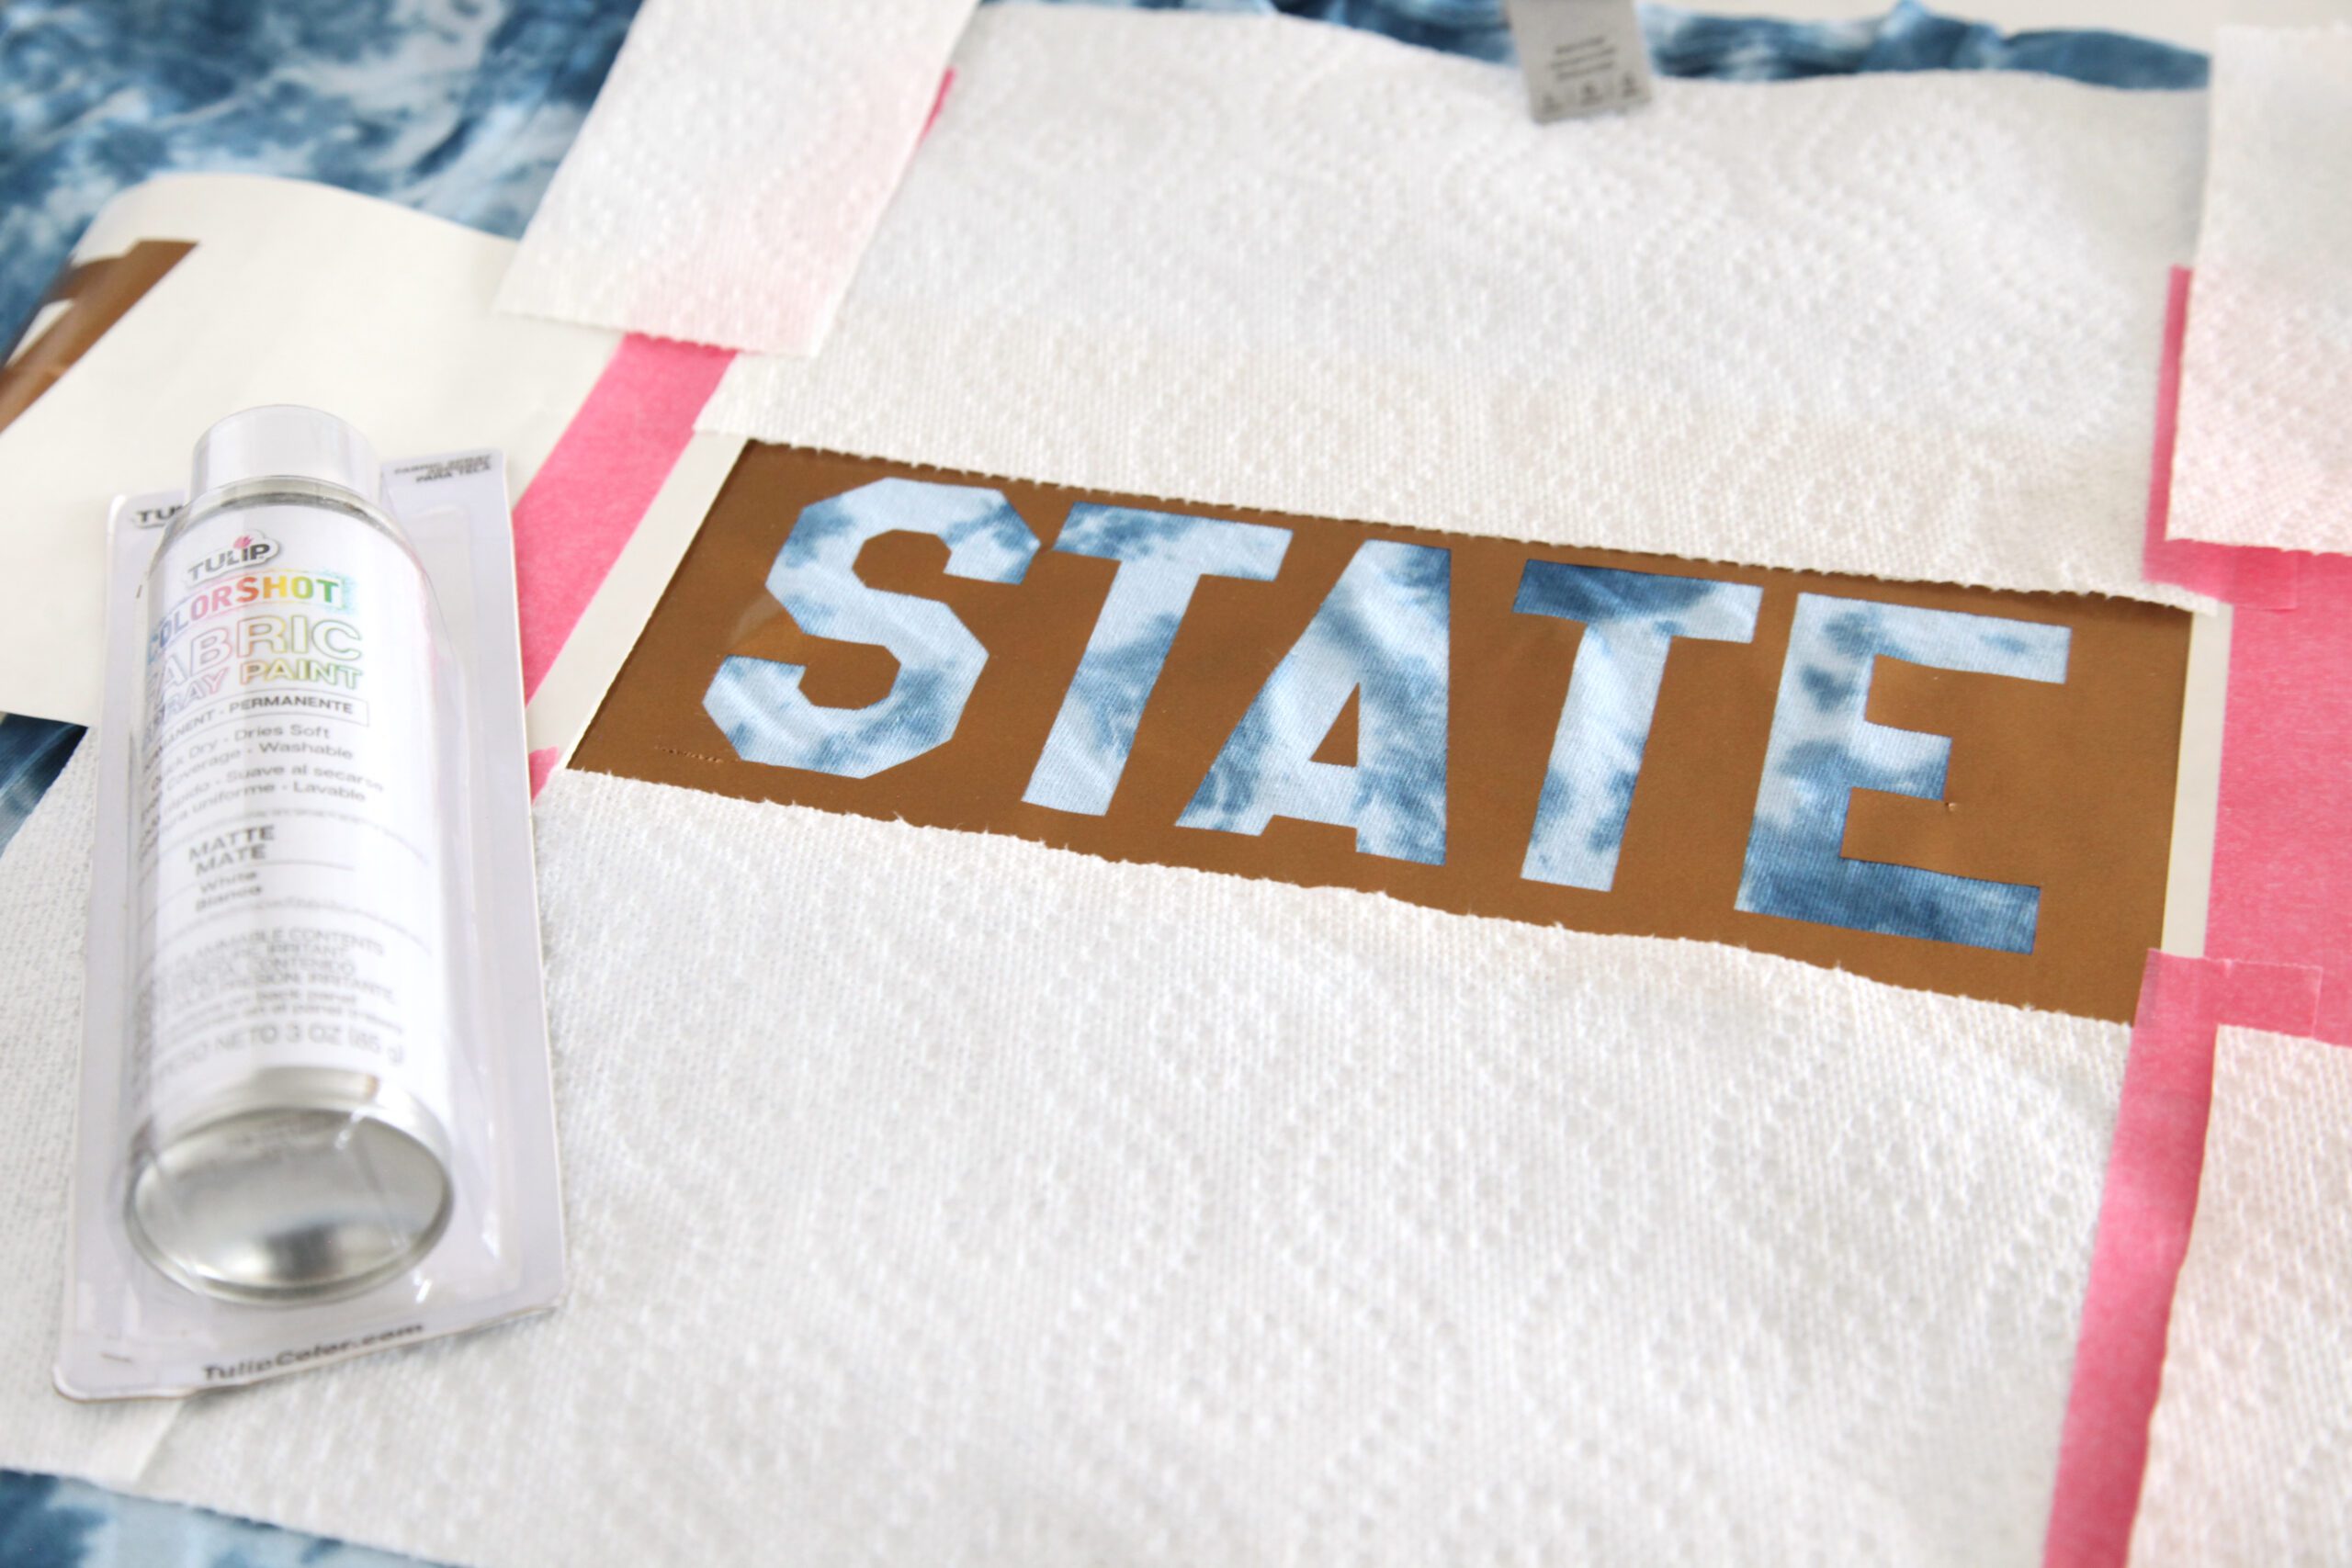
Step 3: Wash and dry the shirt. Then position your stencil on the shirt and secure with tape. Use paper towels or scrap pieces of paper to cover the shirt in a thick margin around the stencil.
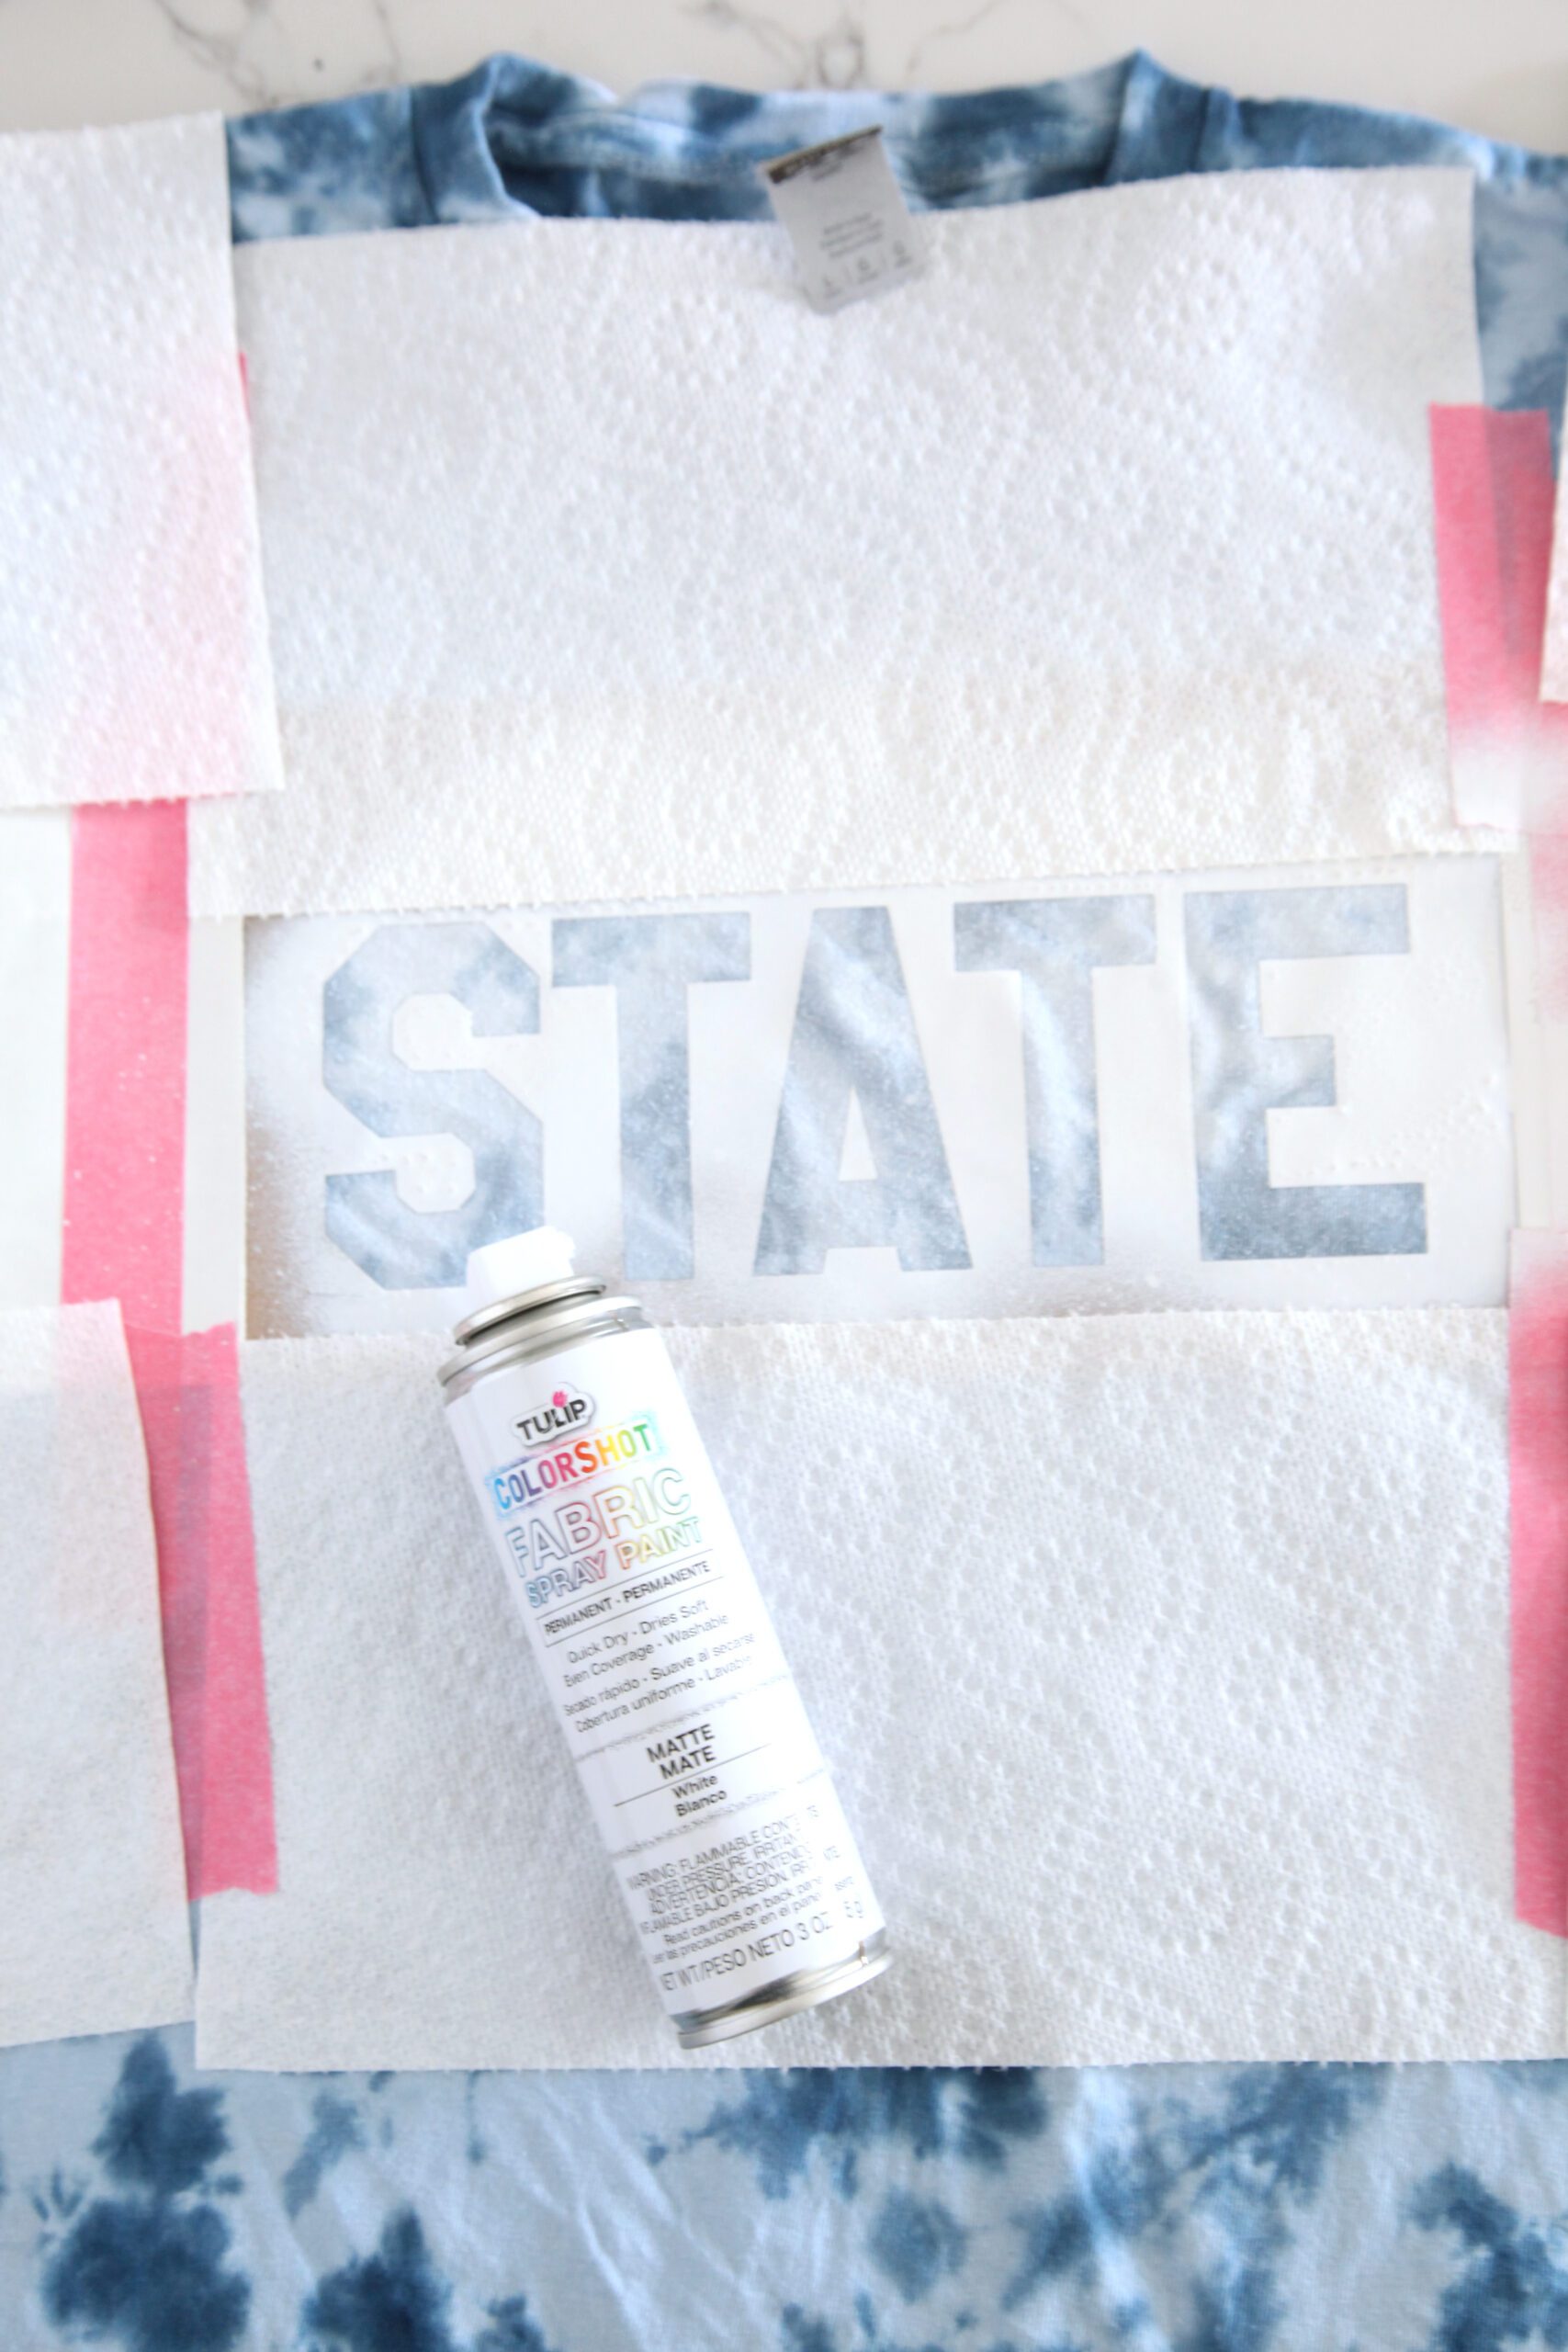
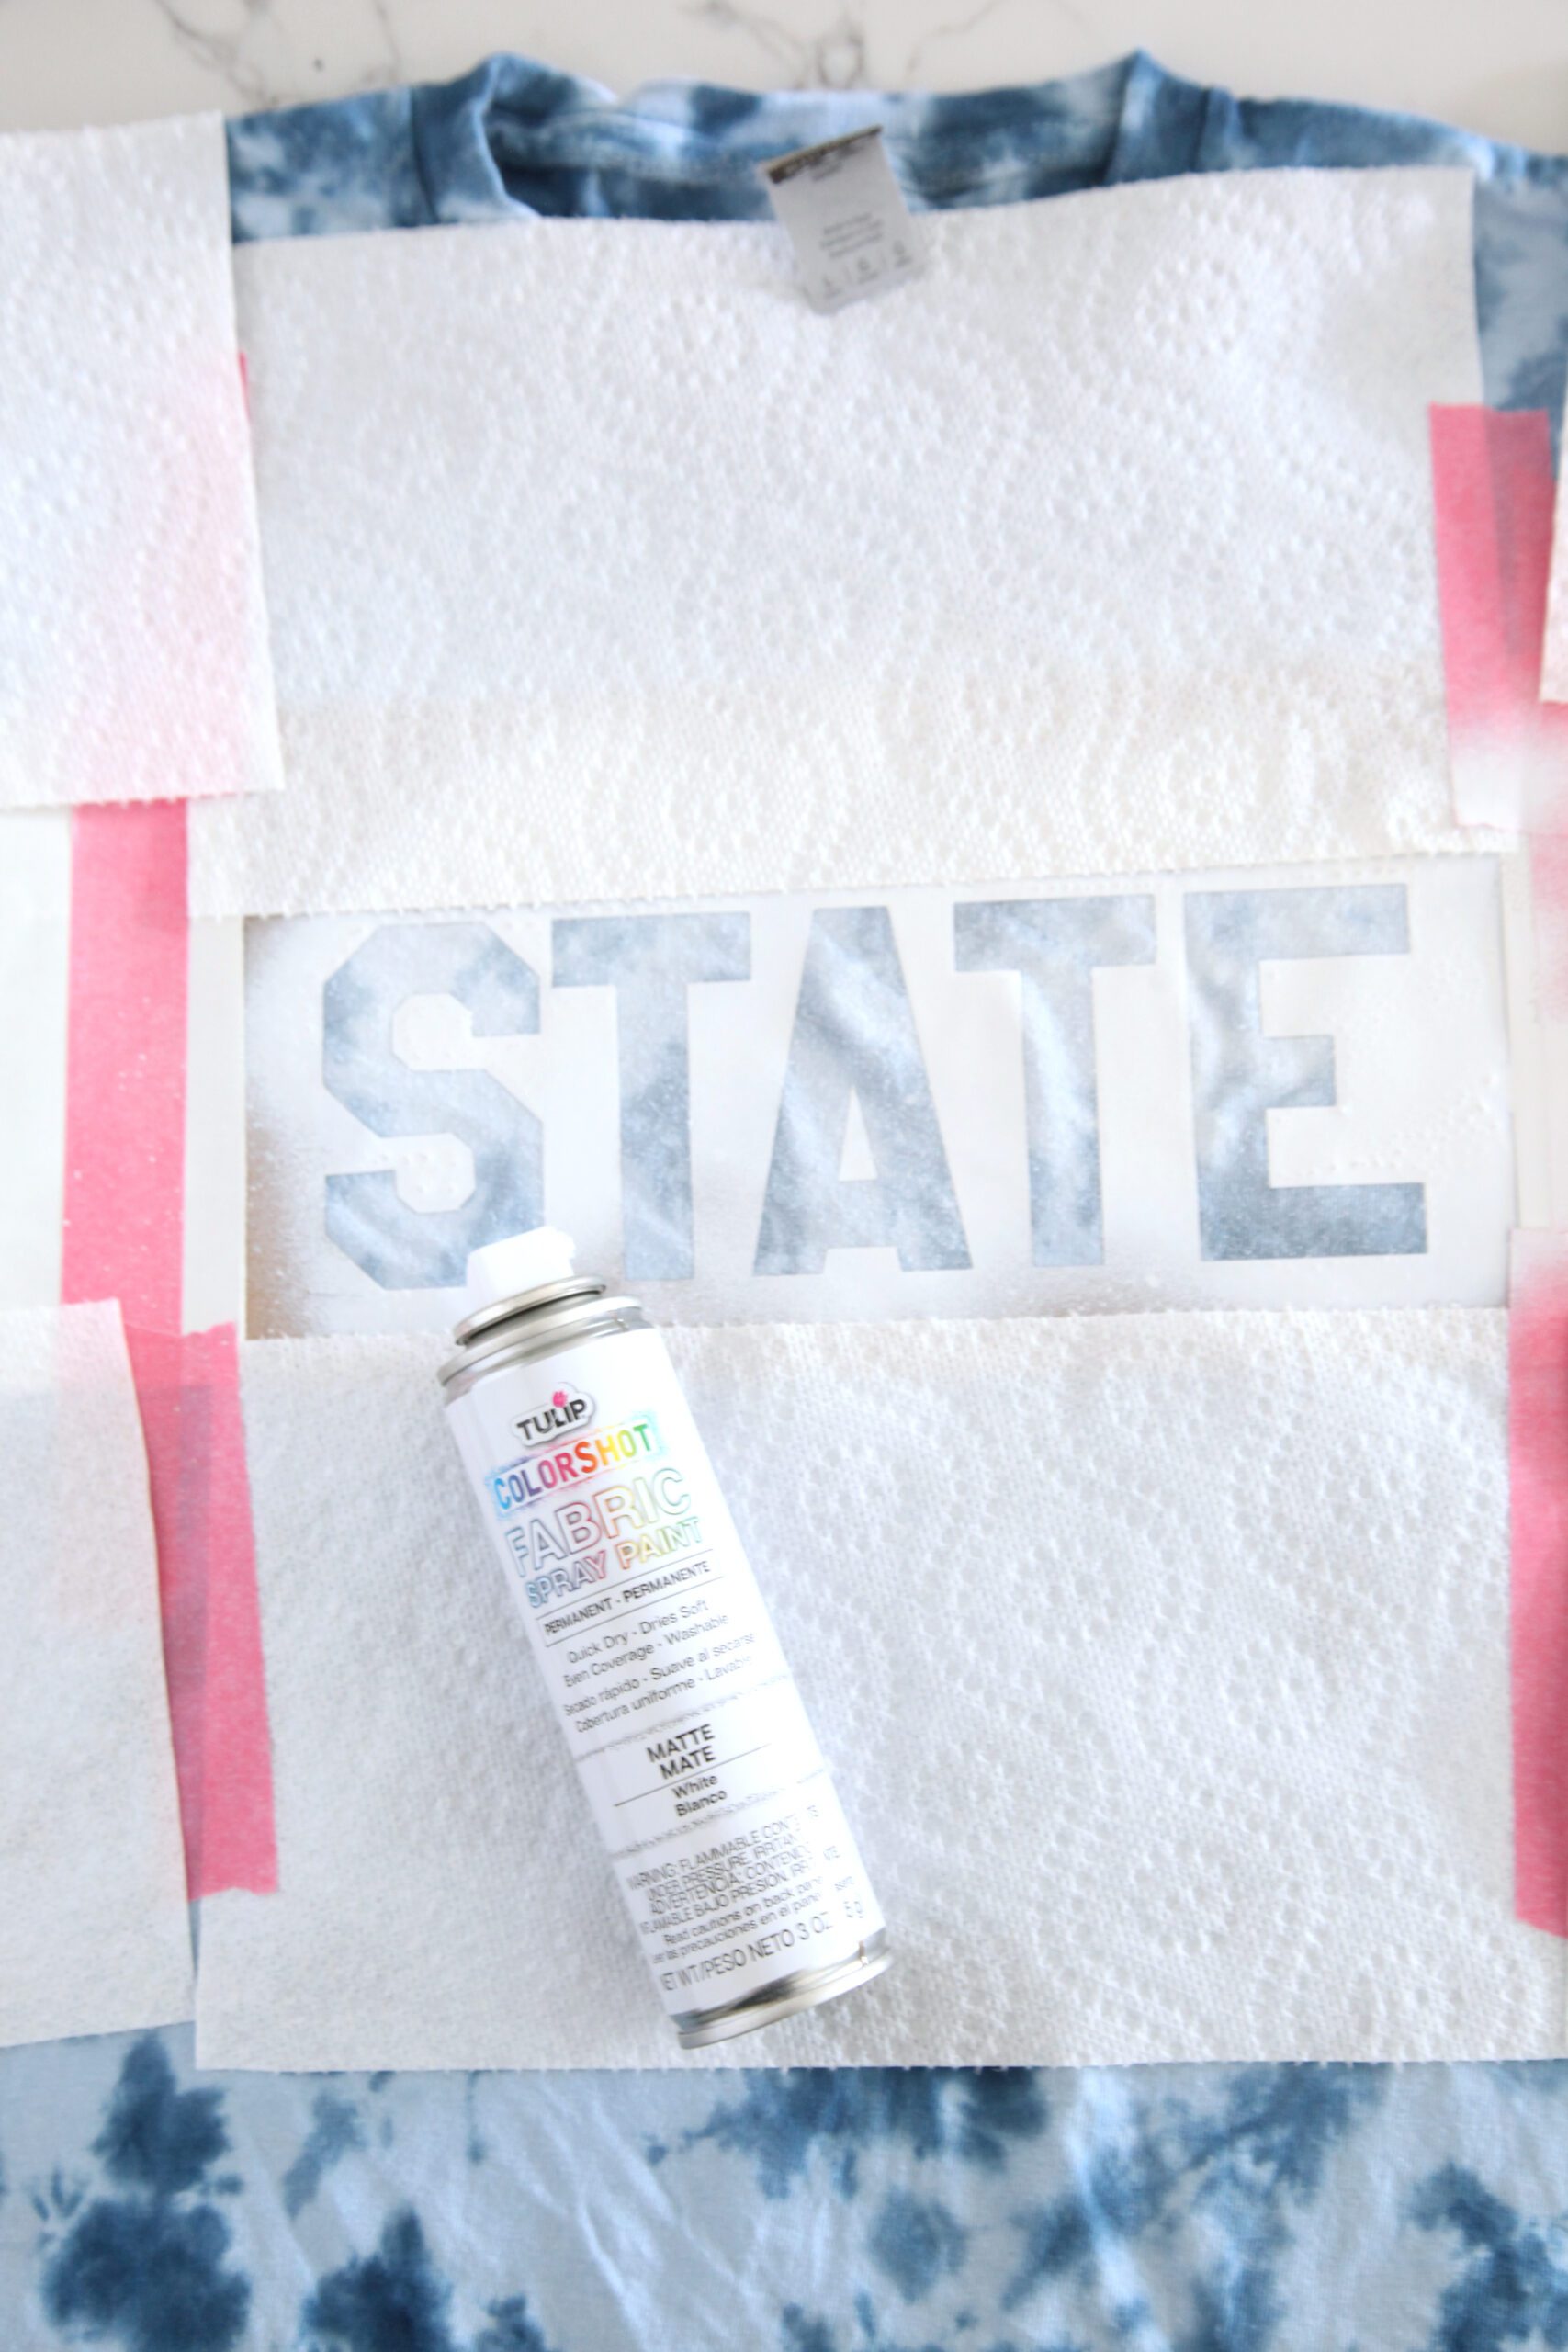
Step 4: Apply fabric spray paint in thin layers, drying completely between coats. Allow to dry.


Happy making!
Sam


