Beautiful, detailed, holiday pop-up cards don’t have to come with a hefty price tag from a fancy stationary store–you can make them at home with some vibrant paper and your trusty craft cutter. Keep reading for this gorgeous tutorial!

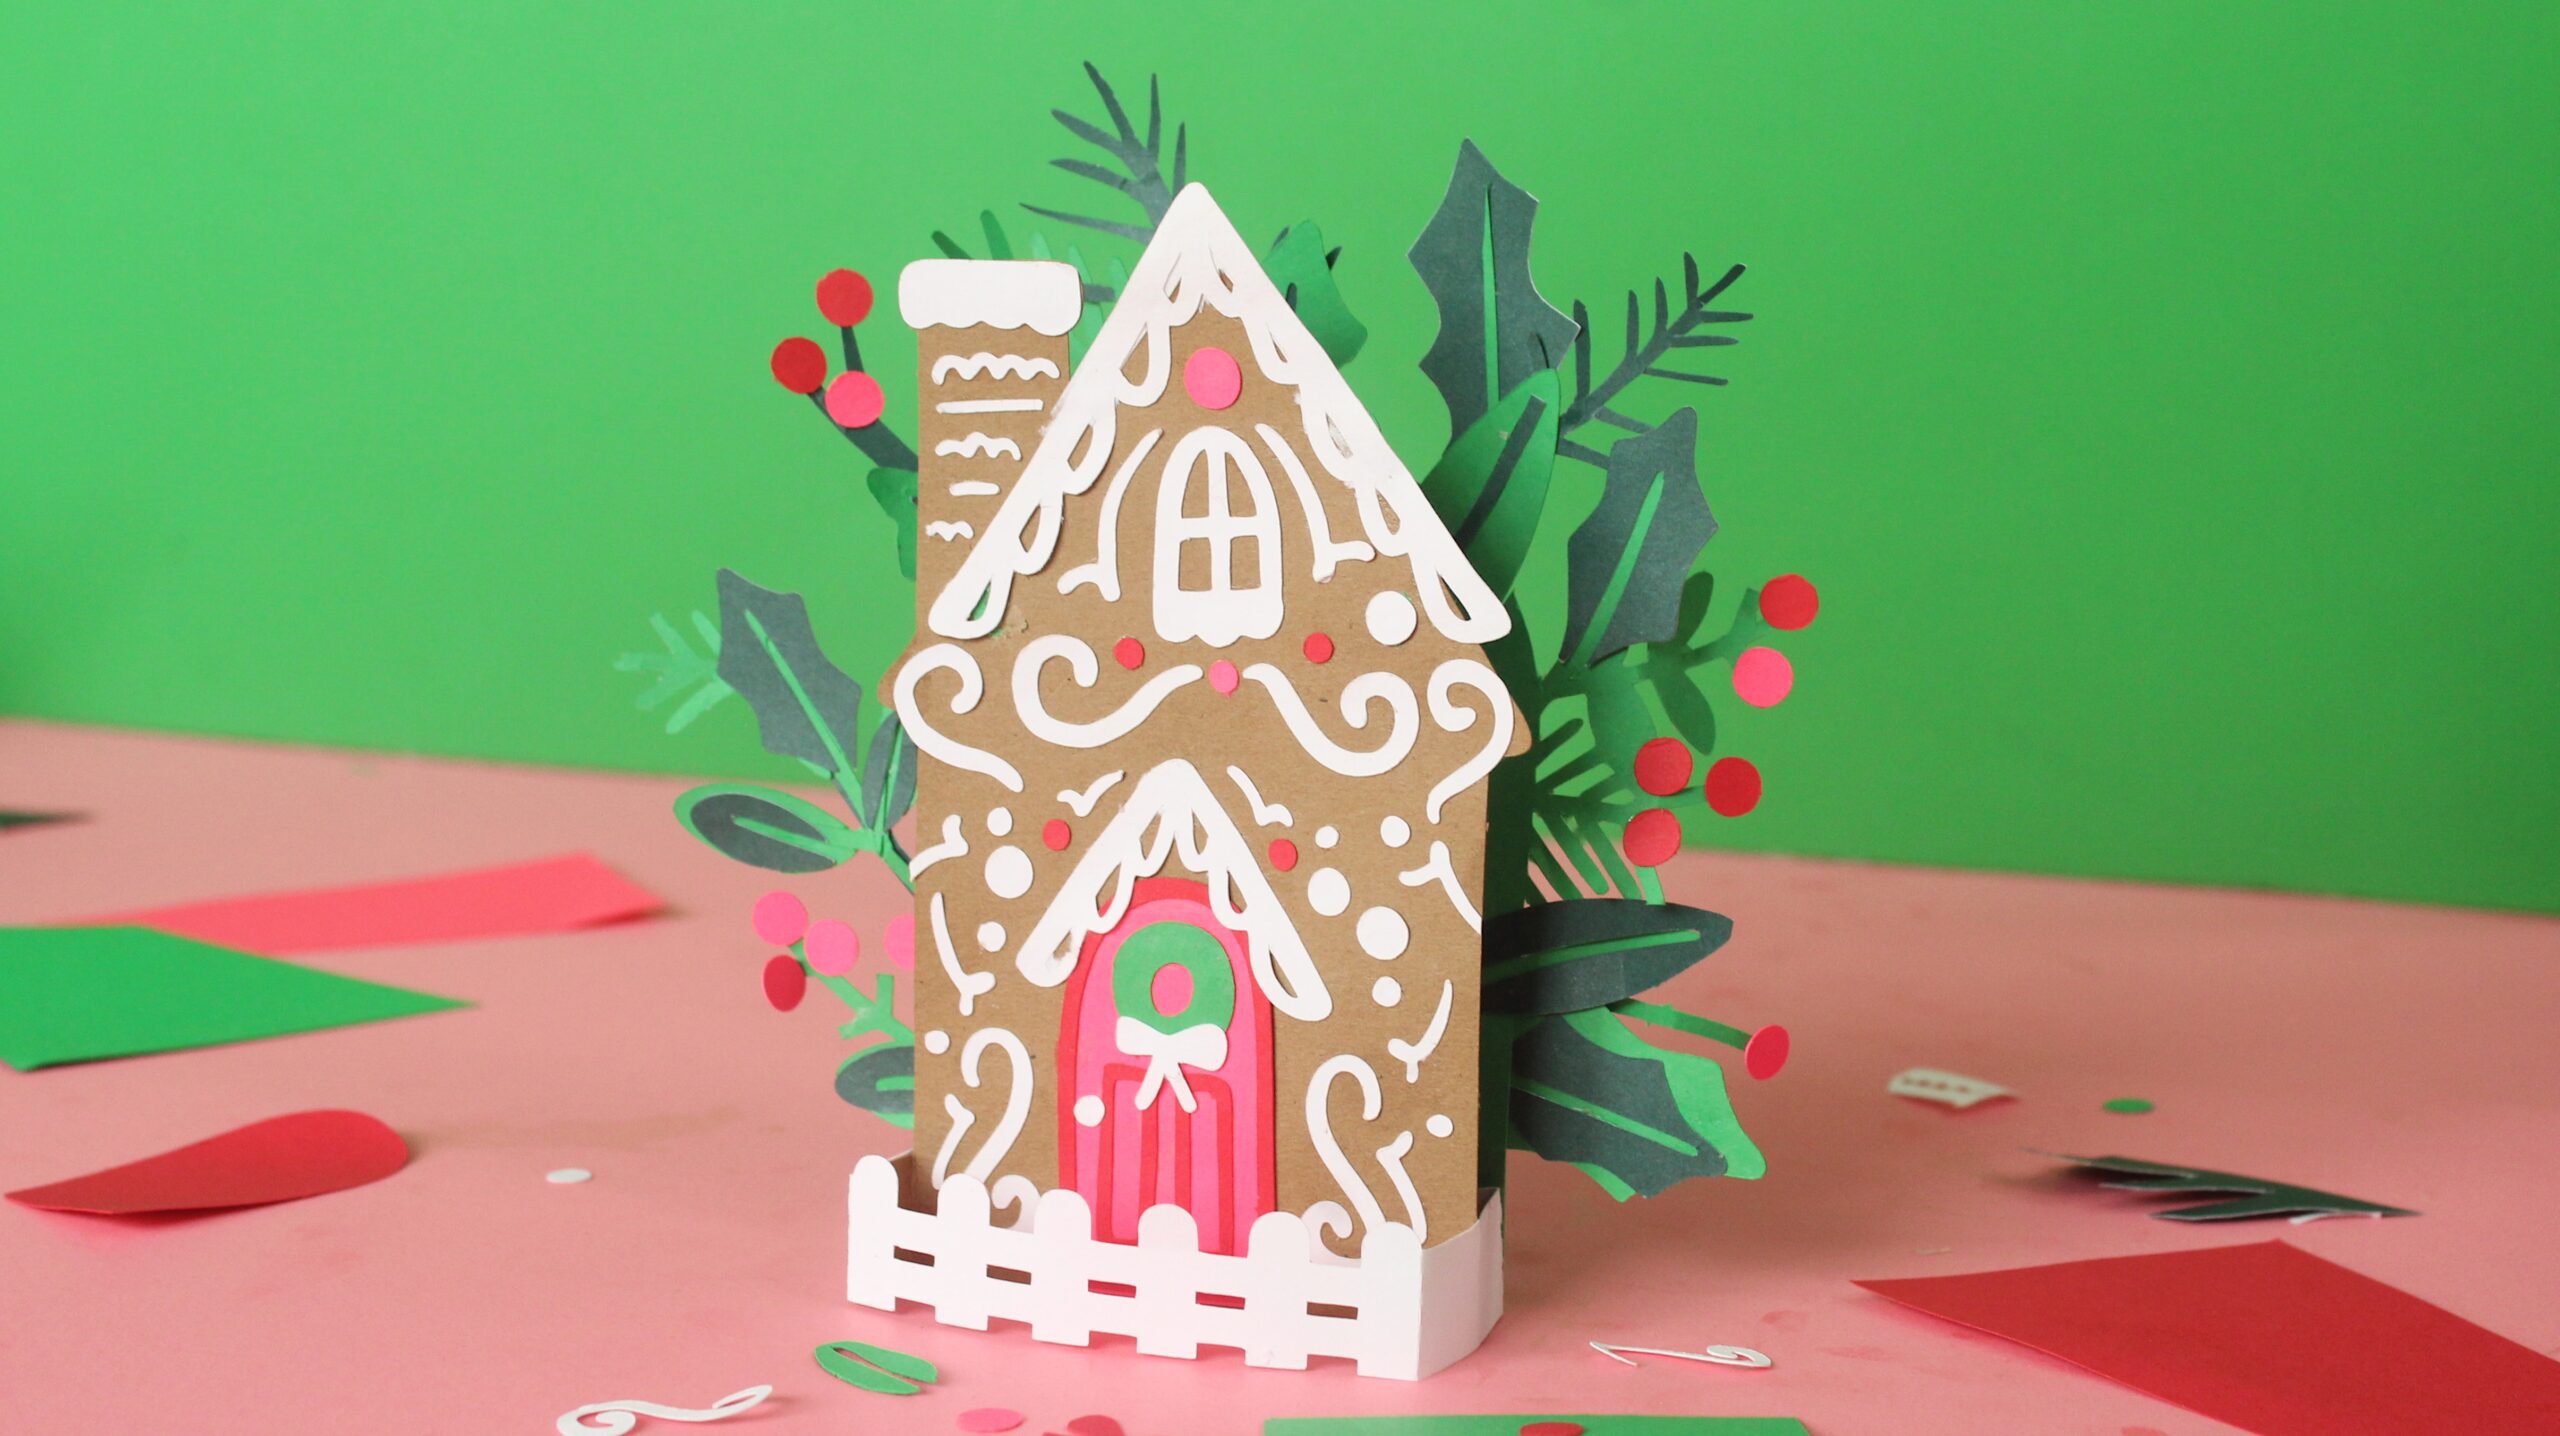
How do you make a pop-up card?
I remember when I first figured out the simple science around making a pop-up card as a kid. It was endlessly satisfying to build a surprise inside a seemingly flat piece of paper. Now I love not only teaching my kids how to make simple pop-up cards for the holidays, but making more intricate pop-up cards as a satisfying creative outlet that delights both me and its recipient!
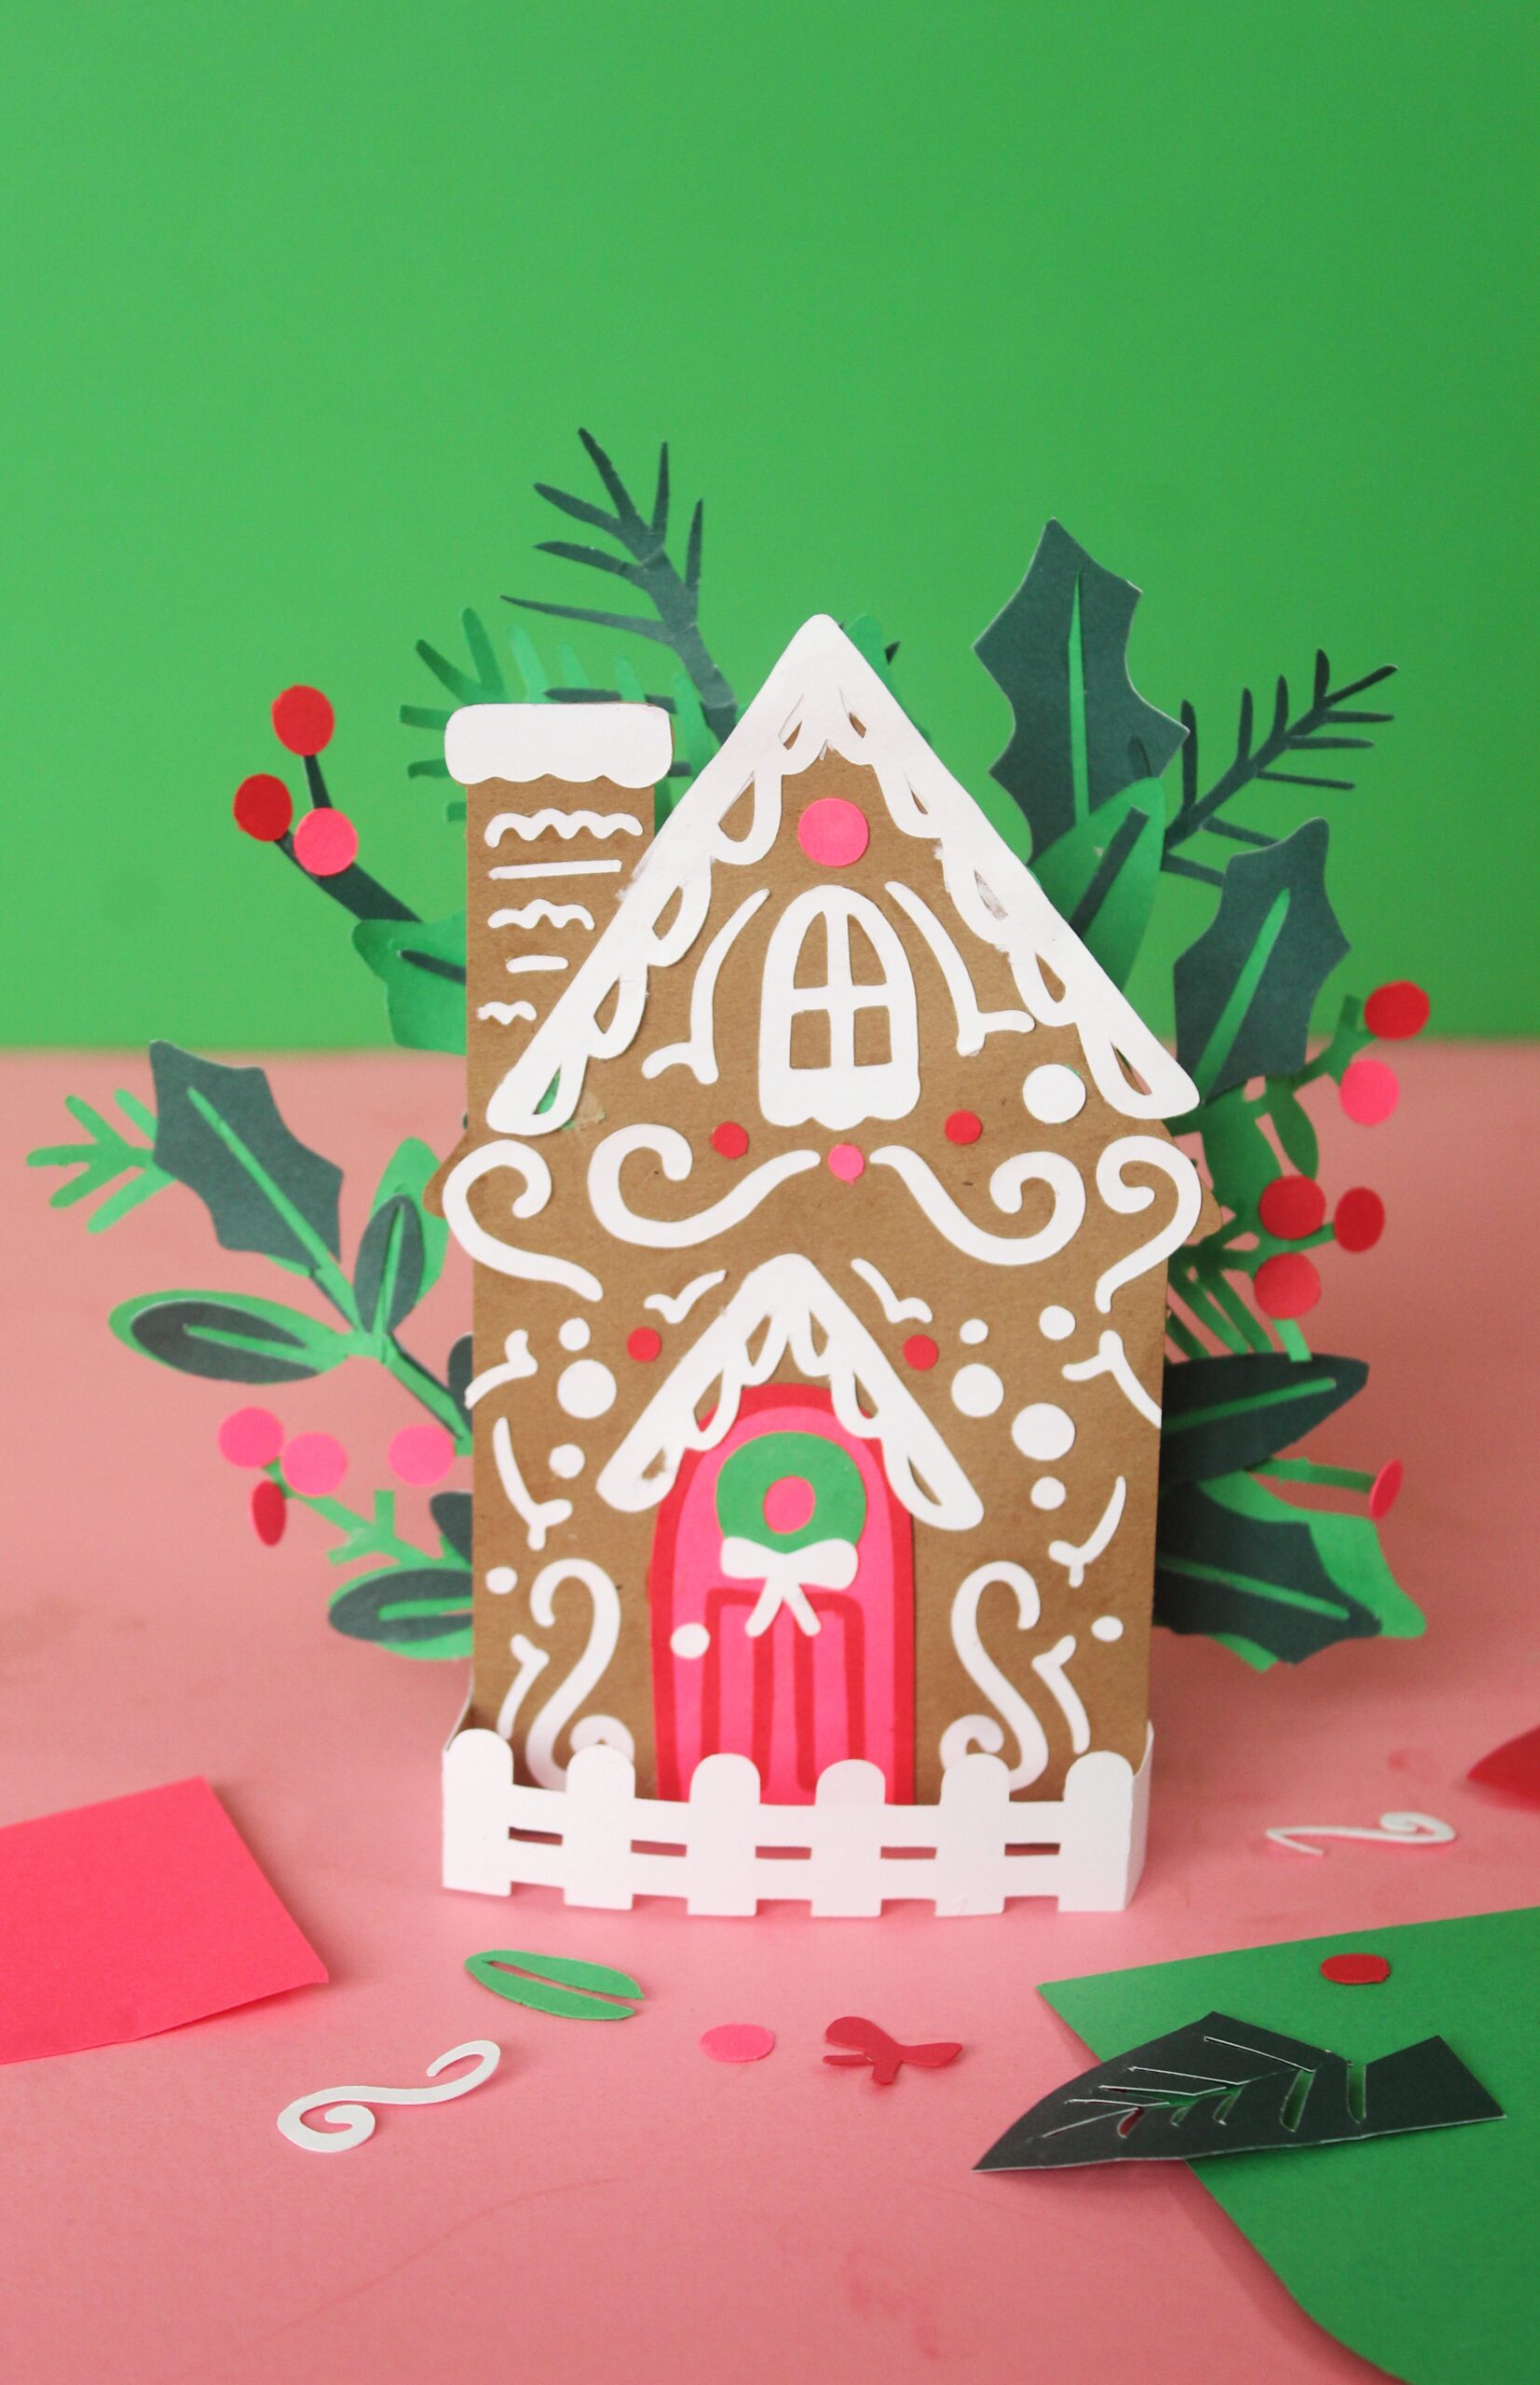
This gIngerbread pop-up card does require a craft cutter to achieve as the elements are detailed and exact proportions are essential to success. However, the great part about using a cut file and a craft cutter is that, while the results look complex, the process really isn’t! You simply load the file, cut, and assemble!
(If you don’t have a craft cutter, we have some fun, simple, tutorials for basic holiday pop-up card designs that only require scissors and a glue stick–perfect for kids or adults! Find those tutorials here.)
How to make a pop-up card with paper?
An essential element to the success of a more intricate pop-up card is your paper choice. You need a cardstock that comes in beautiful colors and a gift-worthy finish, but that can withstand all of the handling that comes with making a pop-up card. We use Astrodesigns Cardstock, which is perfect for all kinds of craft projects. The Astrodesigns Starter Pack is available at Walmart (so it’s affordable and accessible) and comes with 72 gorgeous sheets of cardstock in the most bold and vibrant colors. We used the 12×12 size for this project to make sure everything fit nicely on the paper.
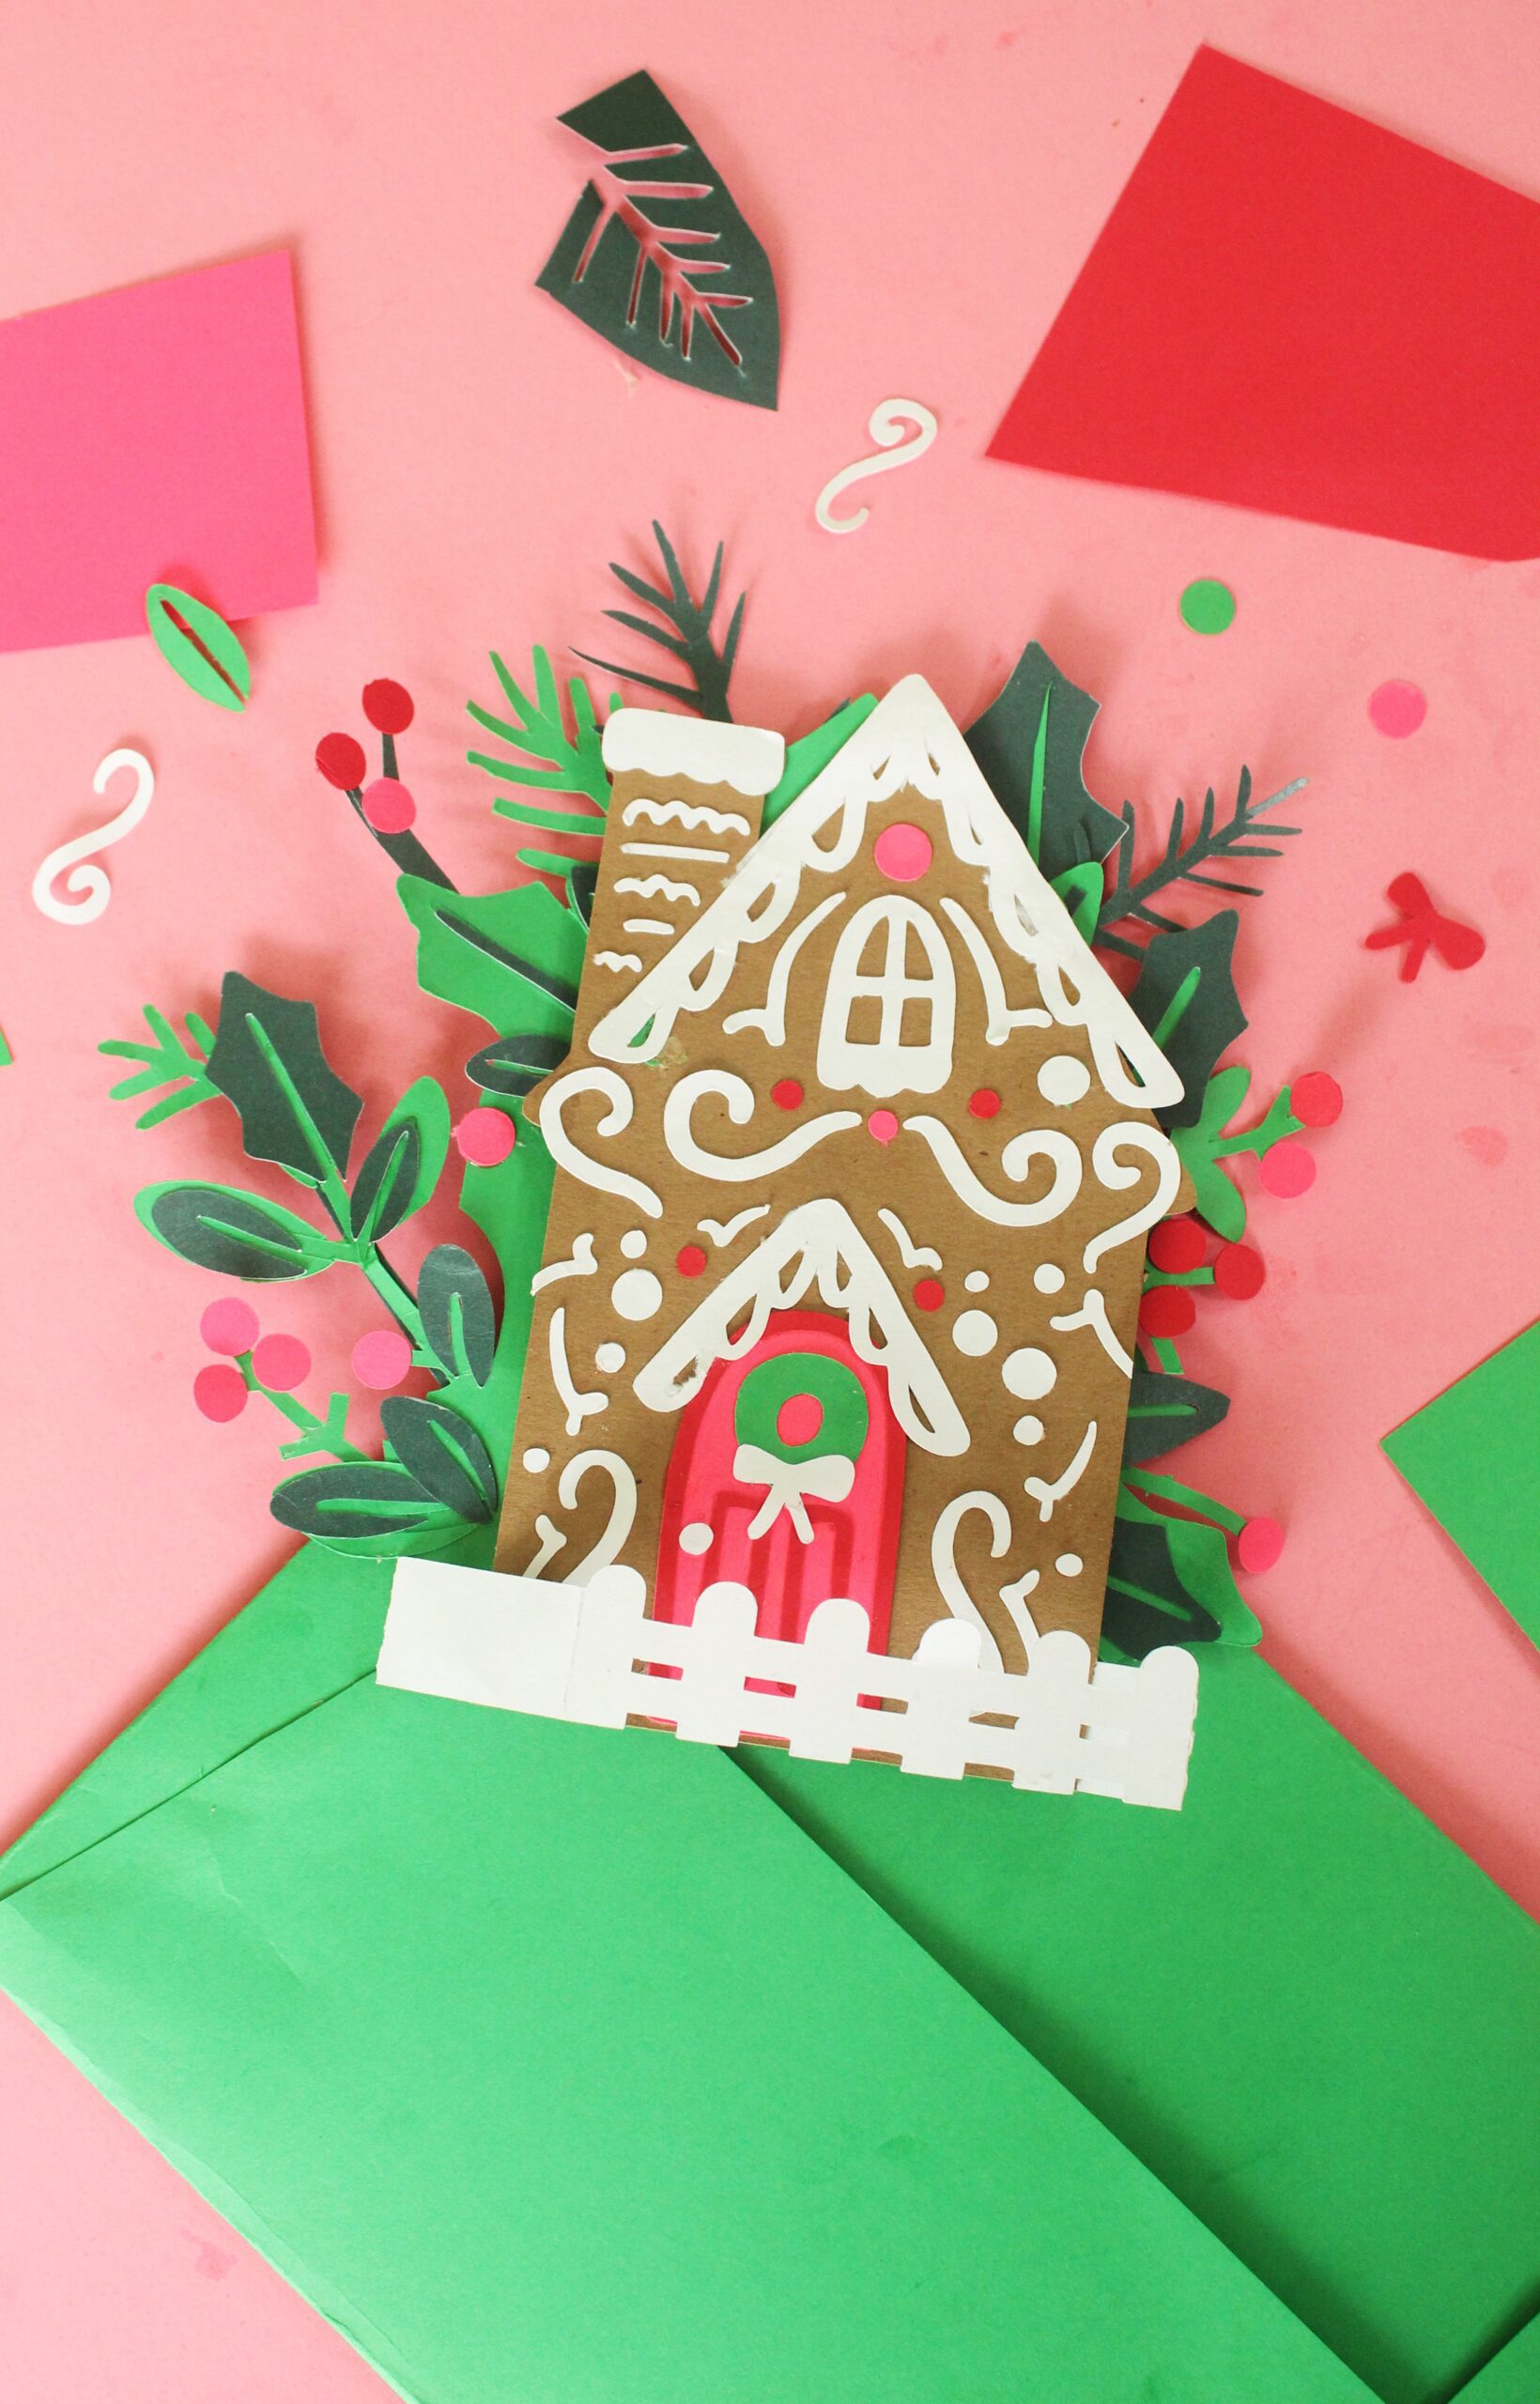
Supplies Needed to make a Gingerbread House Pop-Up Card
Astrodesigns Cardstock Starter Pack 12×12 sheets
Gingerbread Pop-Up Card Cut File (for Cricut or Silhouette)
Cutting machine
Tacky Glue
How to Make a Gingerbread House Pop-Up Card
- Purchase and load the pop up card cut file into your craft cutter’s software. Decide which elements you would like to cut on which color and cut each.
- Once all of the pieces of the cut file are cut and weeded, you can assemble the card. Begin by laying the house piece on a flat surface and glue the door pieces to the house in layers beginning with the arch, then the door detail, the wreath, bow, and doorknob.
- Next,add the white detail pieces using the guidelines found in the cut file.
- For the back piece, simply layer the light green leaves onto the dark green back piece base. Then the dark pink berries.
- Once the house piece and the back greenery piece have been assembled and dried completely it’s time to assemble the structure of the card. Take the front fence piece, and fold downwards on the score lines. Line up the tabs with the back piece. Adhere the tabs to the front side of the back piece, so you don’t see the tabs on the back of the card.
- Fold flat to dry, making sure the card opens correctly.
- Next, add the middle house piece. Take the house piece and fold on the score lines. The right tab you’ll want to fold down, the left tab you’ll want to fold up. This helps to keep the card laying flat. Add adhesive to the outside edges of the tabs, and slide the piece into the assembled card. Make sure it is opening correctly as it dries.( Sometimes it helps to put the middle piece into the card without glue at first, so you can get a feel for how the card folds.) Let dry completely.
- Flip the card over and write a note on the back of the greenery layer. Then put in an envelope and go make someone’s day!
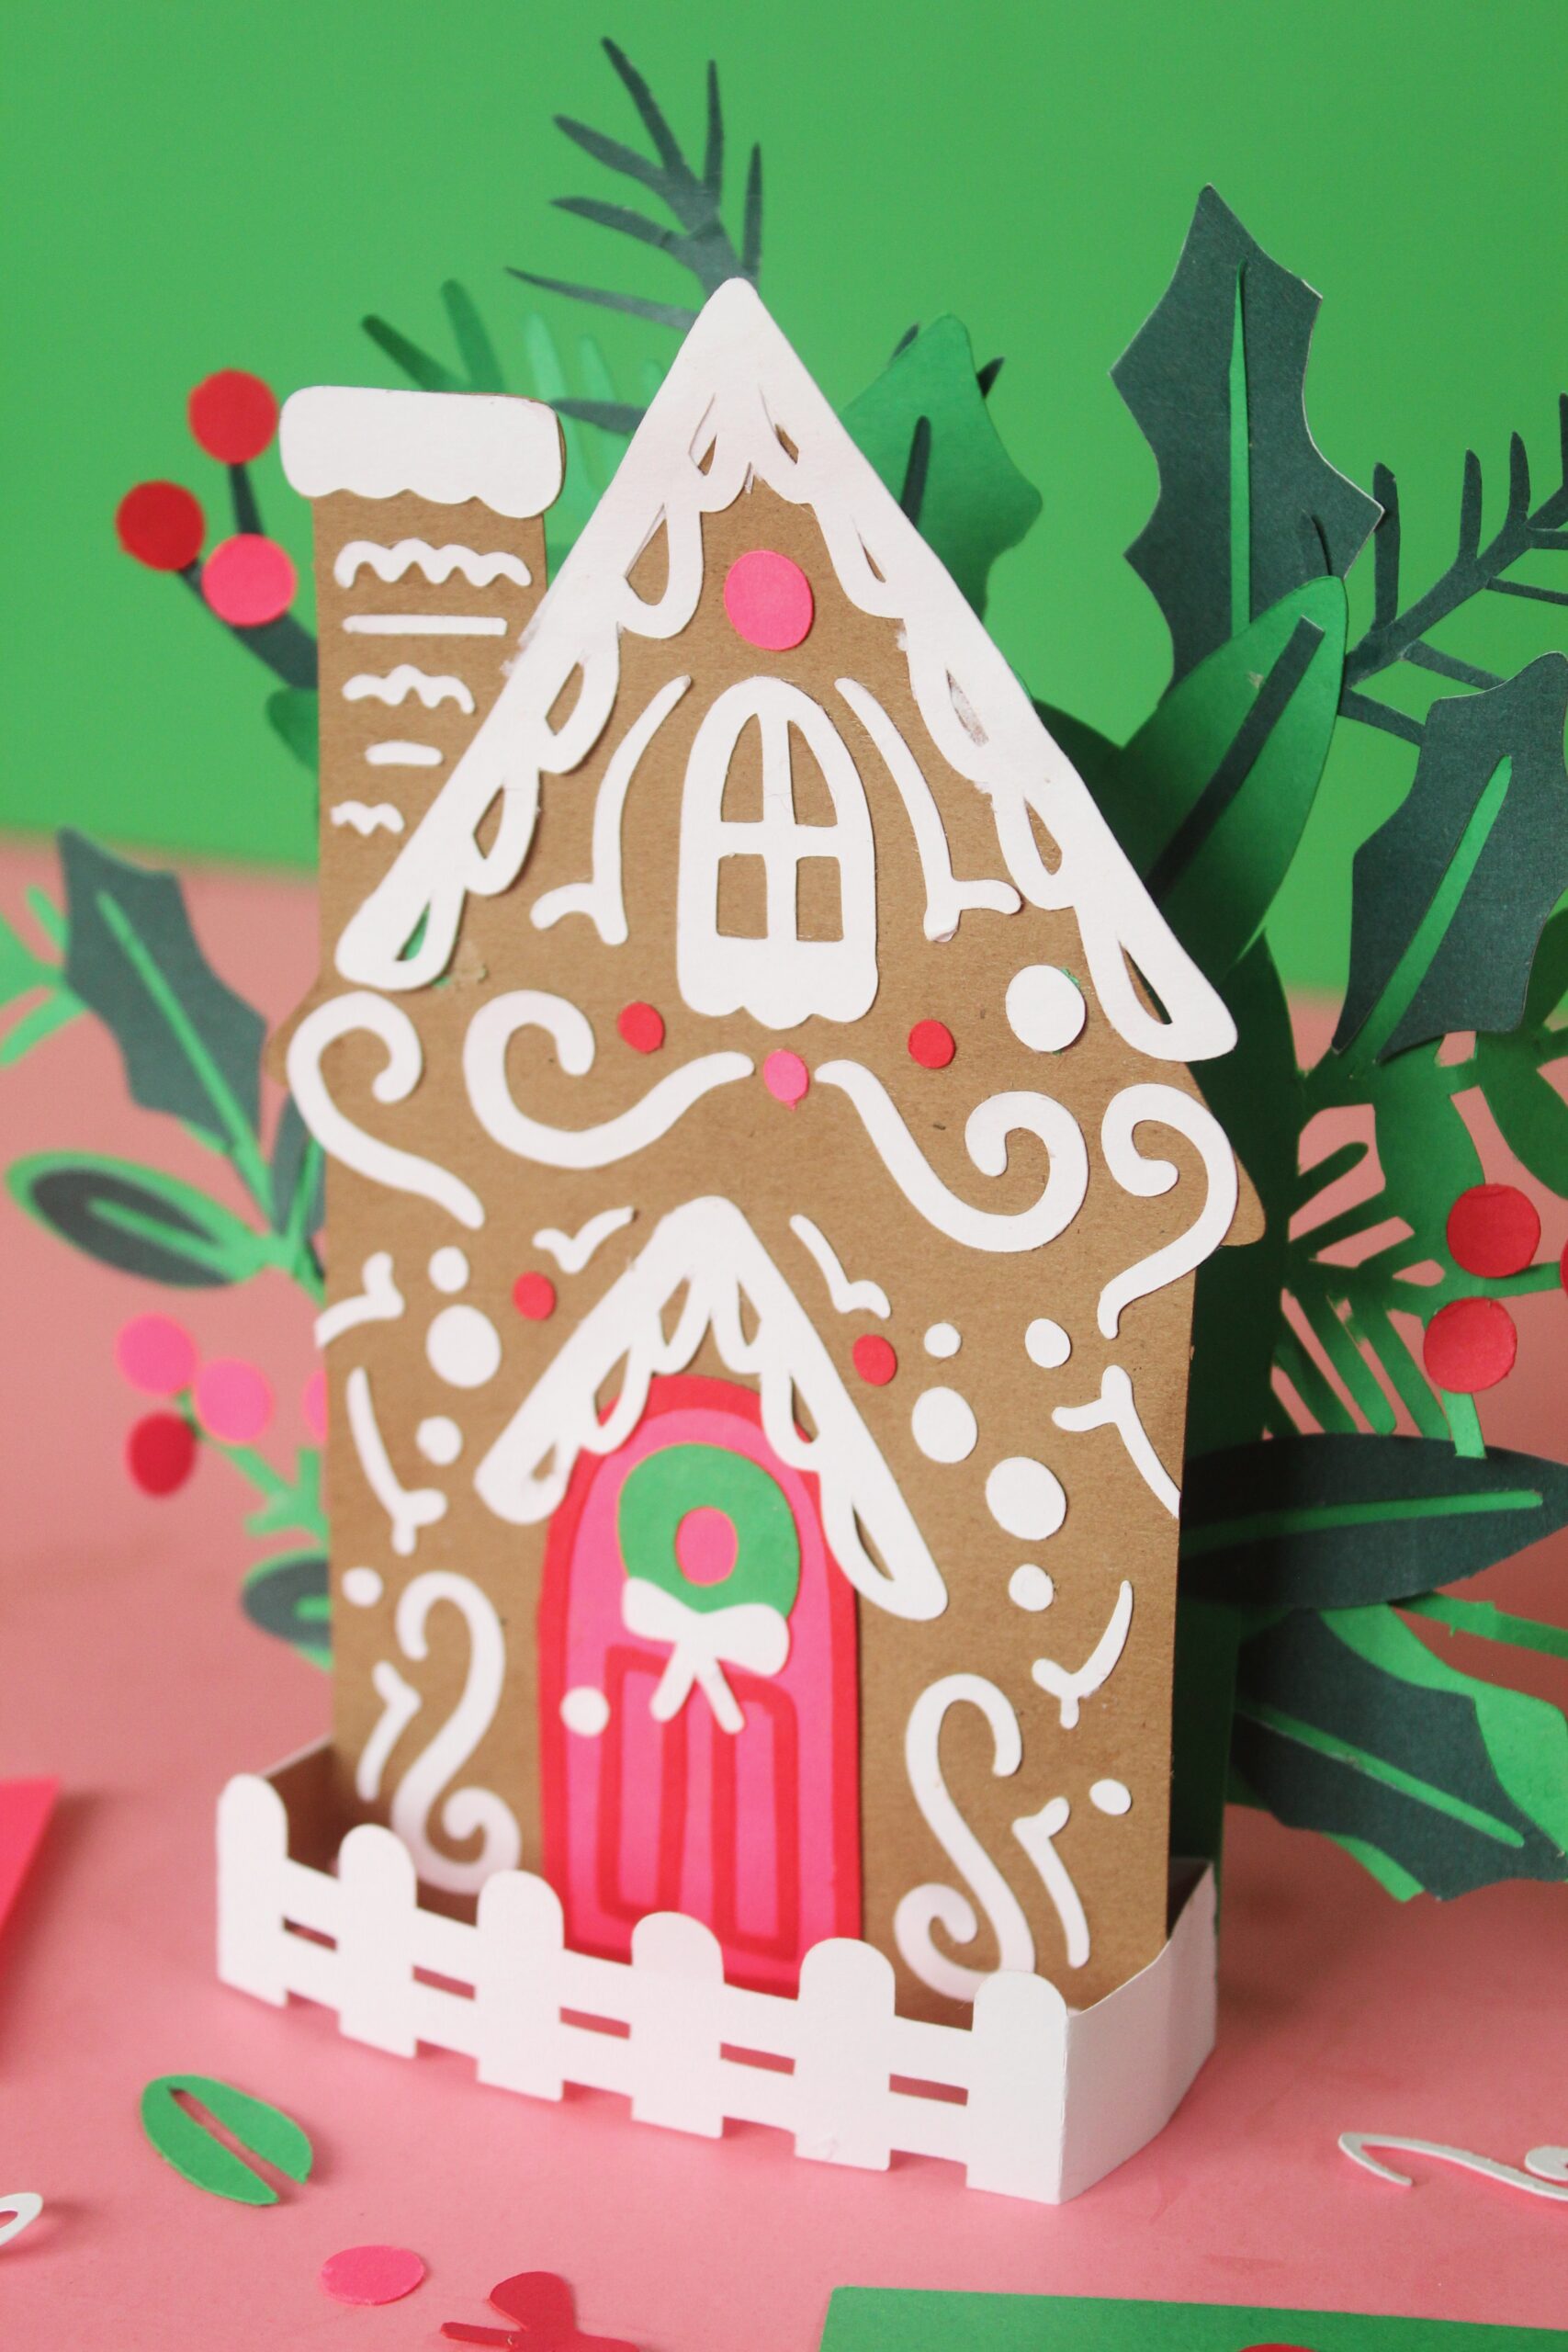
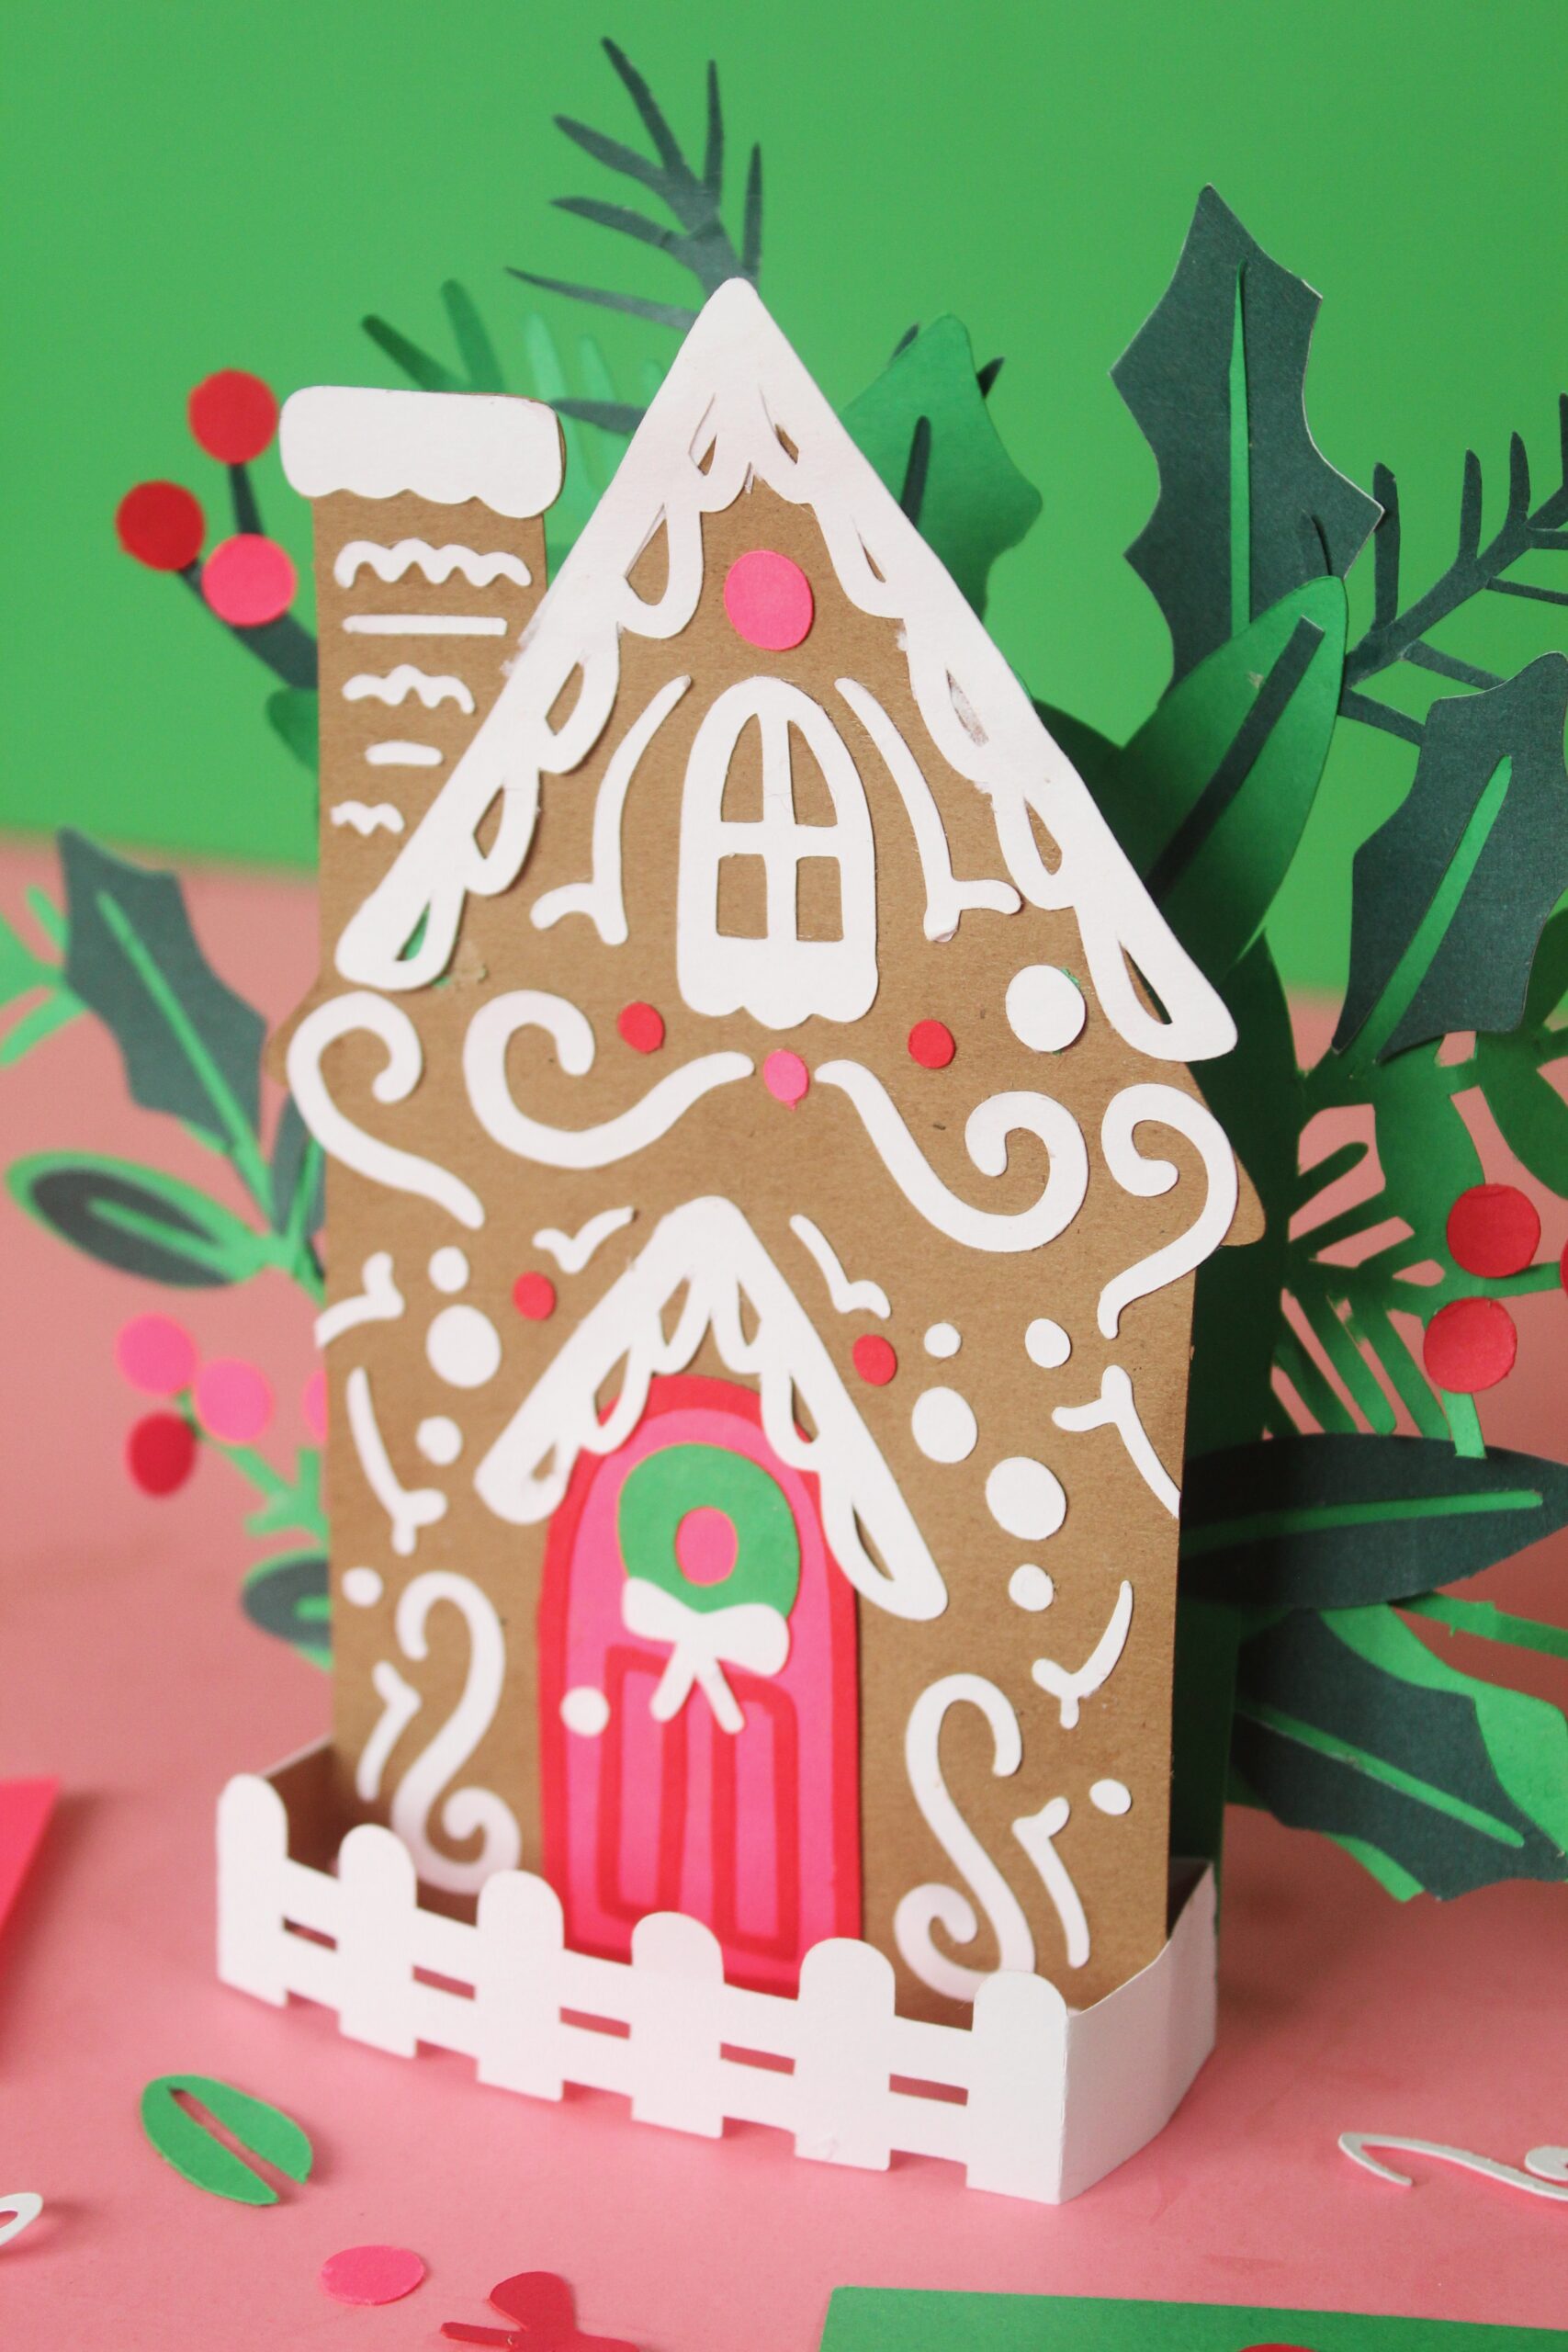
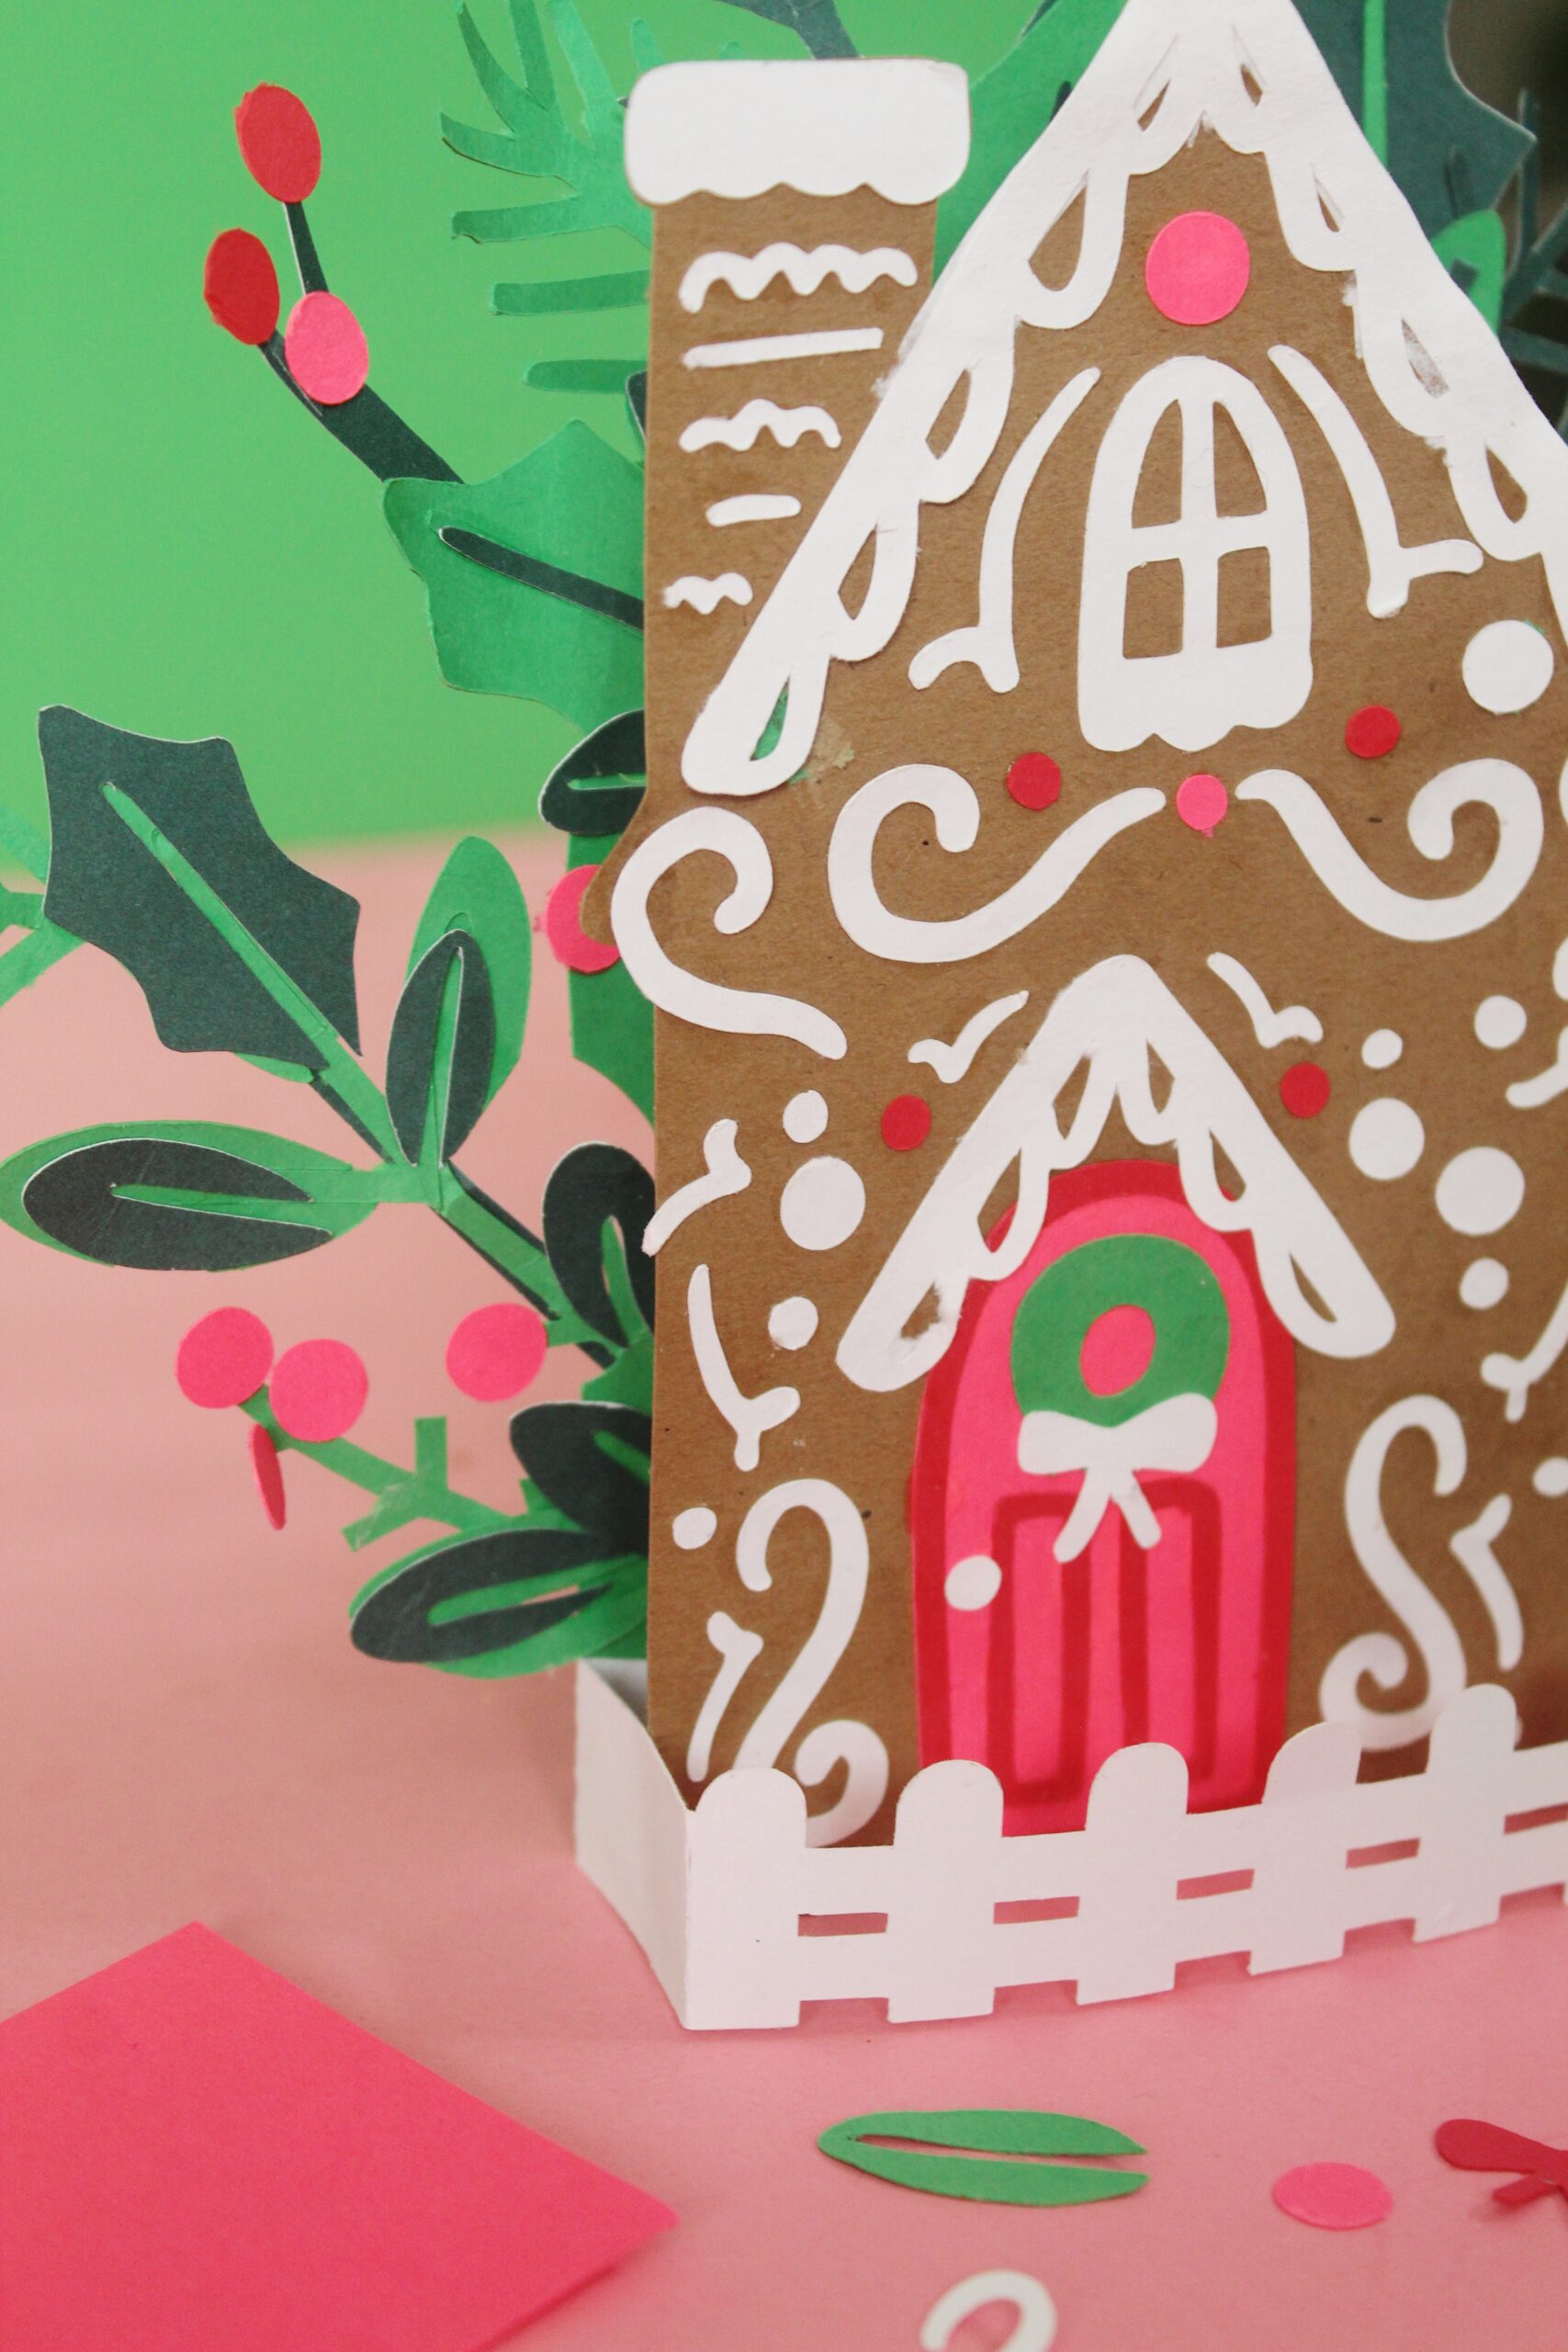
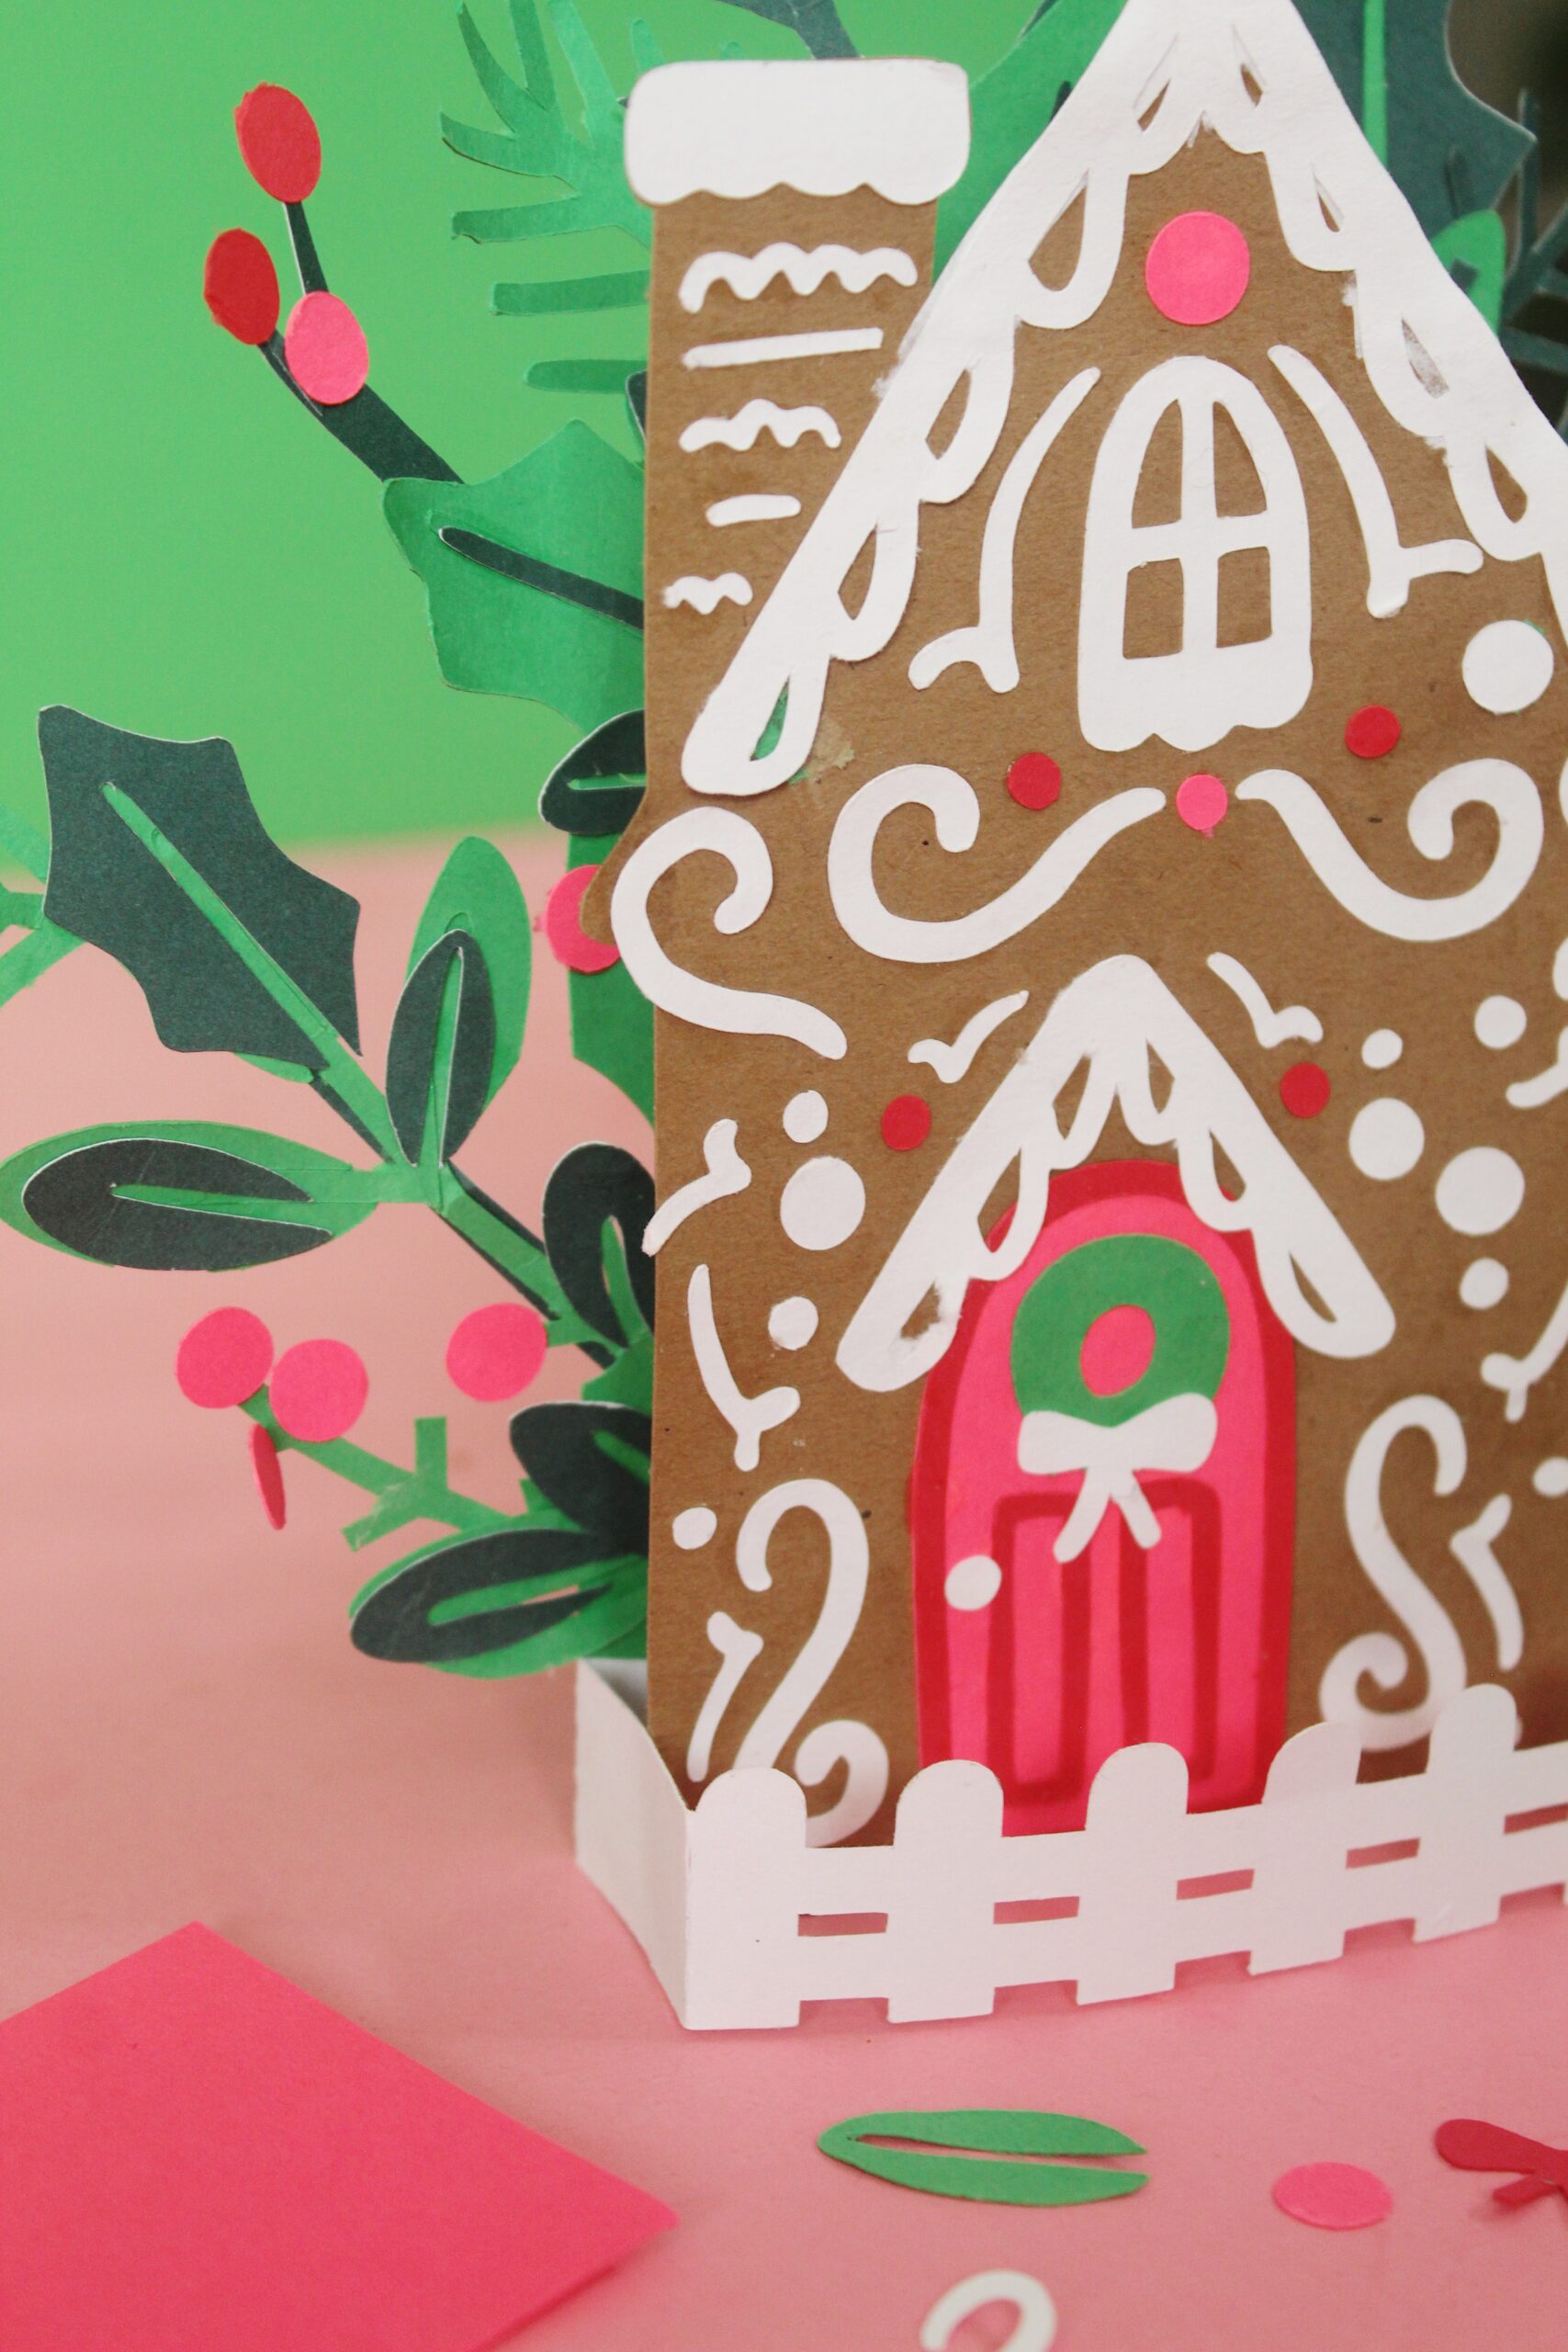
Isn’t this pop-up card so lovely? Who would you give yours to?
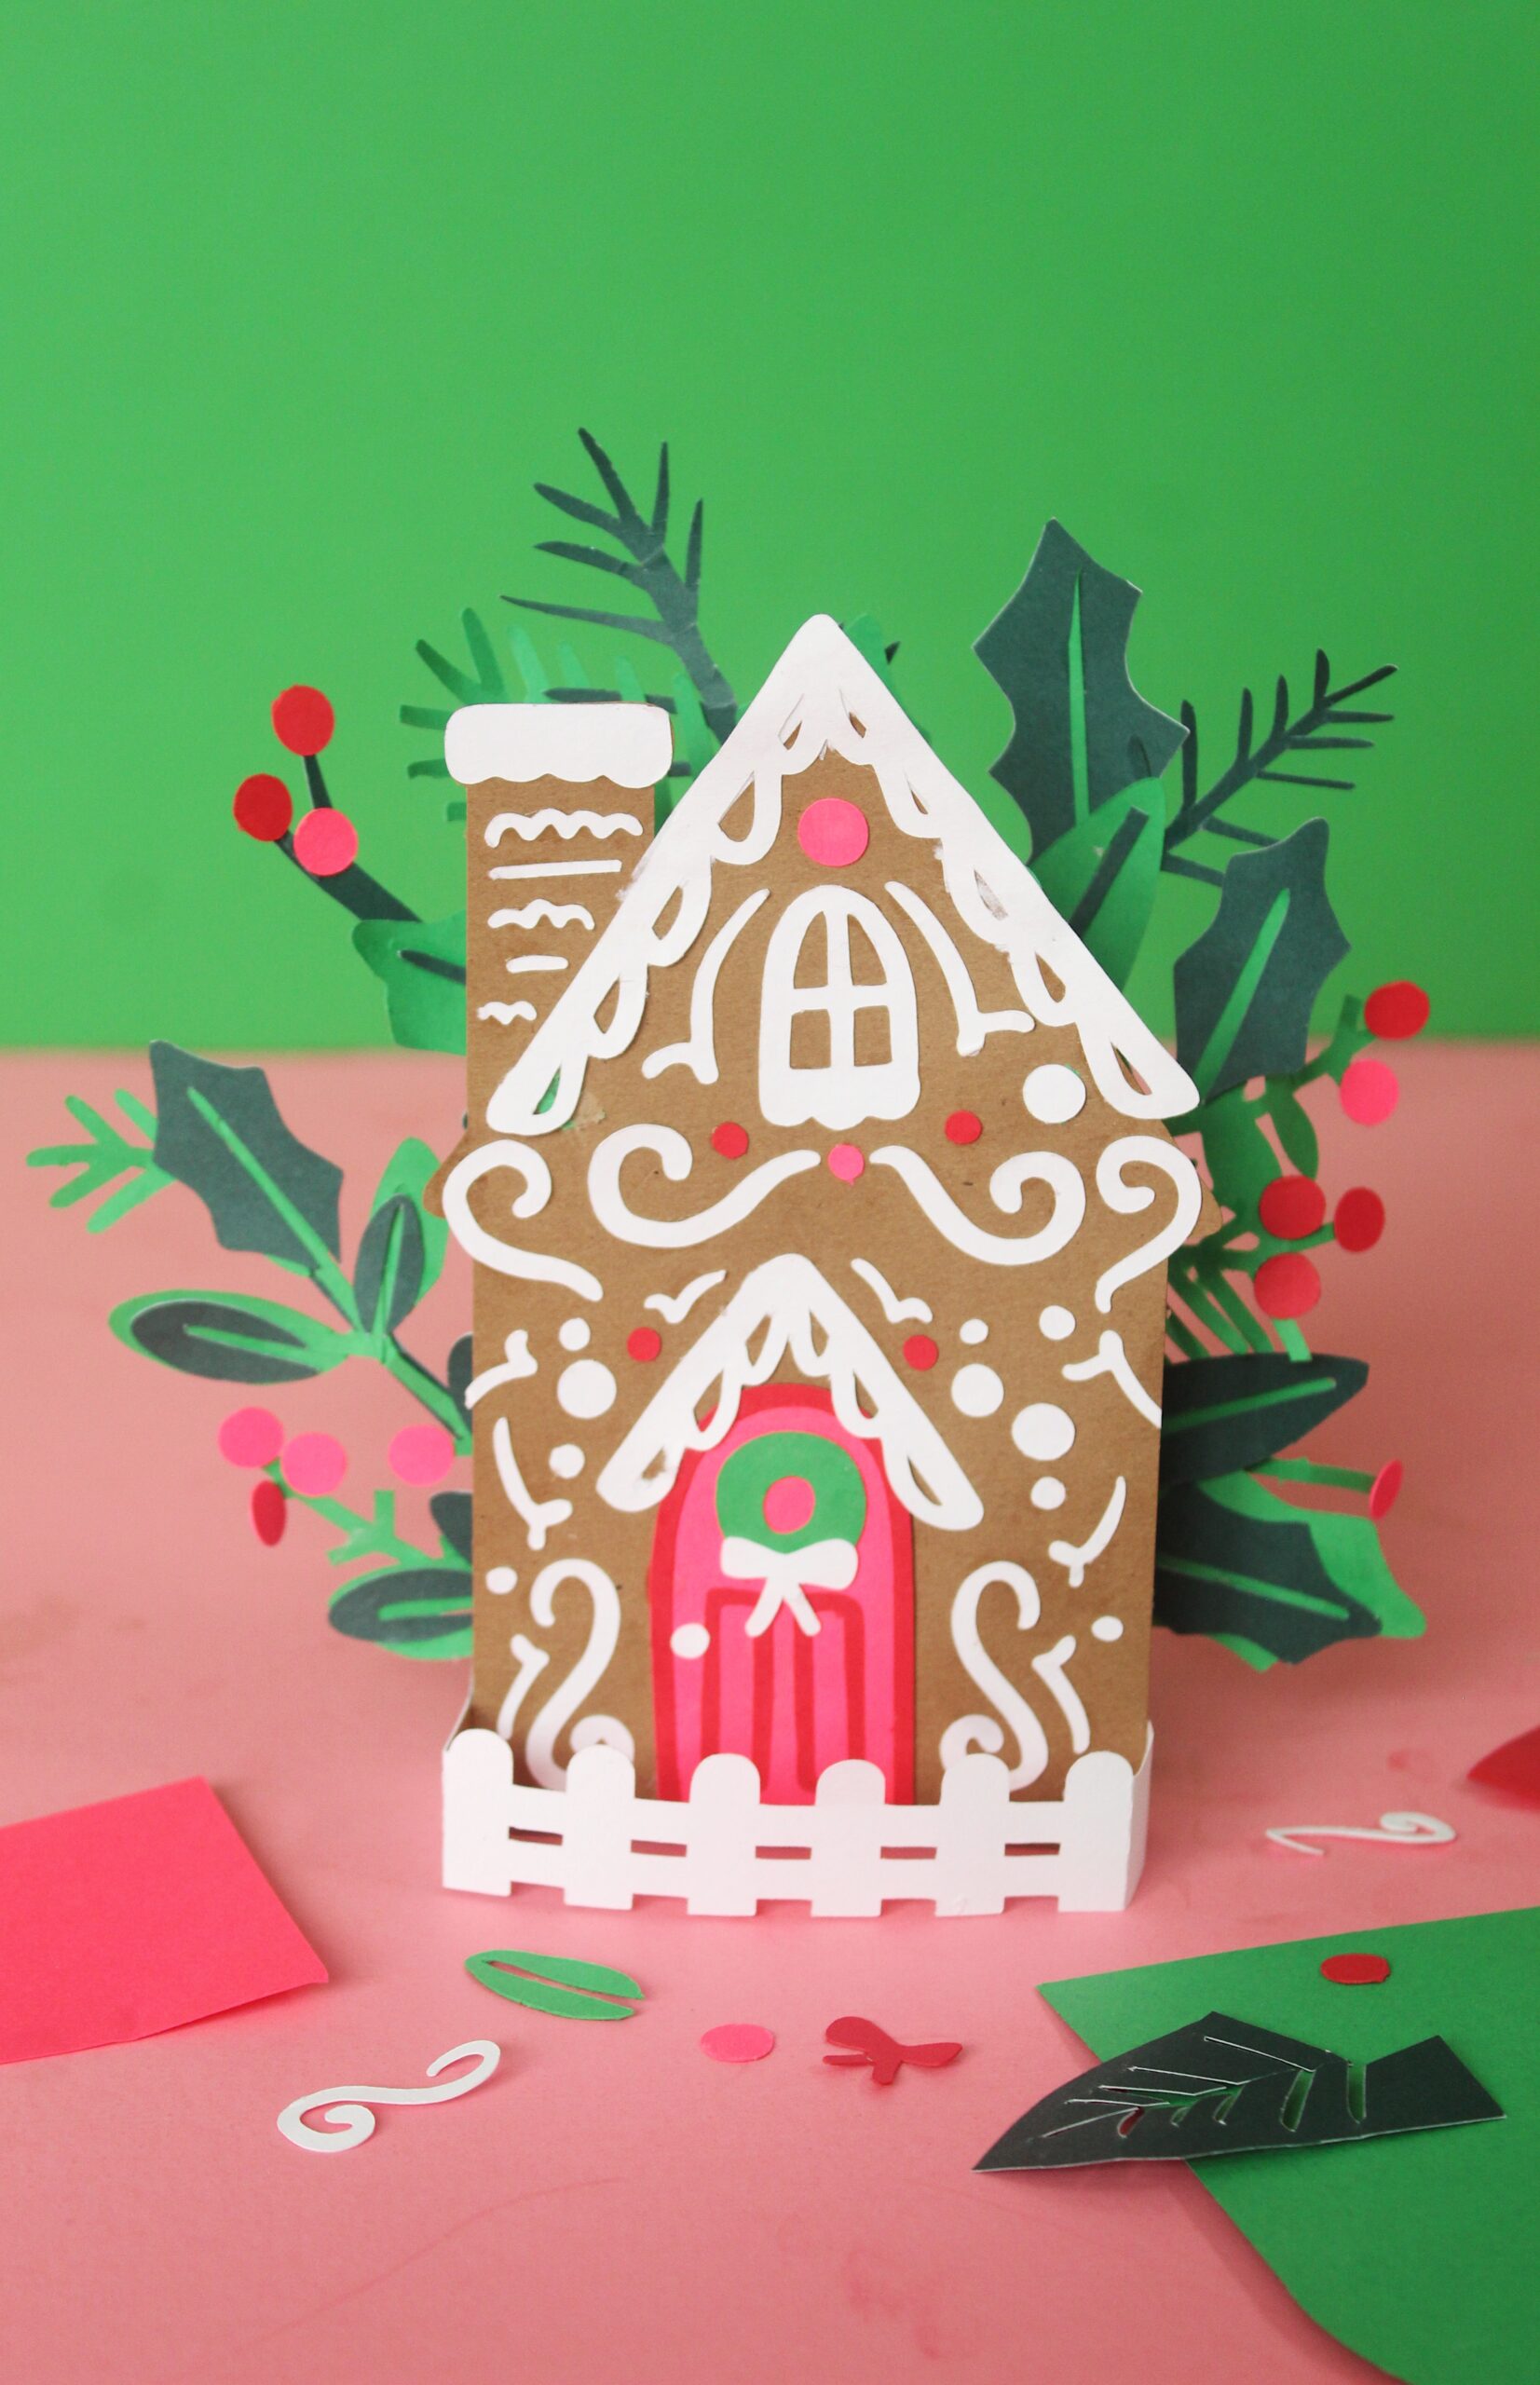
Happy Making!
-Liz and Sam


