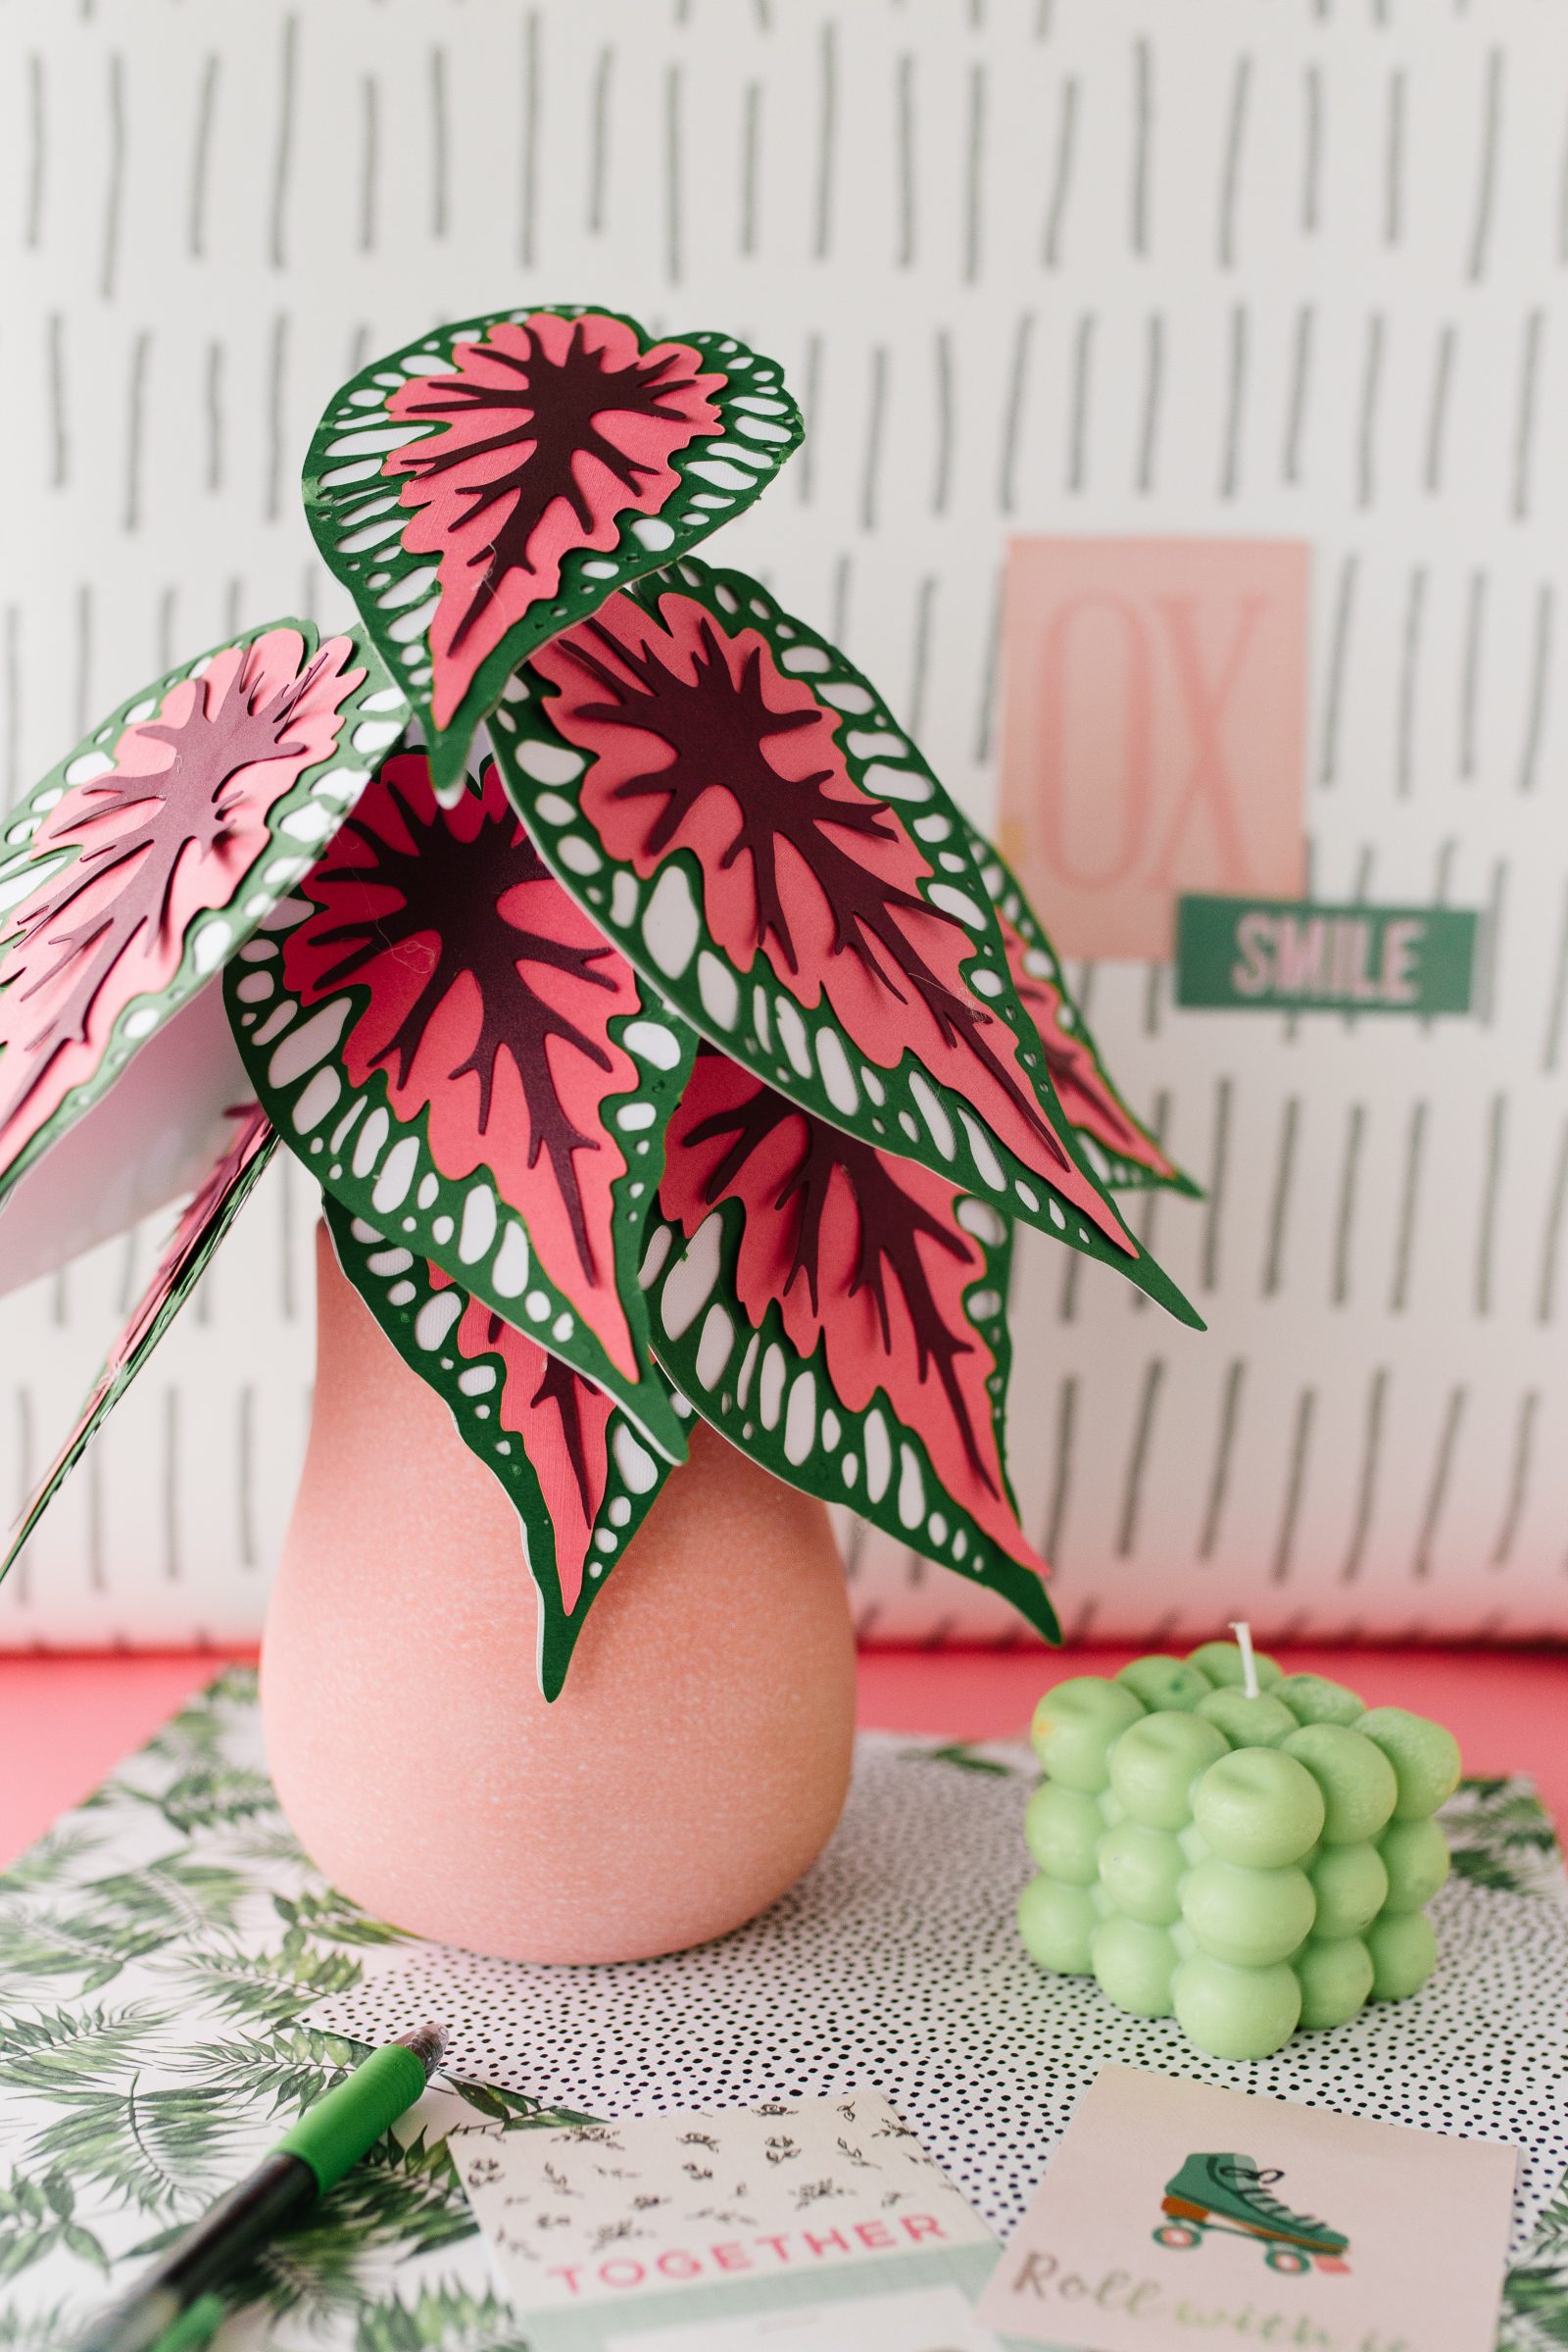
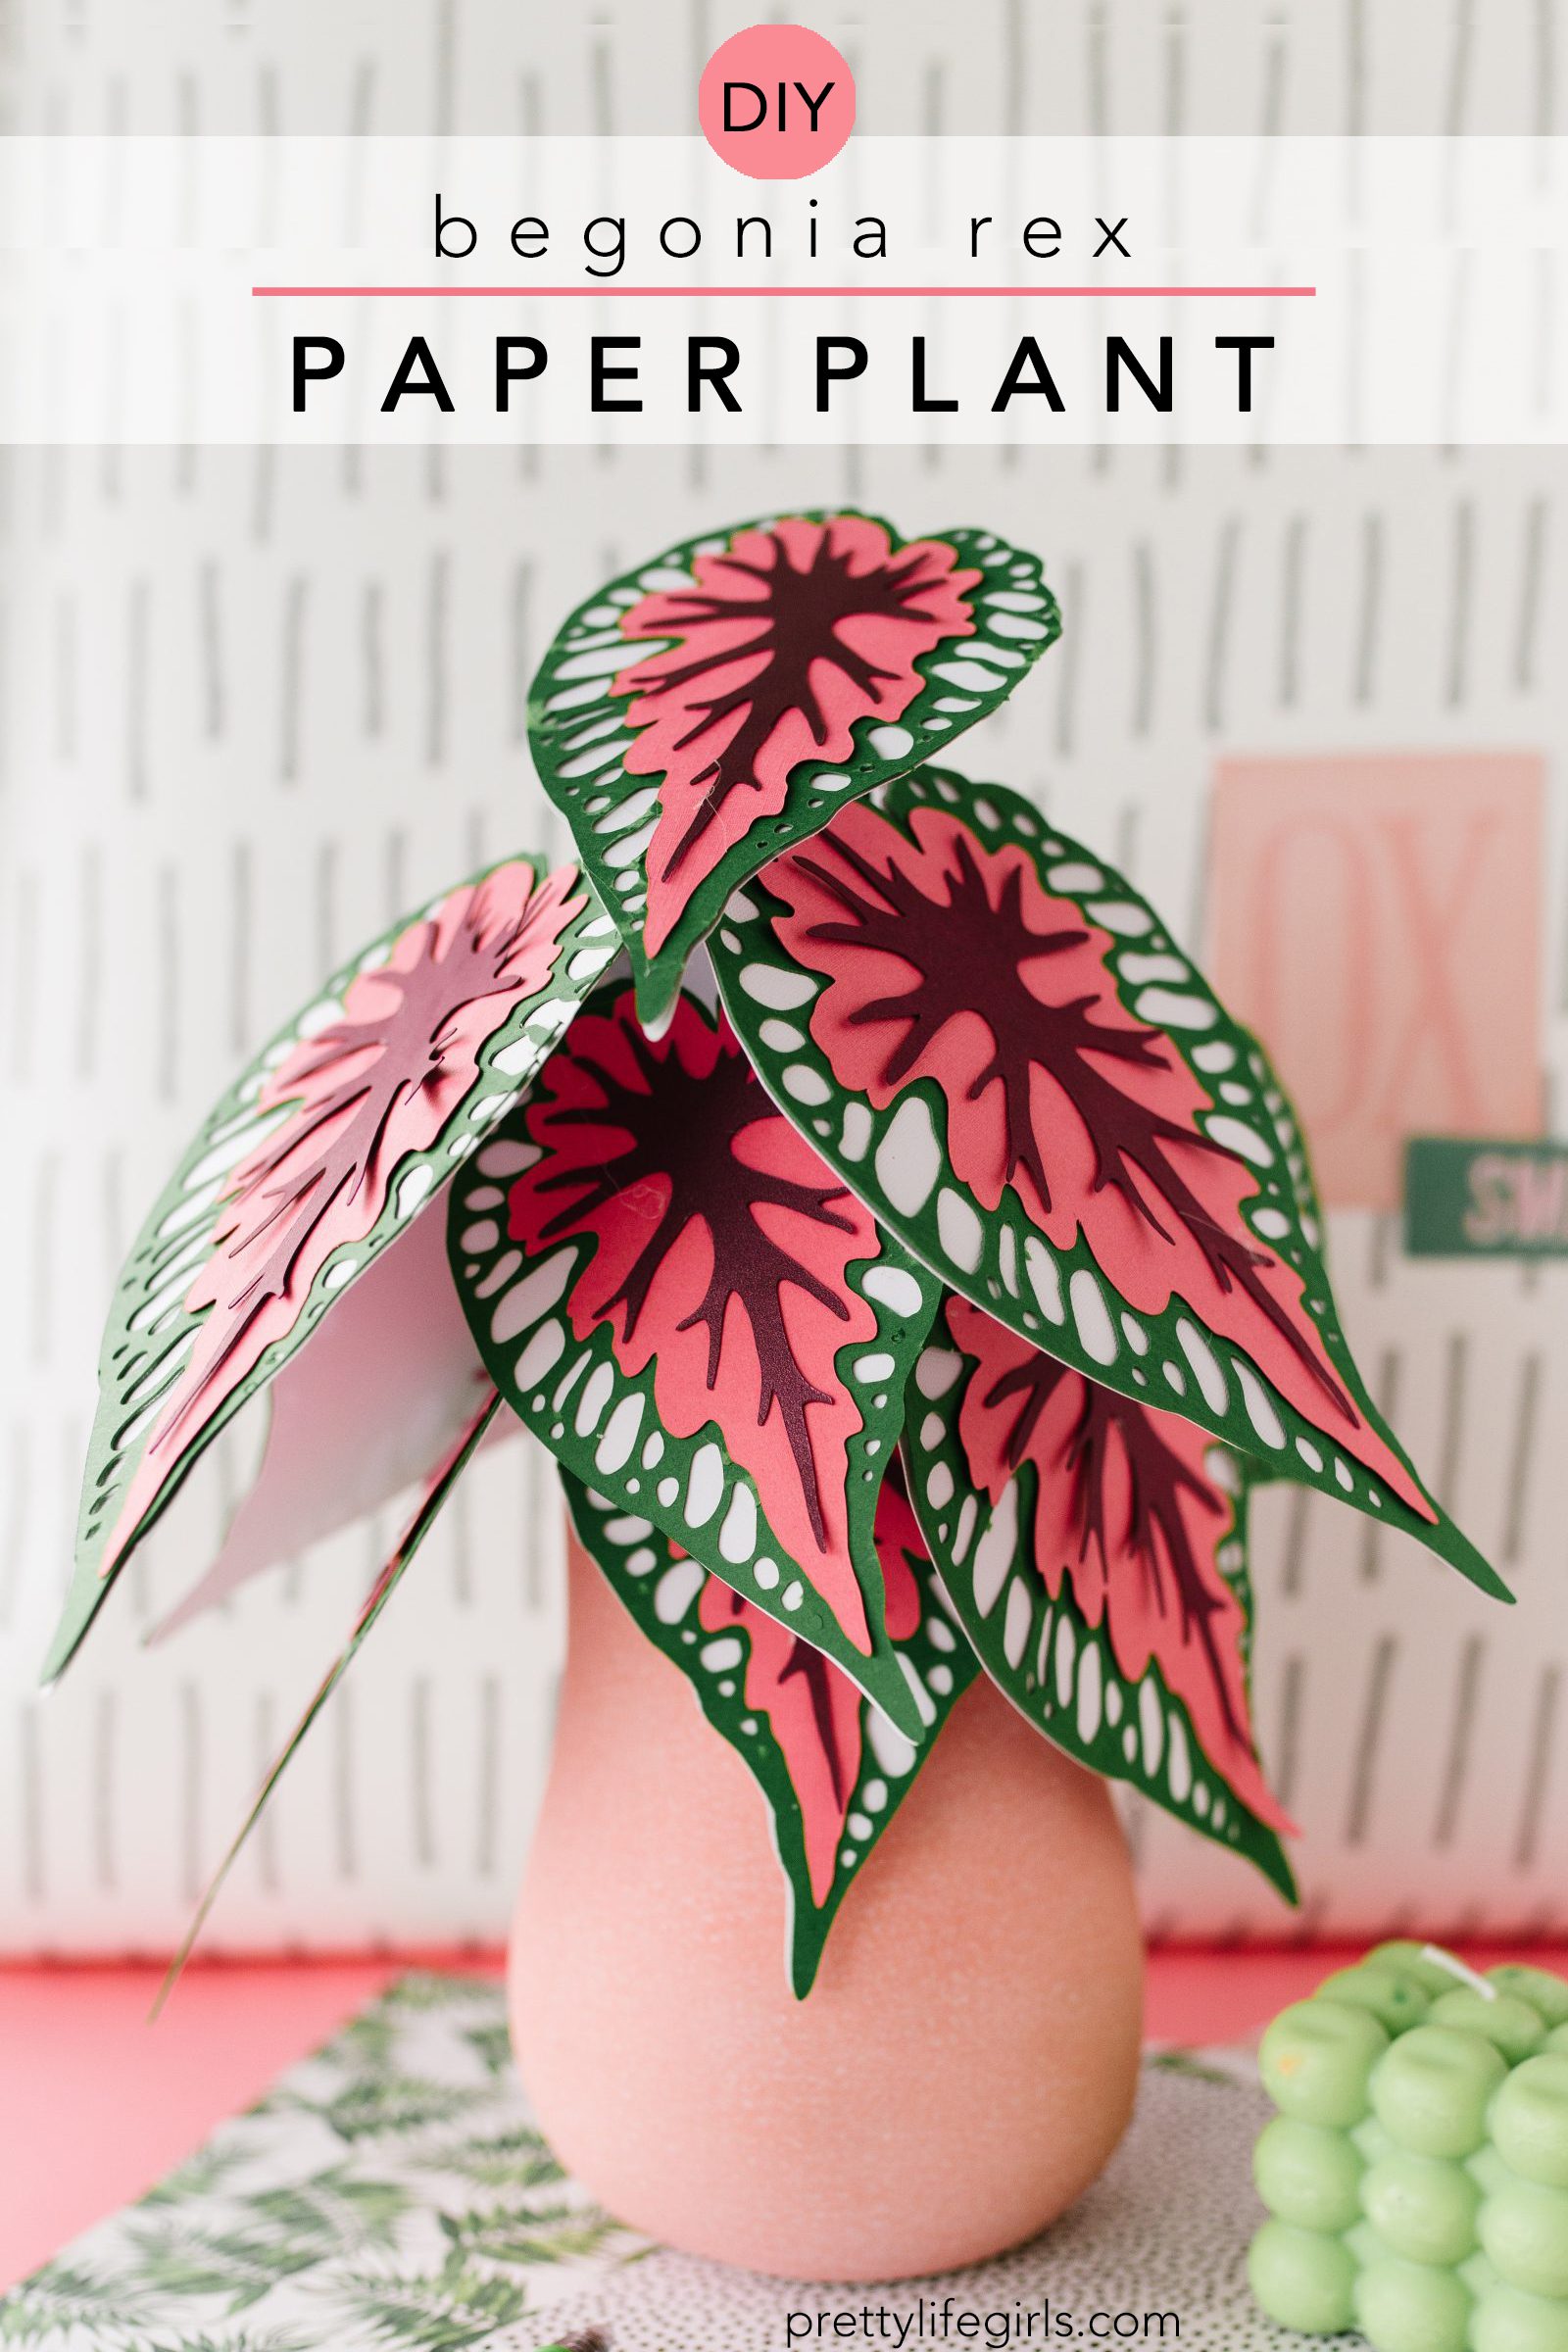
Houseplants are a major home decor trend, and we would definitely consider ourselves to be plant ladies, so it seemed like a natural fit to try making our own since we already know we love making blooms with our cutting machine! When we were scrolling the Silhouette Design Store we came across a gorgeous cut file for a Begonia Rex paper plant that stood out with its colors and detail, and the results are SO lovely. You’re going to have a delightful time putting this one together and it will wow you every time you walk into the room!

We’ve made a lot of paper flowers using our Silhouette Cameo and it’s still one of our favorite ways to use that machine because of its ability to cut intricate details. Those tiny intricacies really make paper flowers look lifelike and the results are always SO gorgeous. Plus, it’s always fun to put them together because it’s almost like a puzzle that you assemble! That’s all just to say, if you haven’t tried making paper flowers with your cutting machine yet, you’ve gotta try it! Don’t do it today though, because today we are using our Silhouette machine to make a houseplant instead! Here is what you need to make it:
Supplies needed to make a Begonia Rex Paper Plant
Cardstock in your desired shades (we used white, green, salmon and plum)
Silhouette Cameo
Begonia Rex cut file
Hot glue gun + sticks
Wired wood picks
Scissors
Floral foam
Vase
Watch our TikTok below to see us make them first-hand then keep scrolling for the written instructions!
@prettylifegirlsMake a Begonia Rex plant from paper with us! @silhouetteinc ##papercraft ##silhouettecameo ##plantlady ##silhouettemachine ##crafty ##diy ##homedecor
How to make a Begonia Rex Paper Plant
Step 1. Load your design into your Silhouette Studio software and assign your design to cut by fill color. If you aren’t familiar with how to do this, visit our tutorial here. (You can also cut your pieces by moving what you are cutting in and out of your cut tab, but we think cutting by fill color is pretty slick!) Adjust your settings to cut cardstock.
Step 2. Load your first color of paper into your machine and send to cut. Repeat until all of the pieces in the various colors have been cut.
Step 3. Remove your leaf pieces from the cutting mat.
Step 4. Assemble the leaves by layering them on top of one another and securing each layer with hot glue. The white leaf pieces are on the bottom followed by the green, then the salmon, then the plum.
Step 5. Cut a 1-inch strip of white paper for each leaf. These will be used to secure the wired wood picks to the back of the leaves. To do this, flip over the leaves so the white side is facing up. Apply some hot glue to the paper piece you cut. Lay the wired part of the wood pick against the leaf and press the glued piece over the wire to secure it. If you would like your leaves to be more upright in your vase, apply the glued paper as close to the top of the pick as you can. If you would like them to bend/droop, apply the glued paper further own the wire.
Step 6. Cut your floral foam to fit in your vase using scissors and place it in the vase.
Step 7. Stick wood picks with the leaves on top into the foam and enjoy!
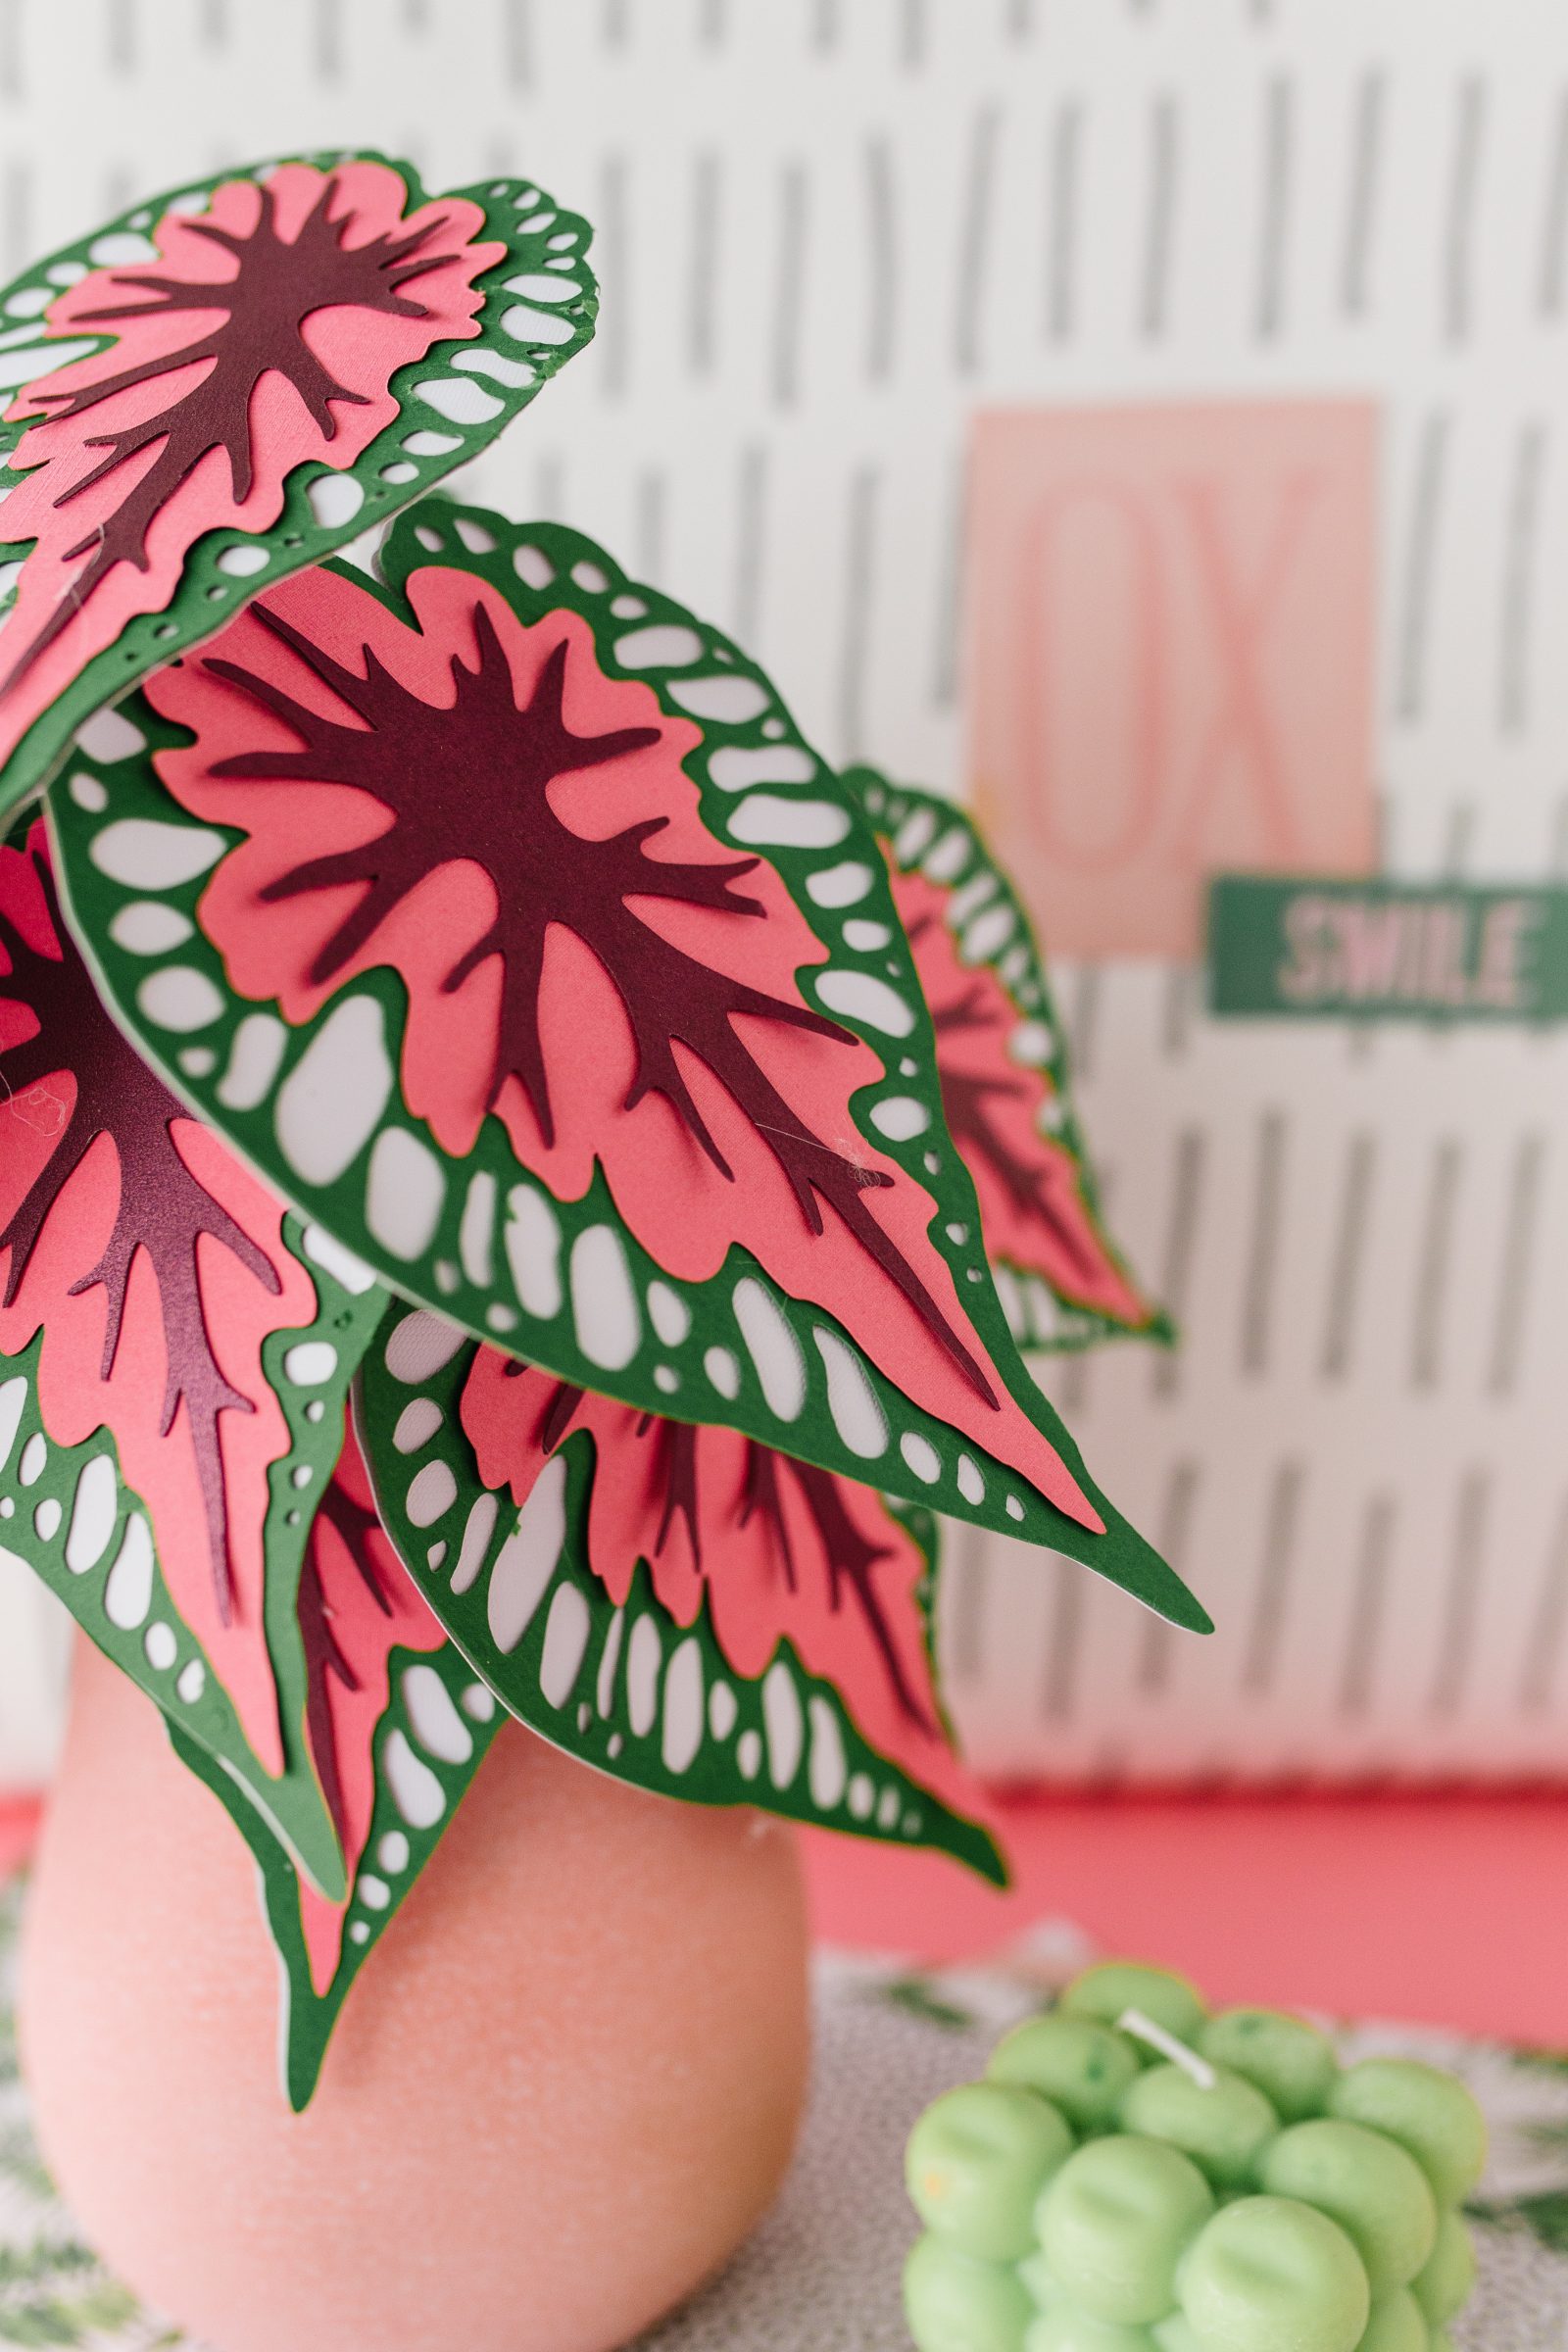

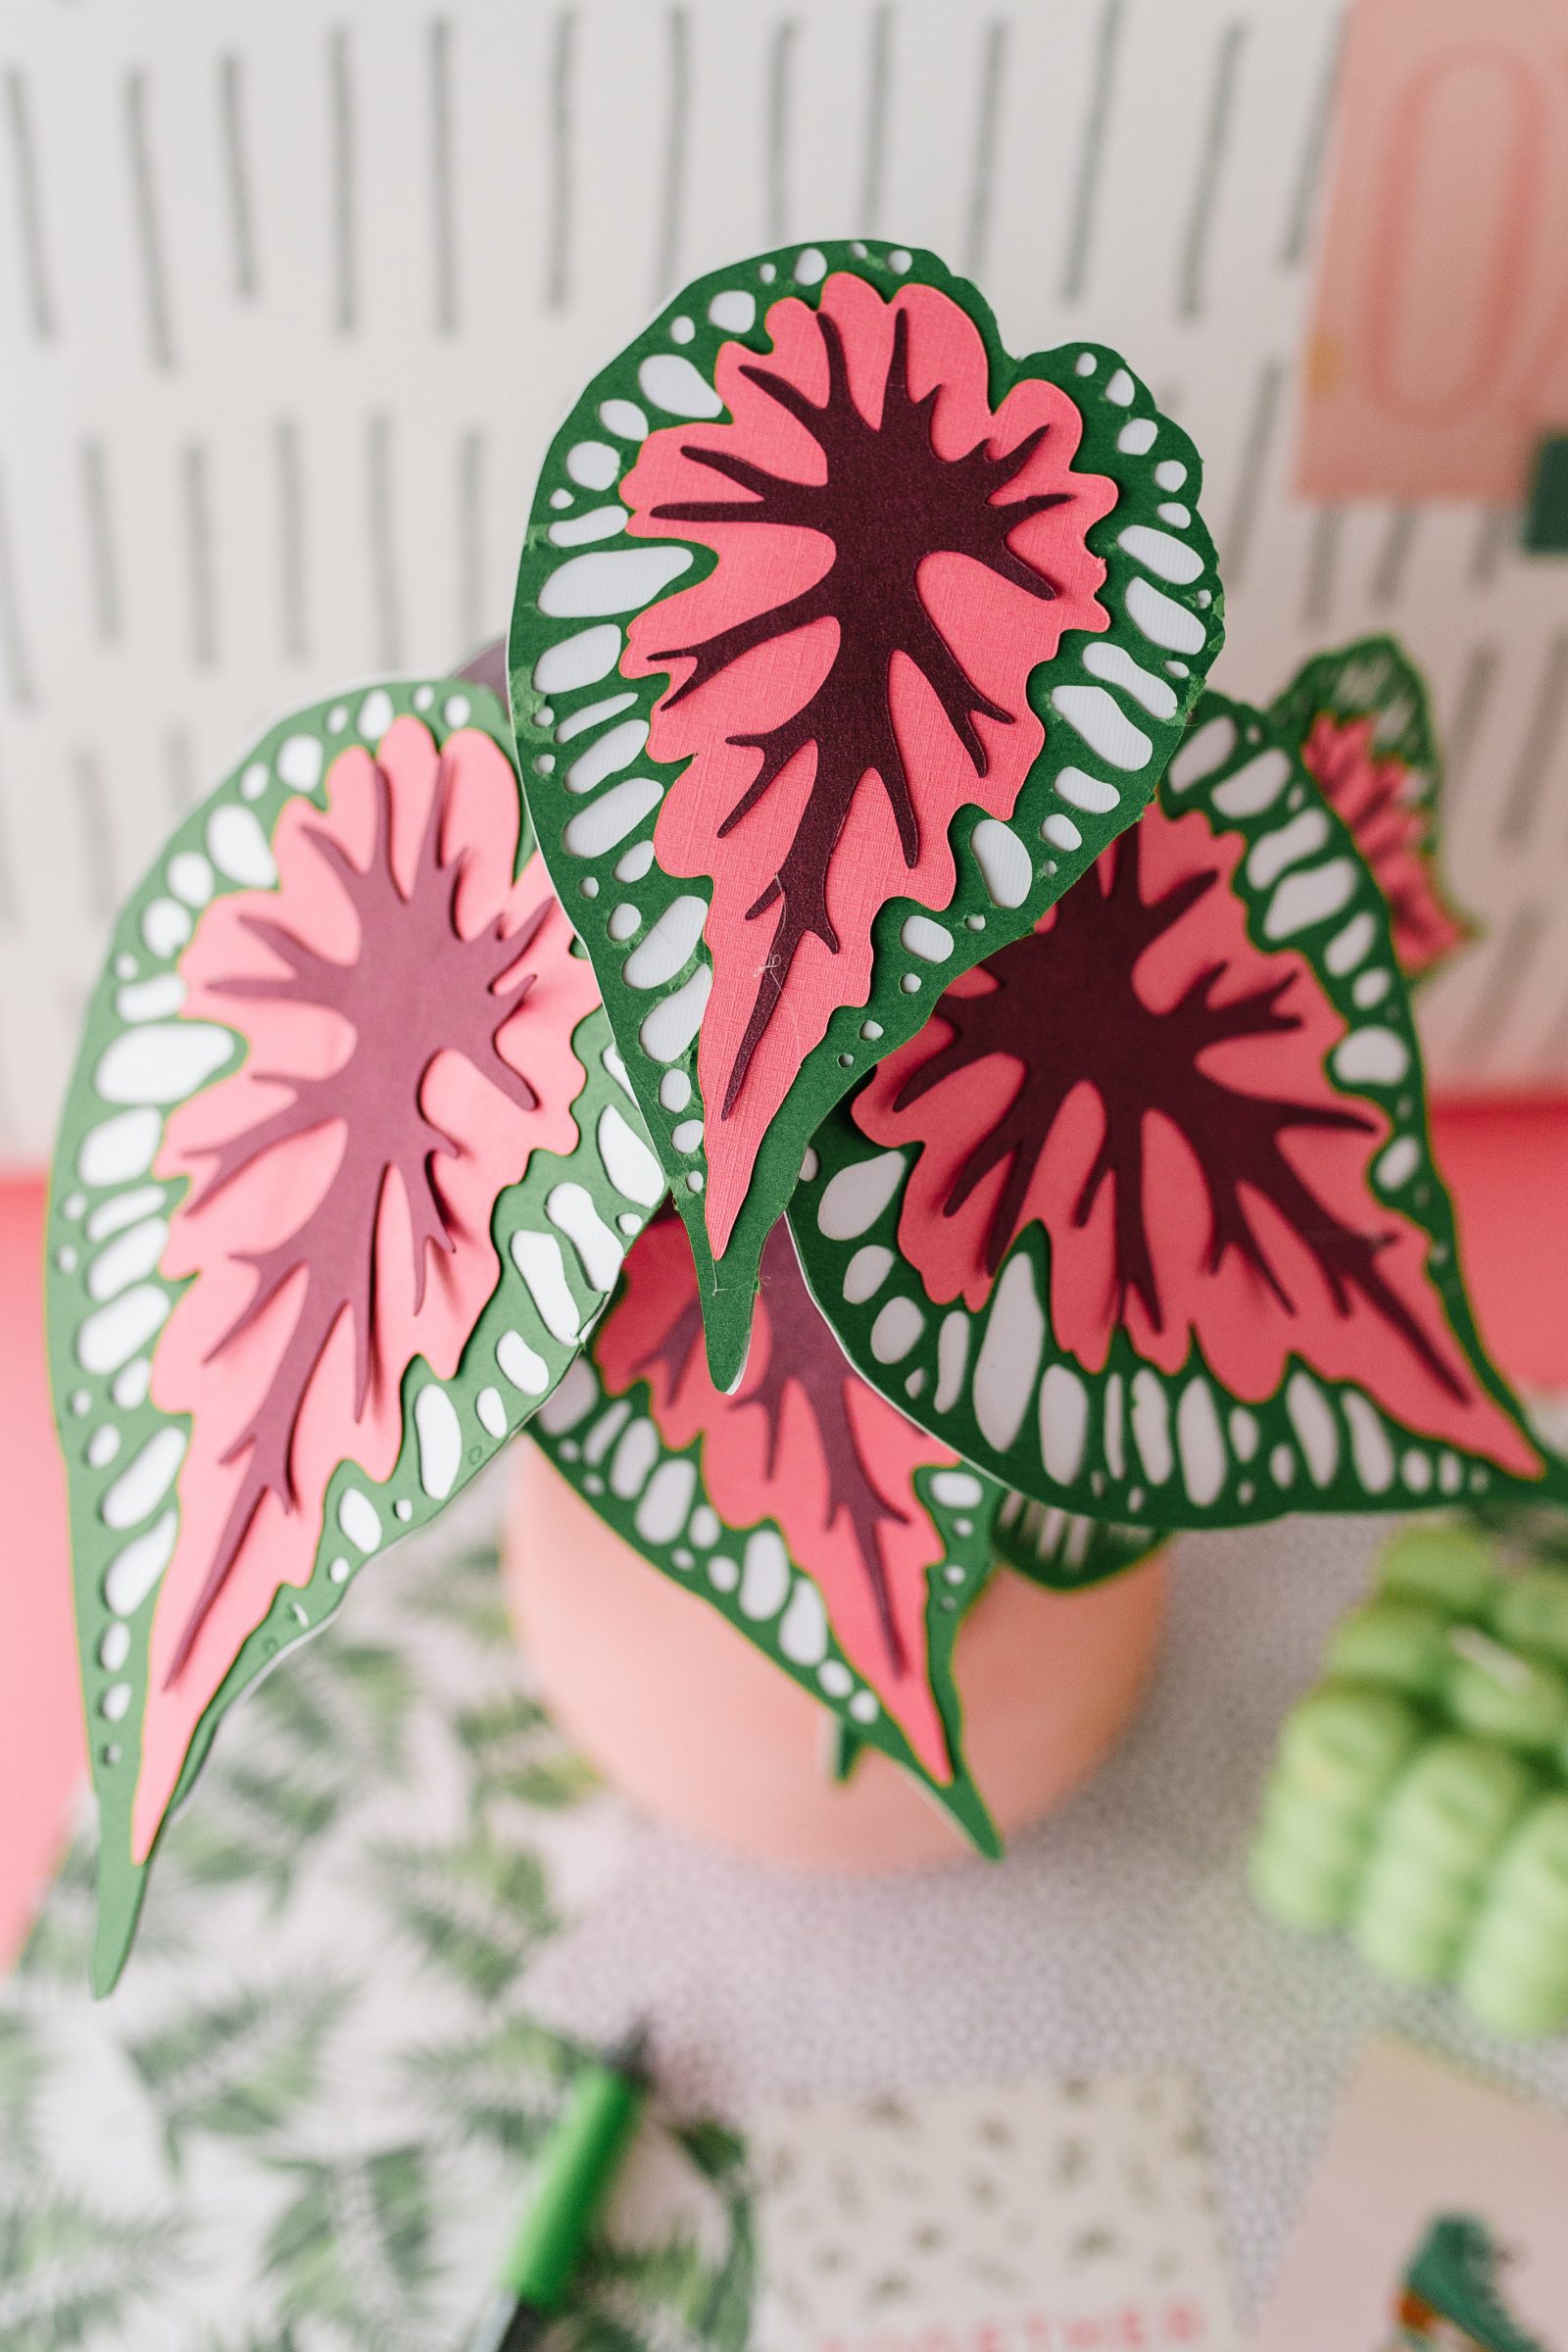

Isn’t this paper plant just the most gorgeous!? I am so in love with the detail and the combination of colors that I swoon every time I see this thing. I also love the idea of changing up the color scheme to match your home decor or to go with the theme of a party. Wouldn’t they make the most eye-catching centerpieces? And there is no watering required!


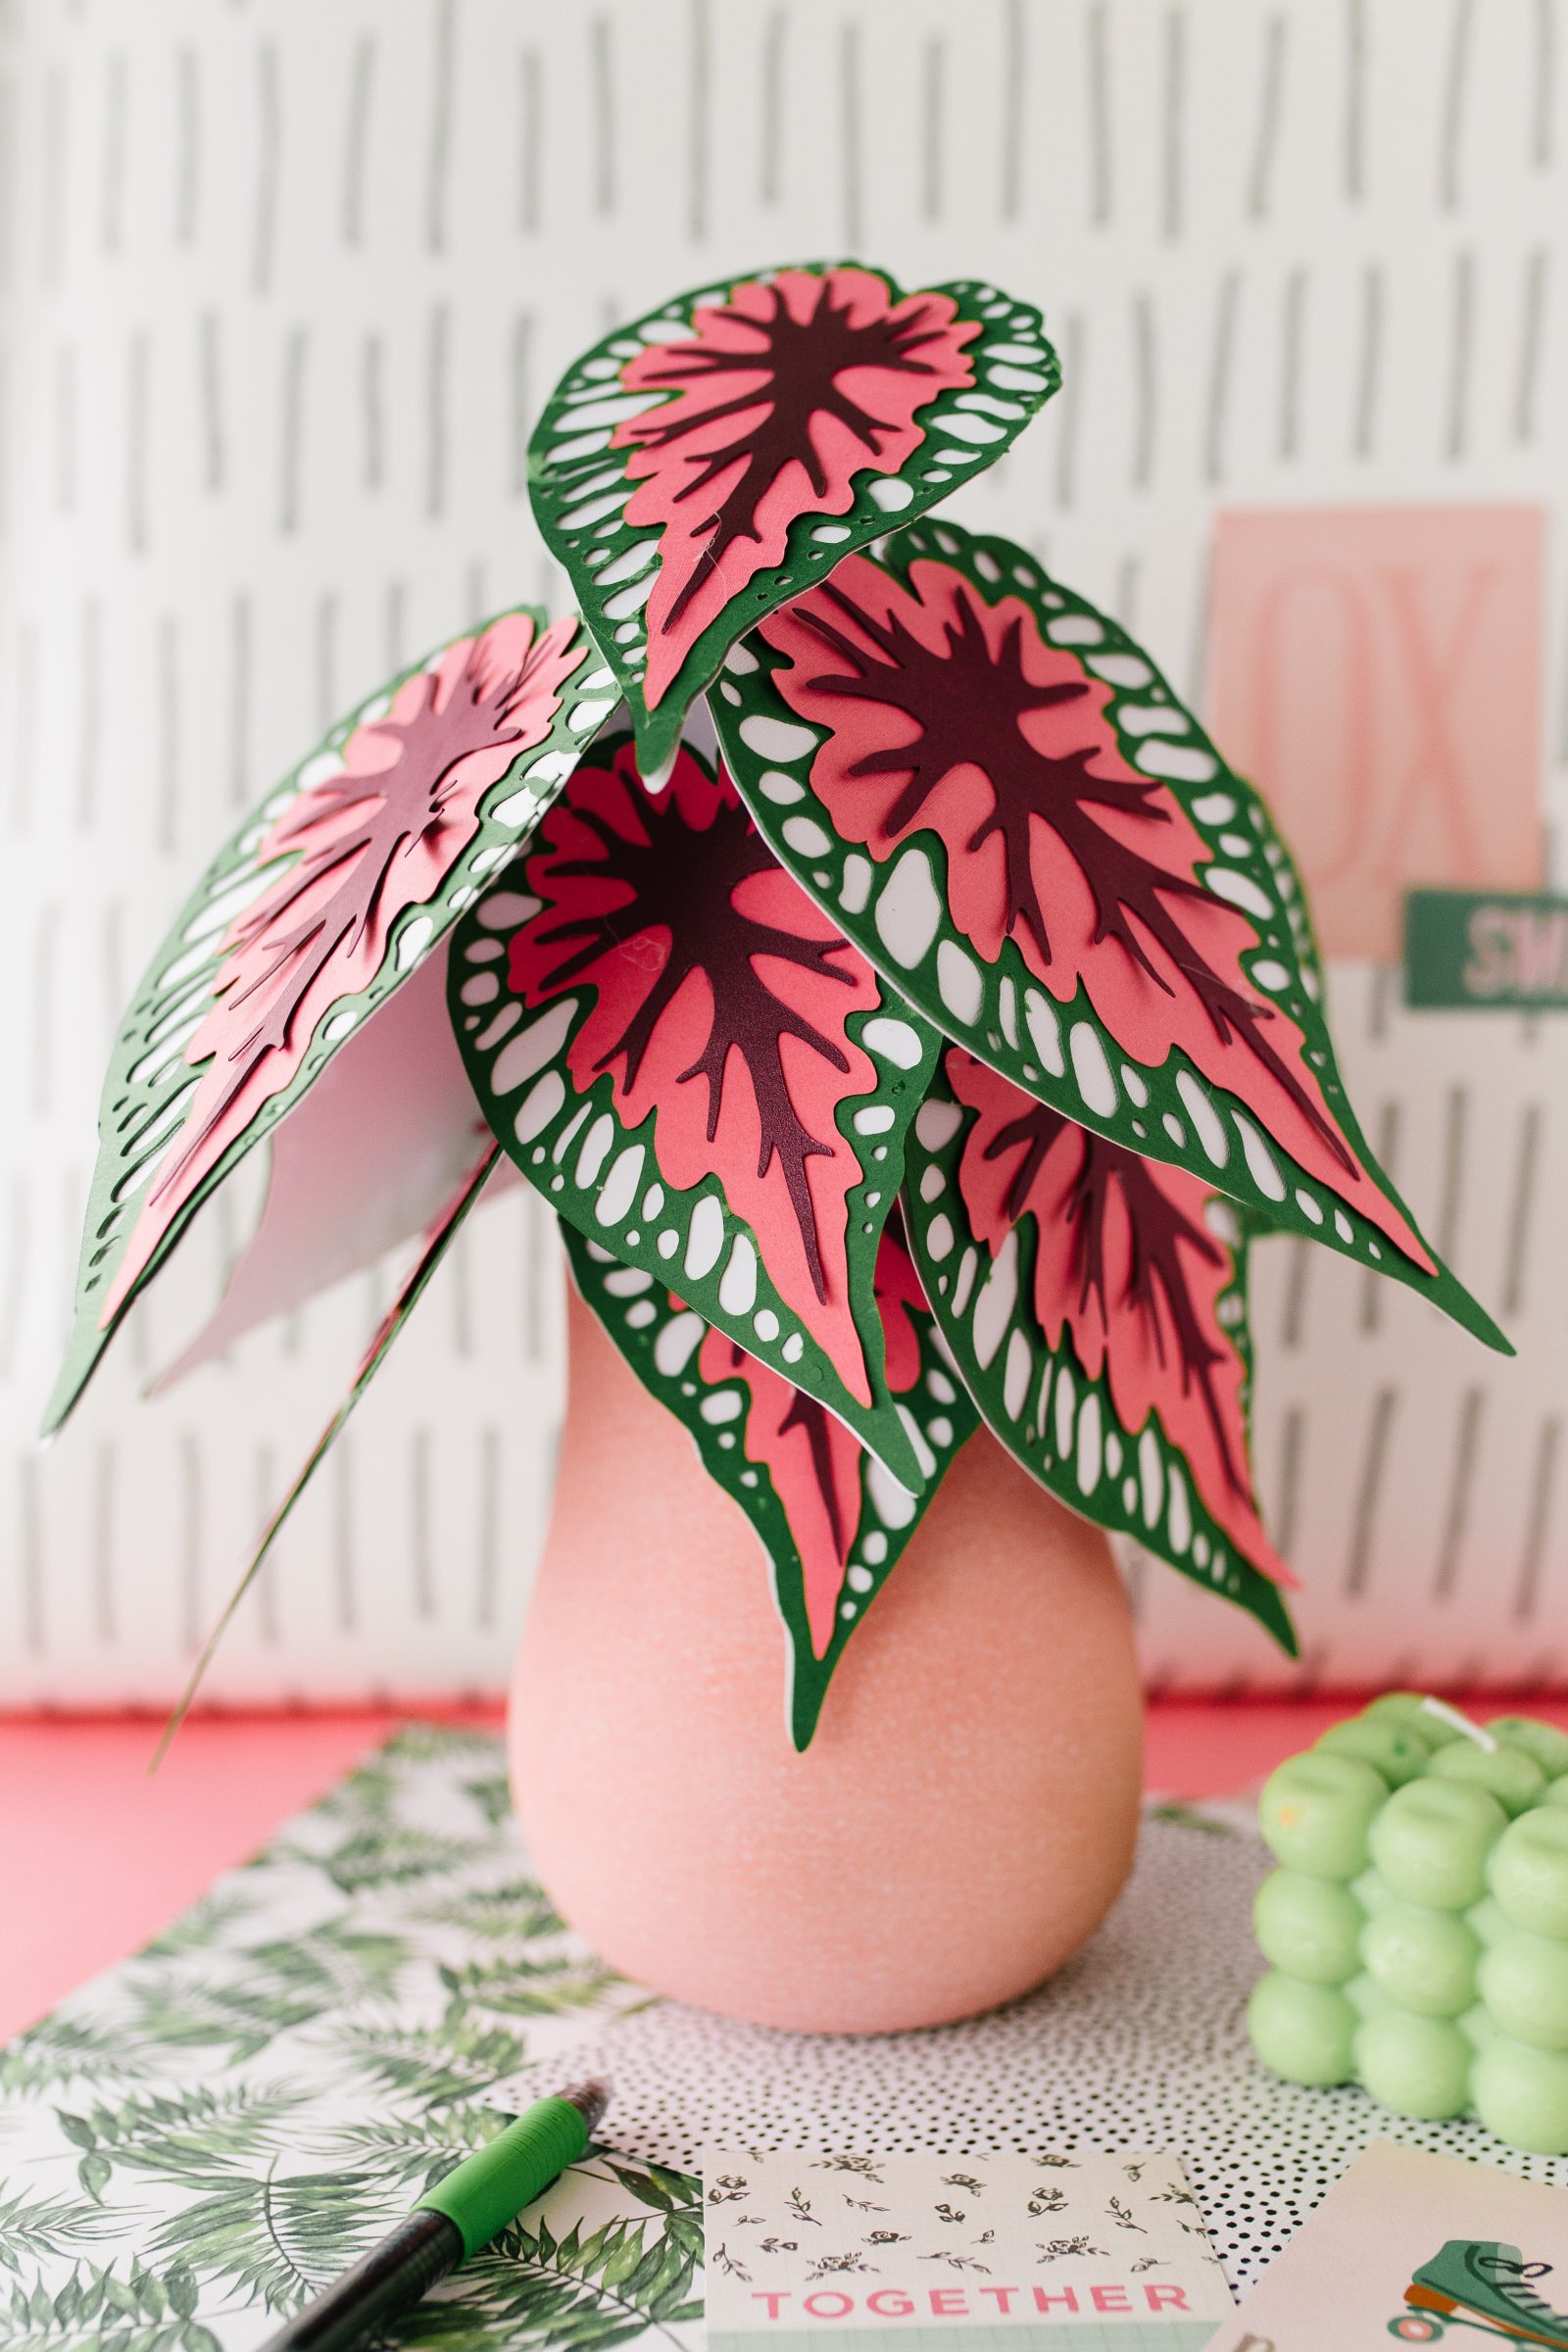


Have you ever made or seen any paper plants that you love? We’d love to hear about your favorites! We’re already ready to make more!
Happy making!
ox. Liz and Sam


