This DIY Doormat post is sponsored by Homie. All opinions are ours alone.
This post may contain affiliate links, which help us support this site.
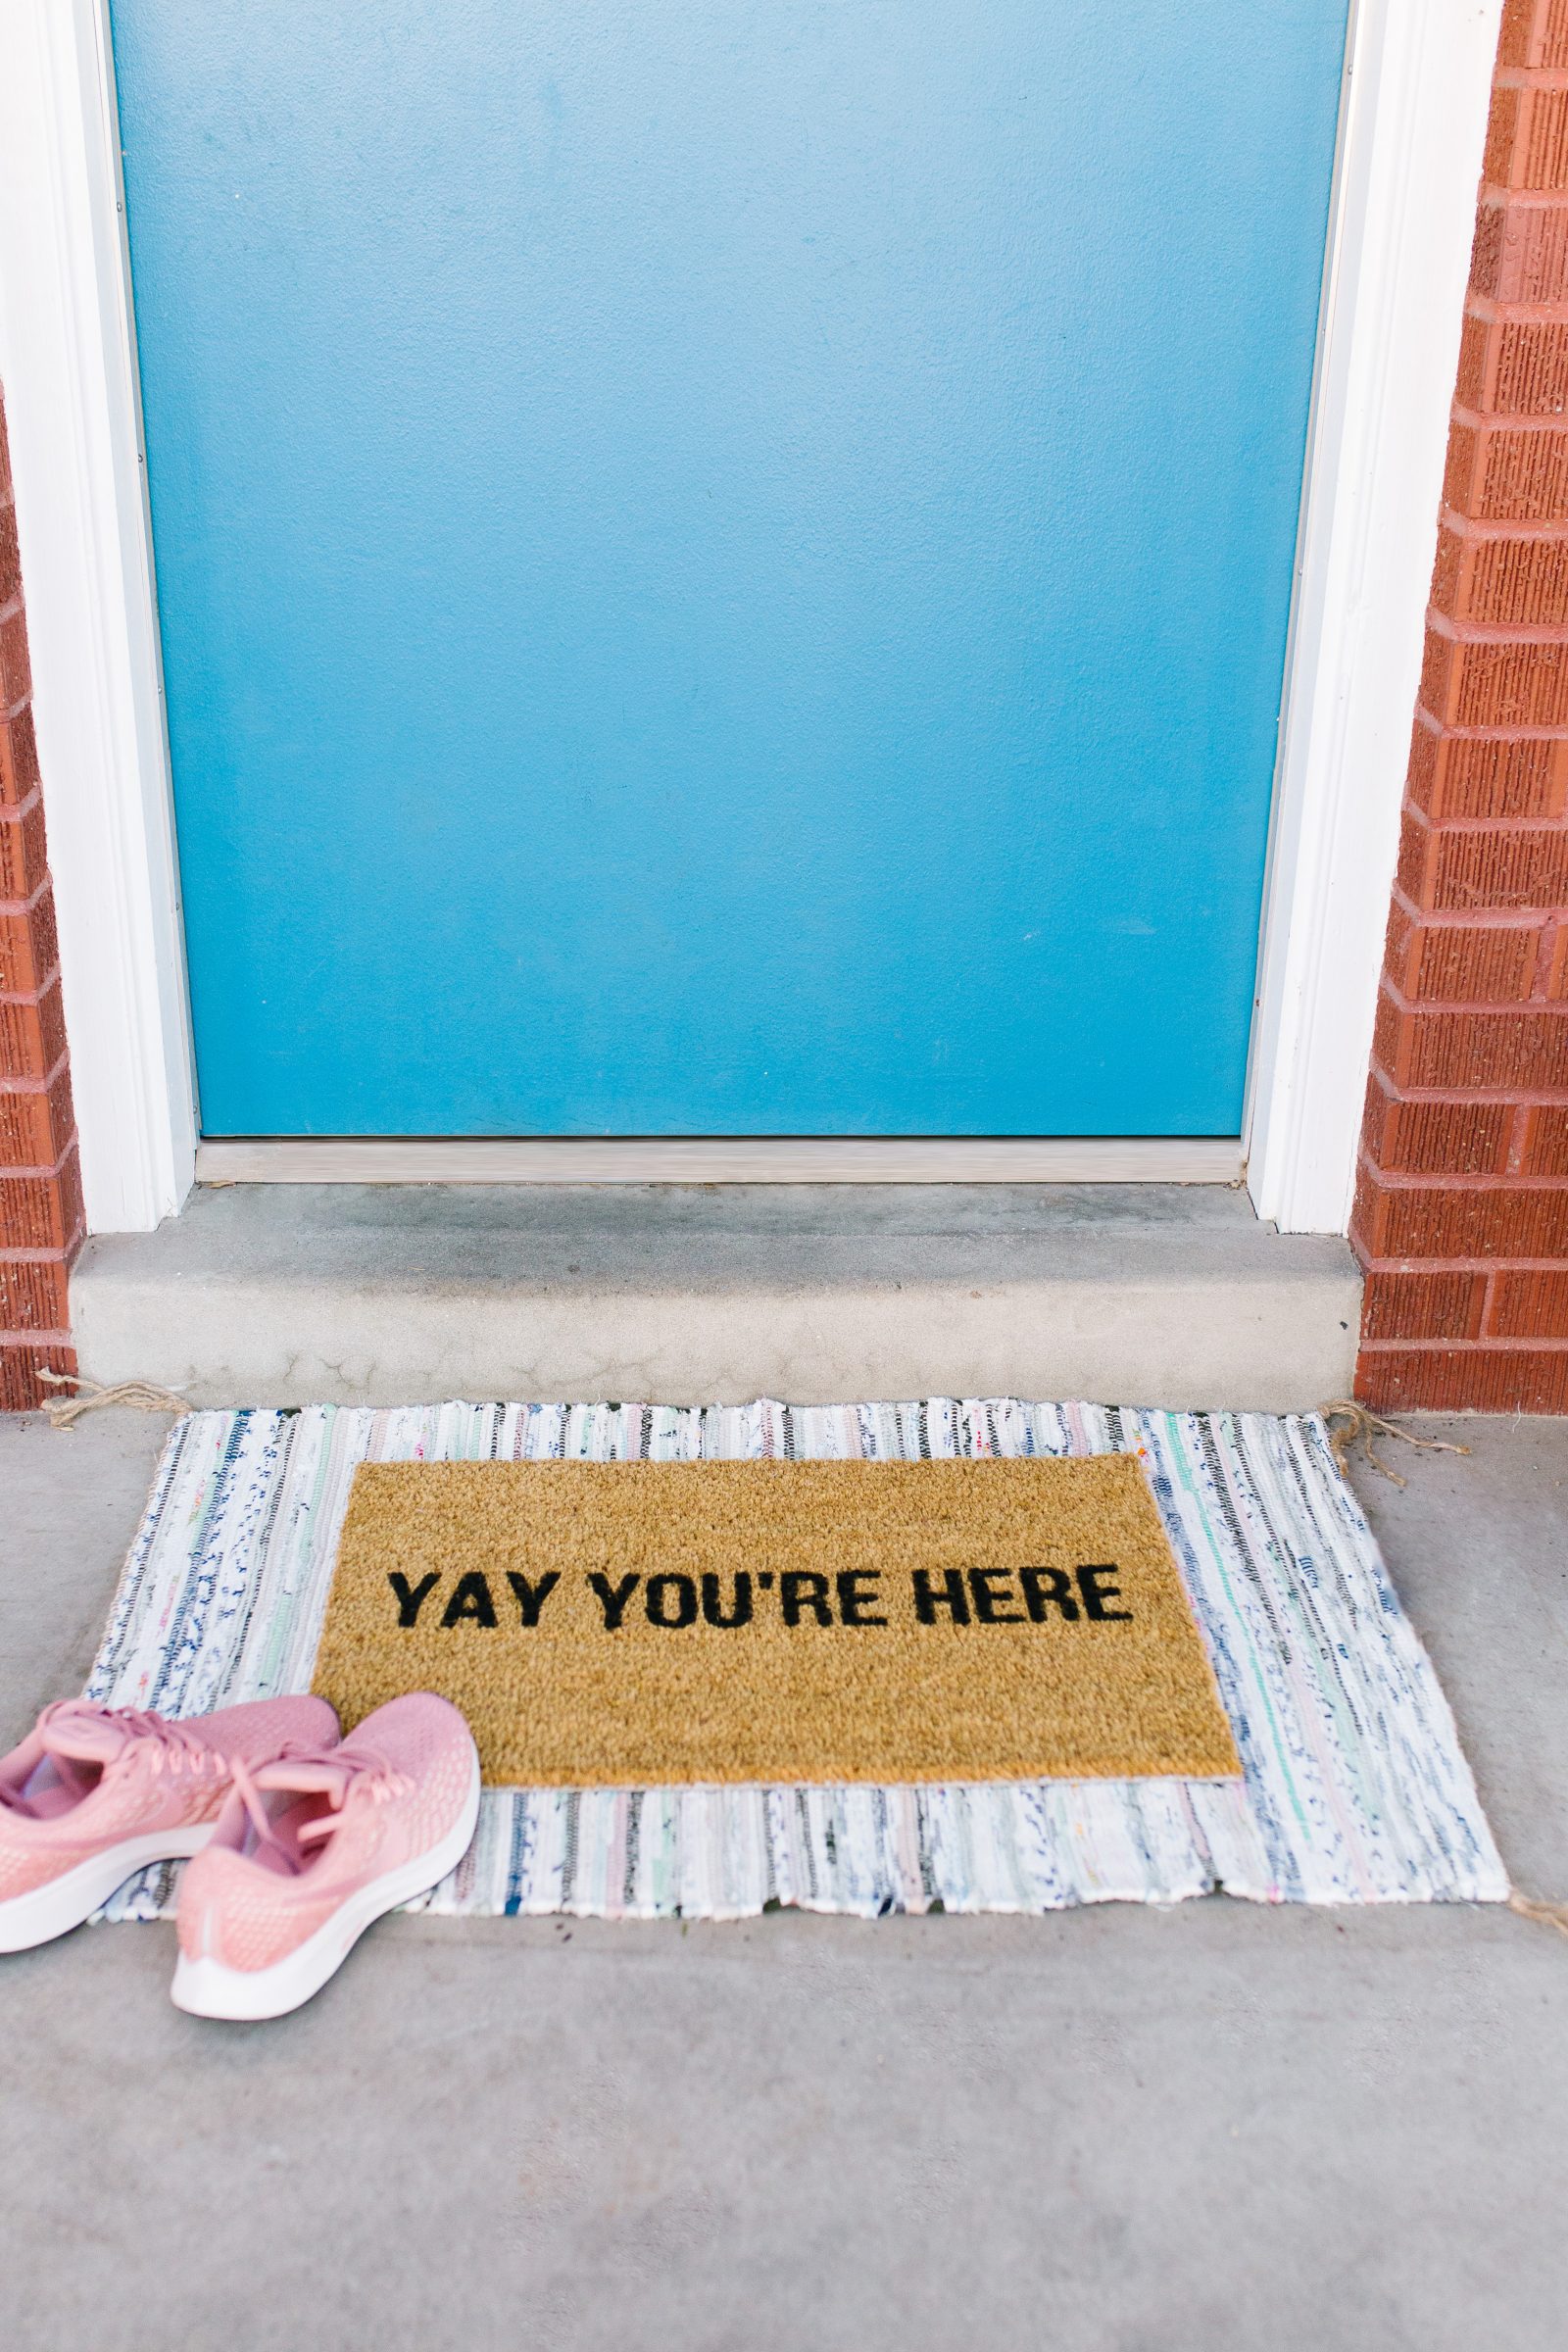
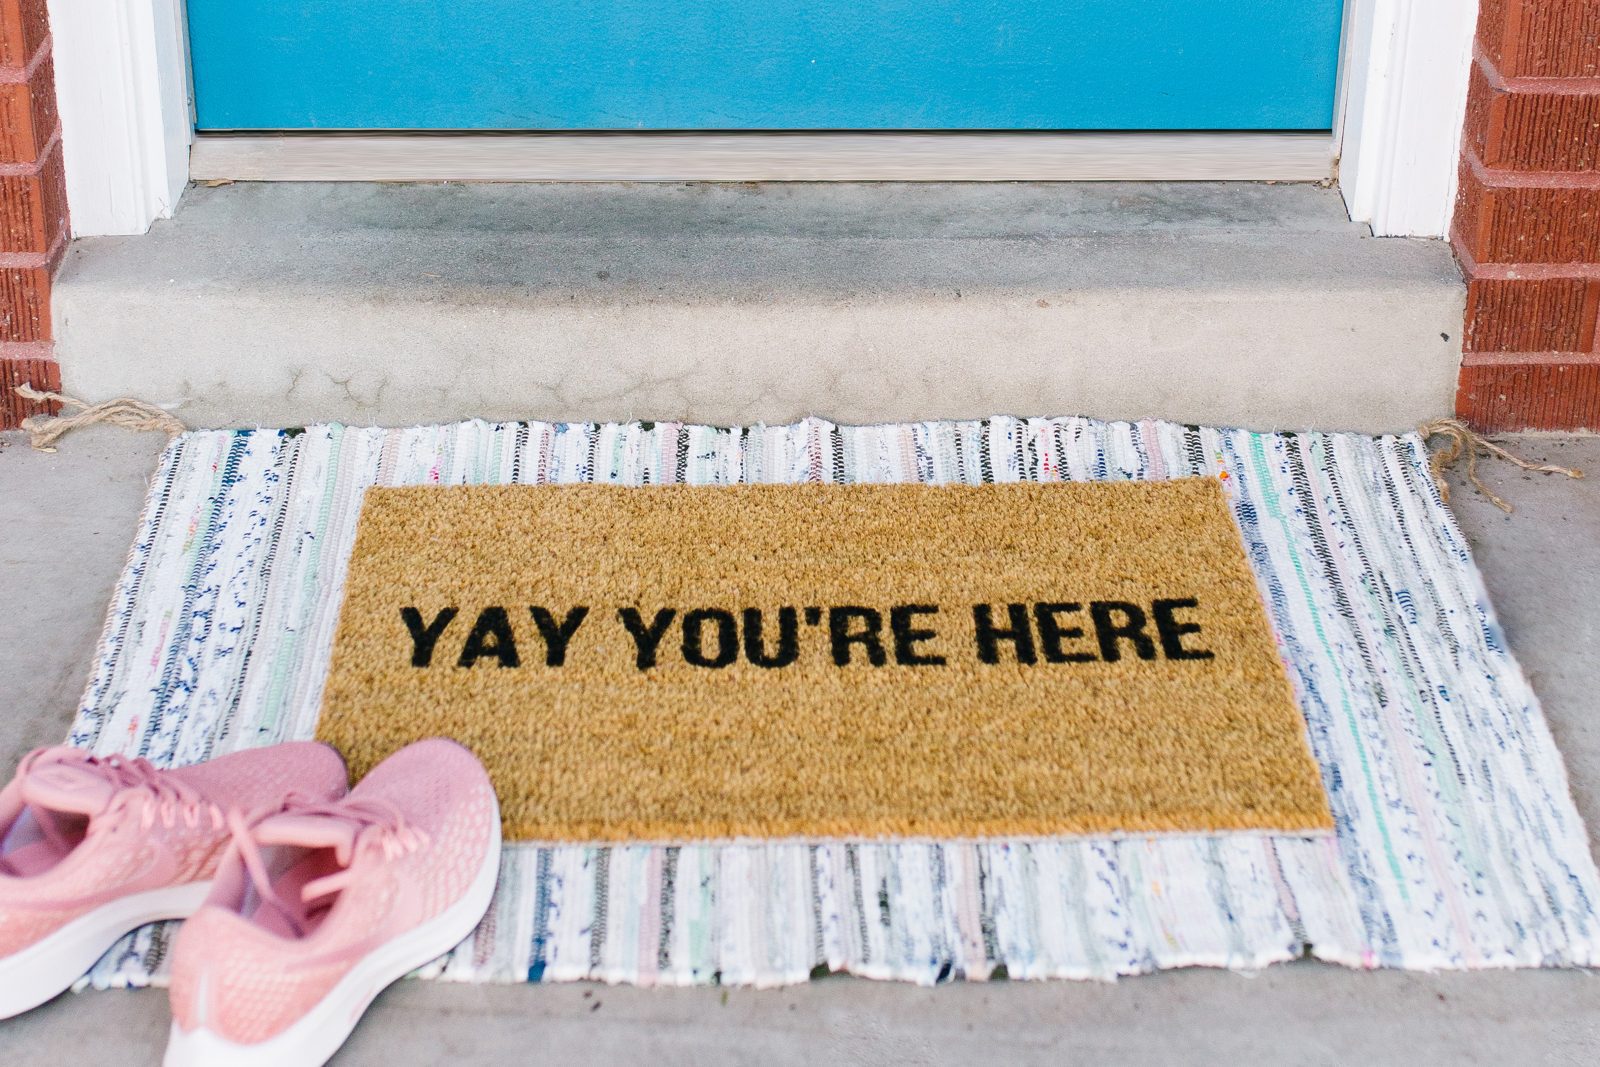
Have you looked at your doormat lately? If you’re like us, it’s probably time for a refresh! And if you are loving the graphic doormat trend but aren’t wanting to pay the $30-$60 price tag, we have the perfect tutorial for you! Making a DIY doormat is a piece of cake and since you make a custom stencil, your doormat will truly be one-of-a-kind! We have made a couple of these lately and it’s a blast to think of fun sayings and phrases to put on them for a fraction of the price for what it would cost at the store/online. We happen to have just sold our home with our friends at Homie (hooray!), so we are so excited to have a fresh doormat to welcome people to our new home!


To fill you in a bit, our experience with Homie was good, and we’re happy we went that route. We were able to save $19,996 in commissions by using Homie instead of a traditional real estate agent. Our agent was kind and quick to answer any questions we had. She made it clear that we could call her any time we had questions or needed to talk things through, but for the most part she took a hands-off approach, which worked for us since we’d been through the process before. Because we felt like we understood how things worked when selling a house, we were more interested in saving money than being thoroughly guided every step of the way, and it worked well for us.
If you’re interested in selling your home with Homie, you can use code PLG500 to get $500 off your listing!
And with that being said, let’s make a doormat for that home of yours!
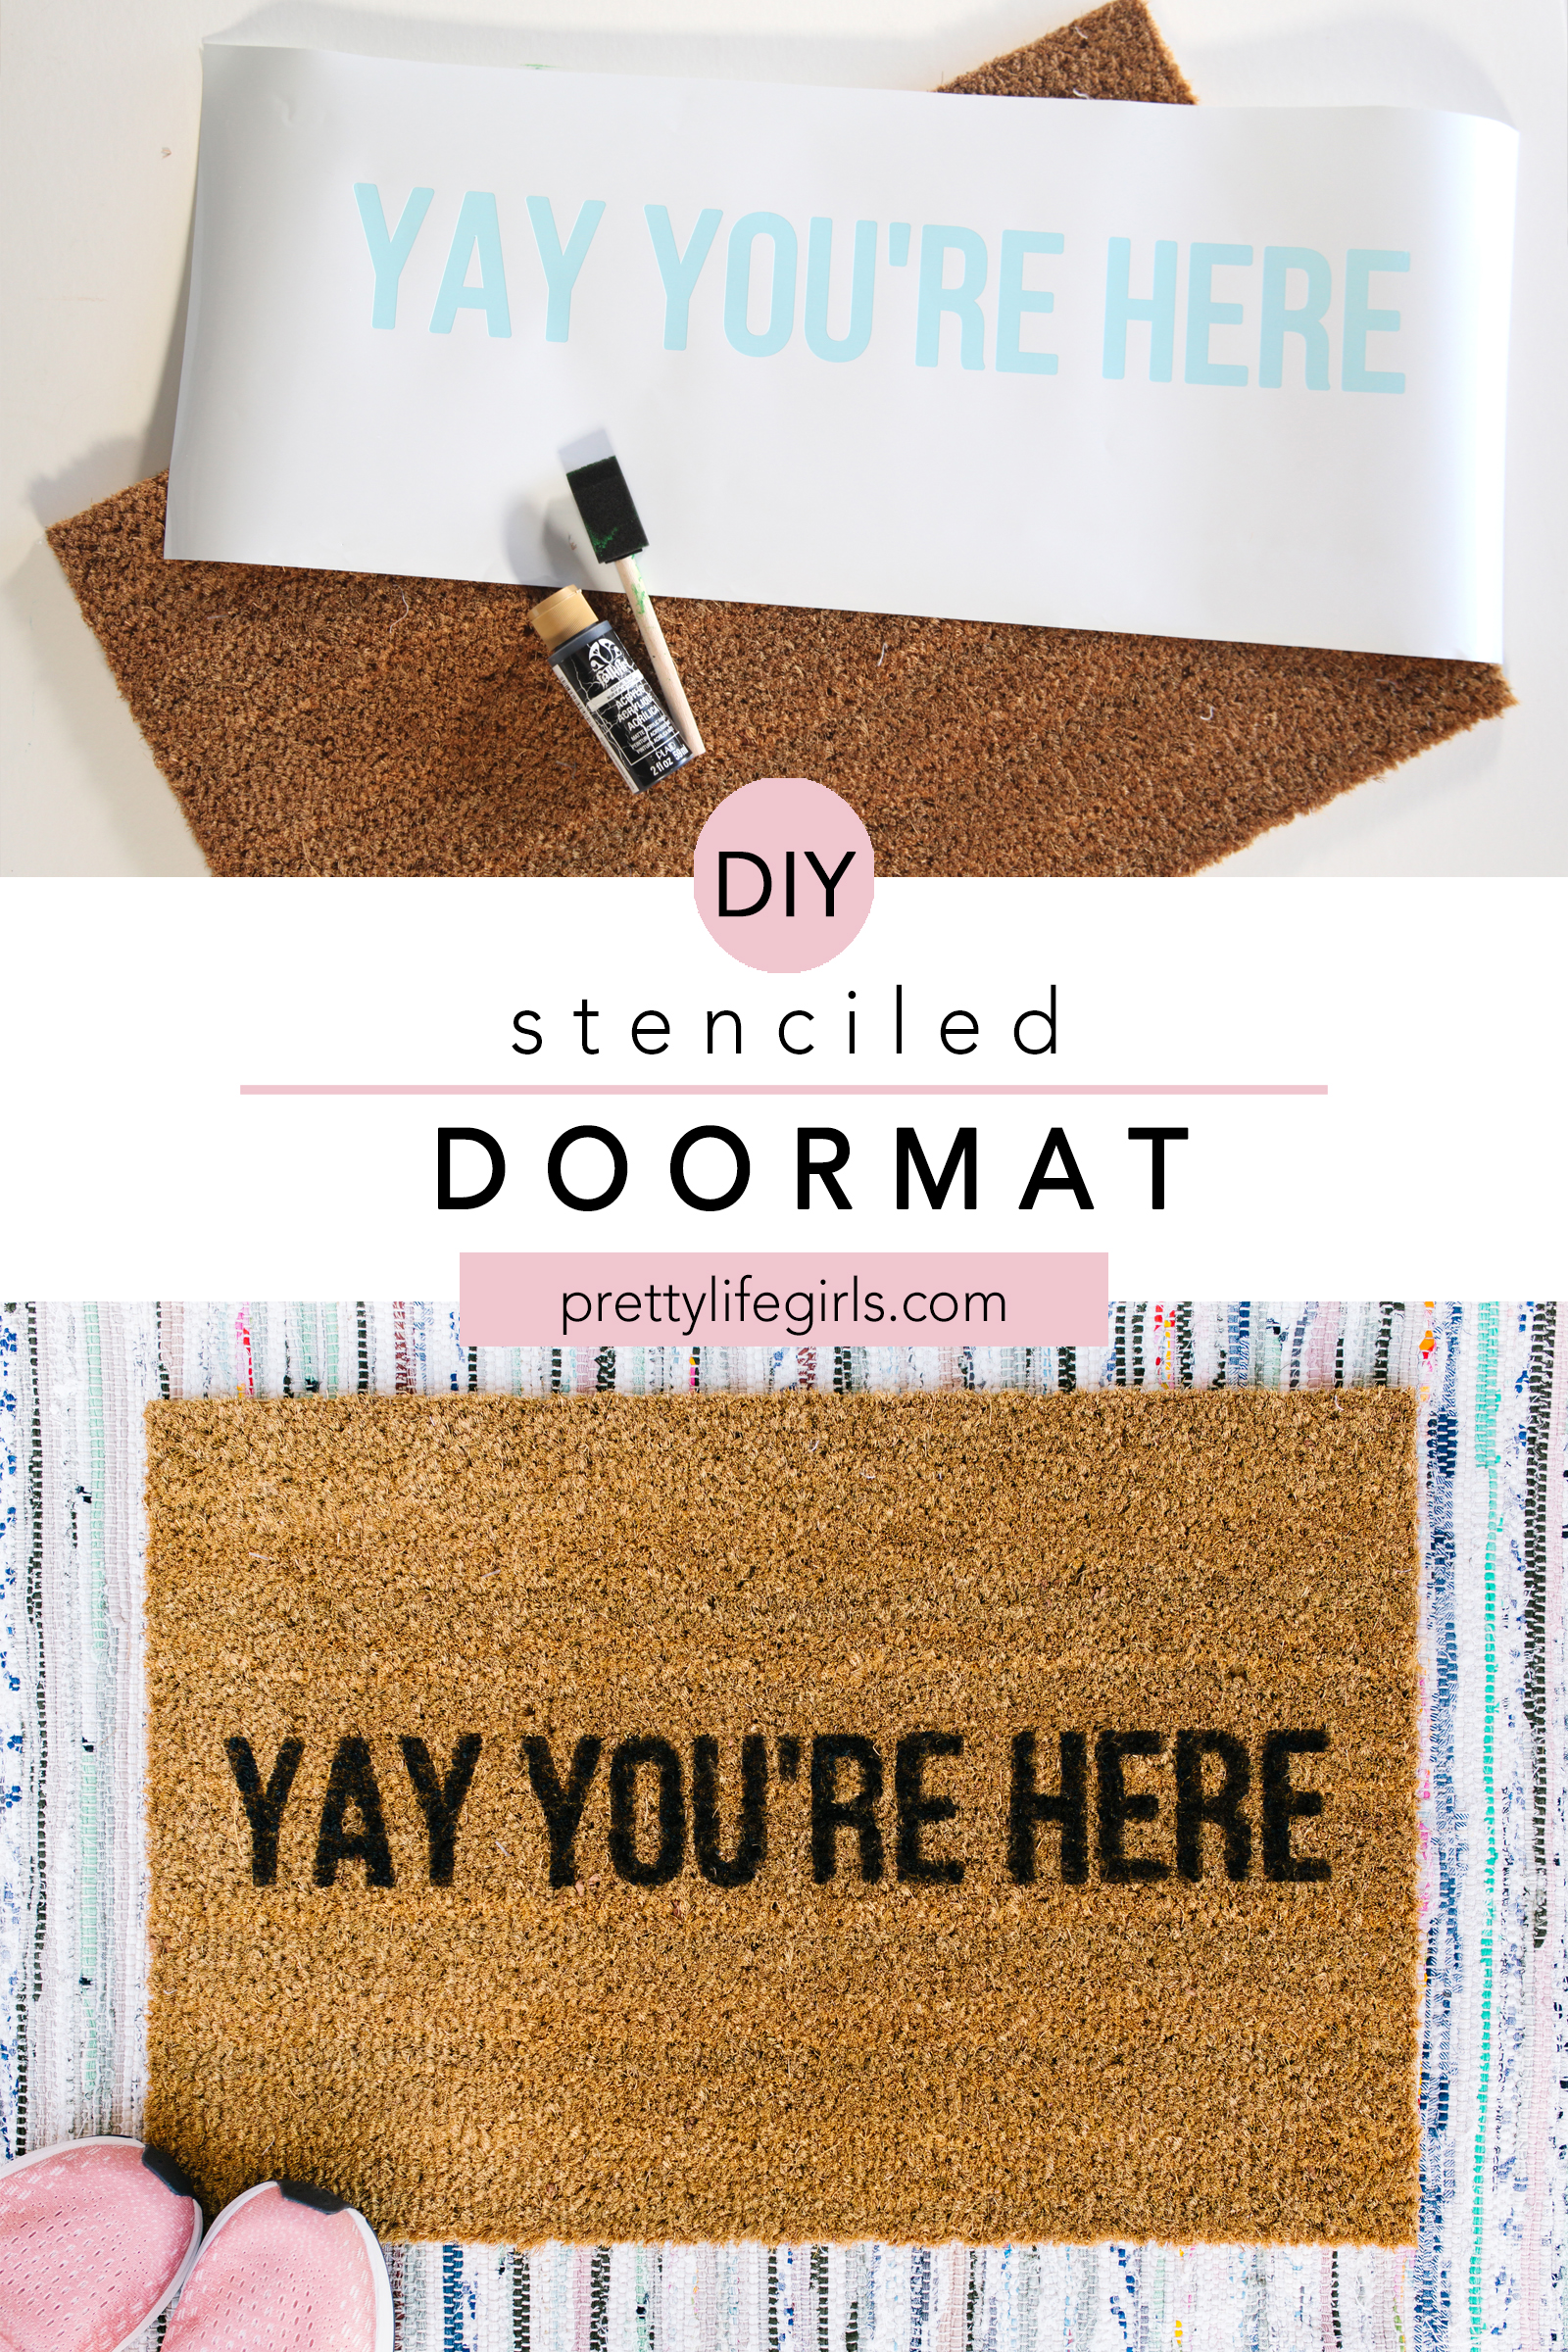
Supplies needed to make a DIY Doormat
Blank doormat
Stencil material
Cutting machine (we used a Silhouette CAMEO 4)
Black paint
Foam brush


How to make a DIY Doormat
Step 1: Create your design and cut with your cutting machine.


Step 2: Arrange your stencil on the blank doormat. Press it to the doormat as well as you can.
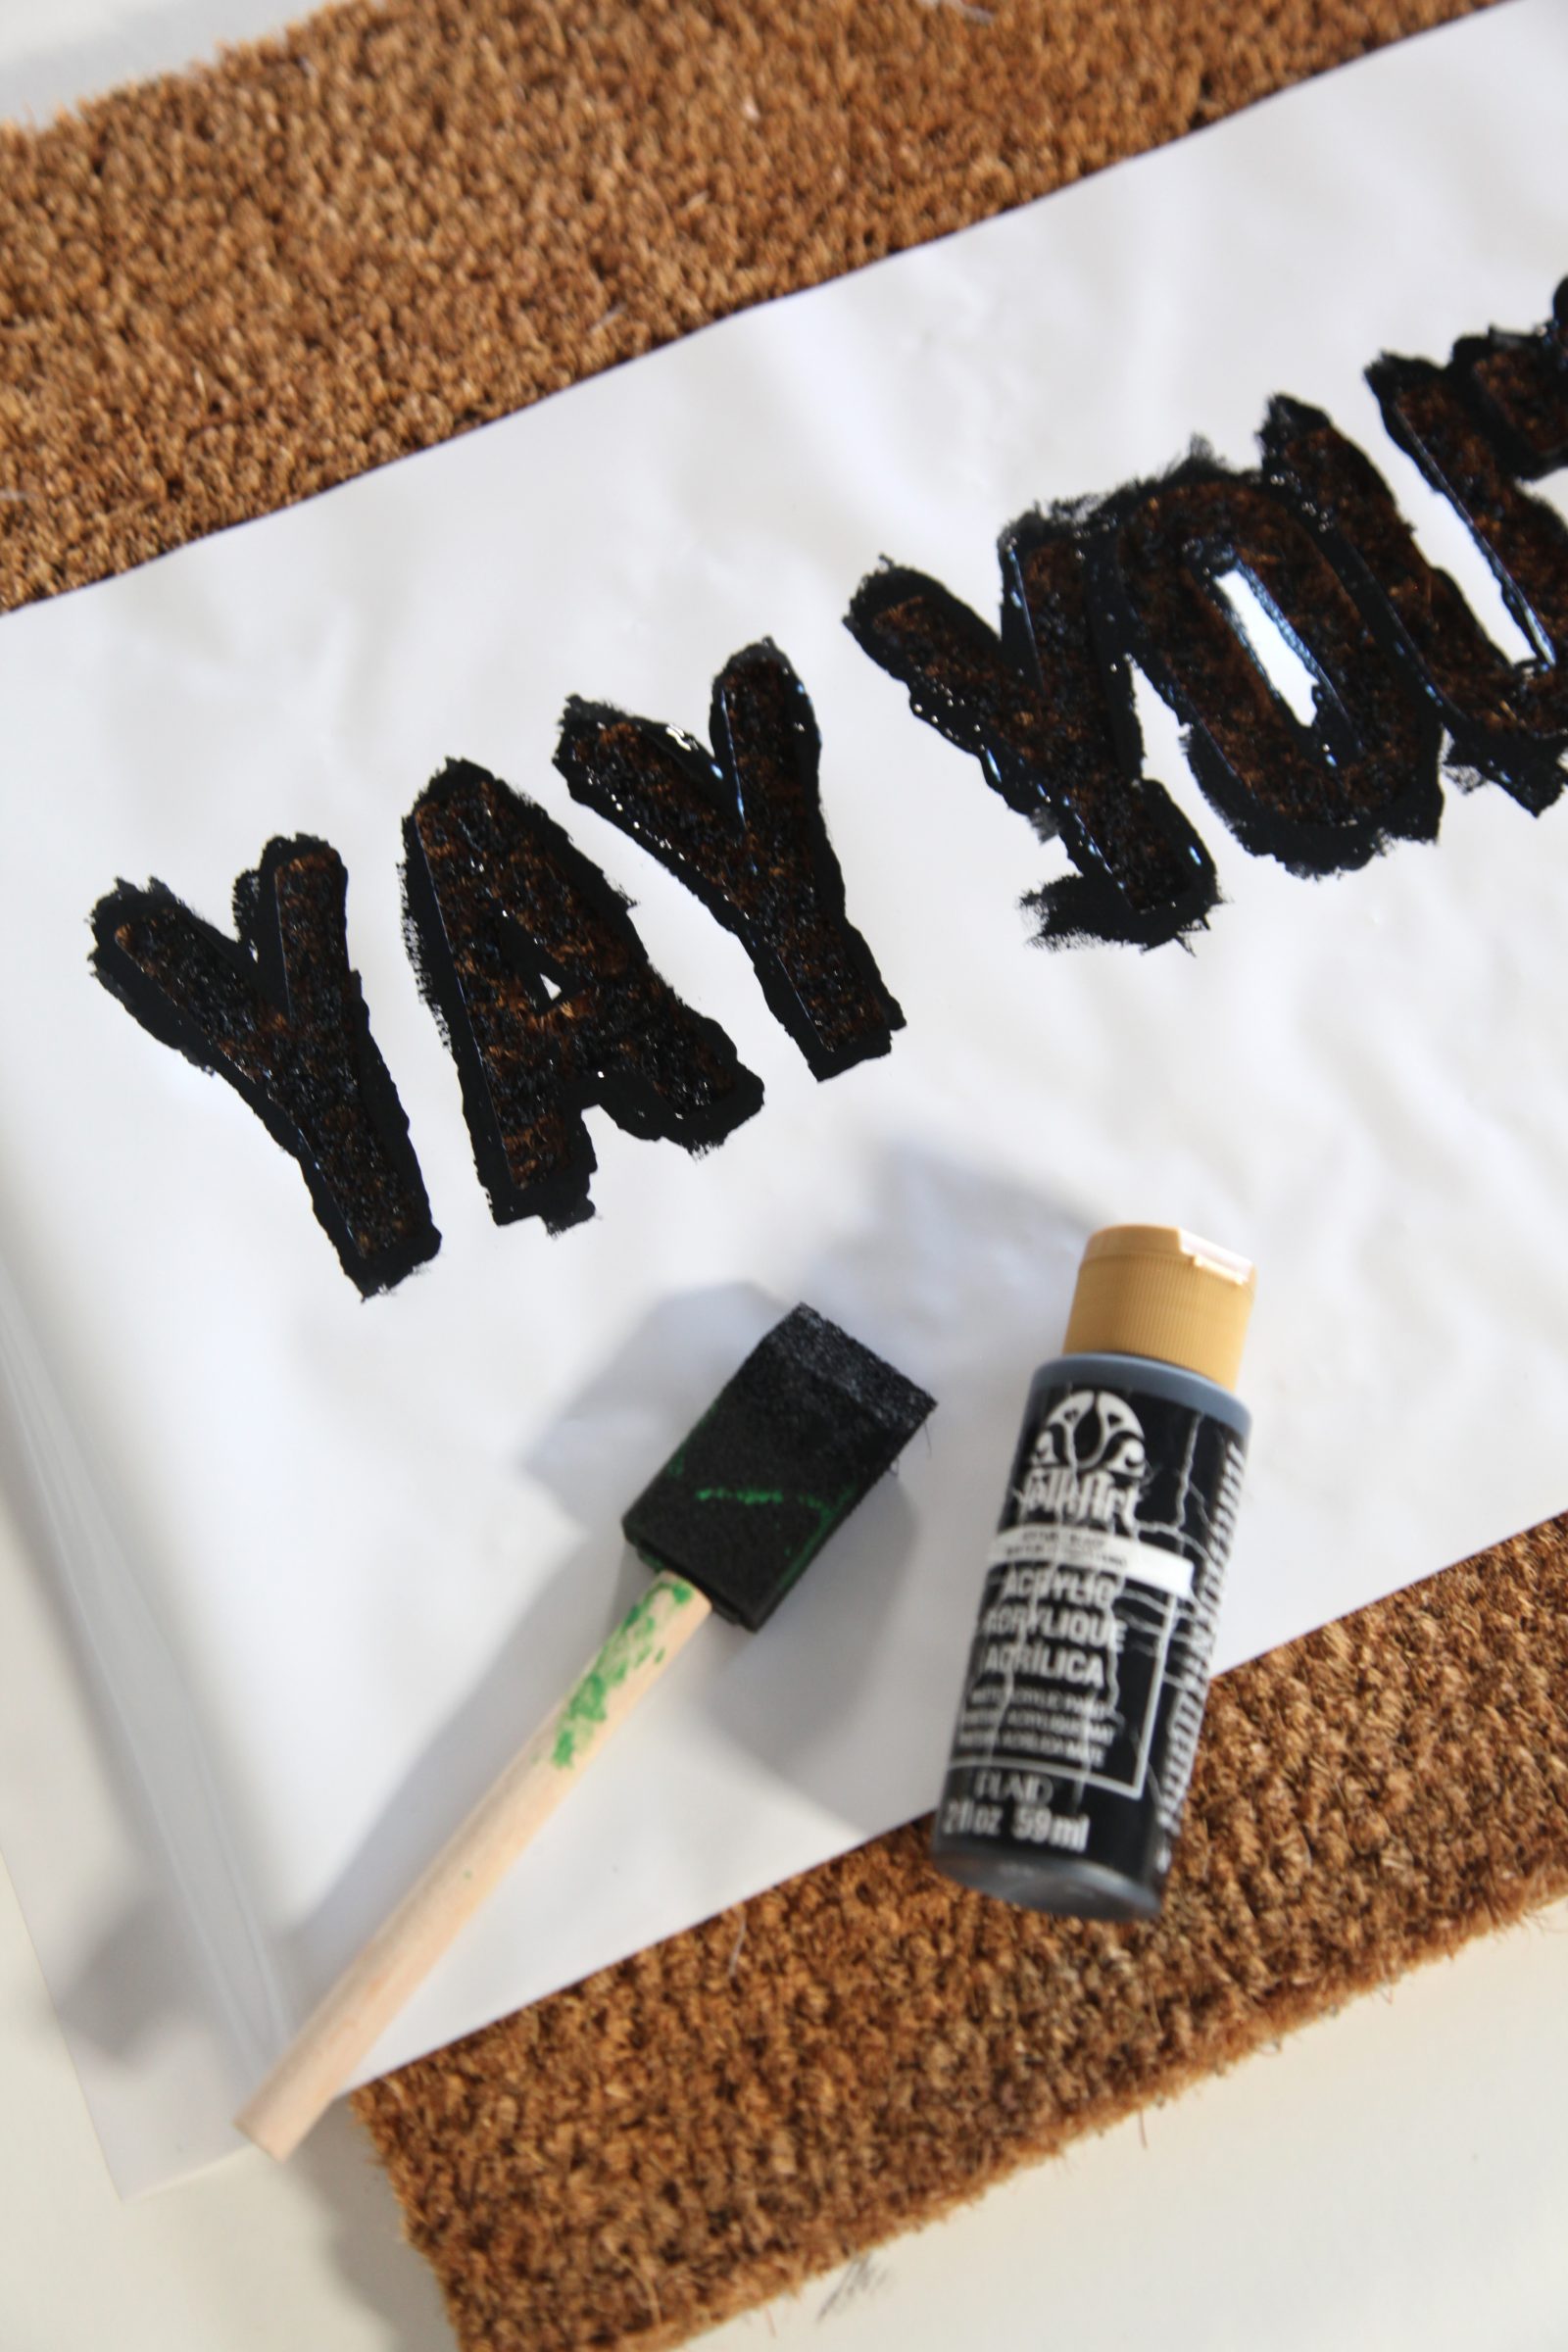

Step 3: With your foam brush, carefully dab the paint on the doormat, holding the stencil in place, if needed. Apply additional coats of paint if you want a darker design.


Step 4: Touch up any spots using a small brush and paint. You can even fix mistakes by covering the black paint with a brown similar to the doormat.




Happy crafting!
Sam


