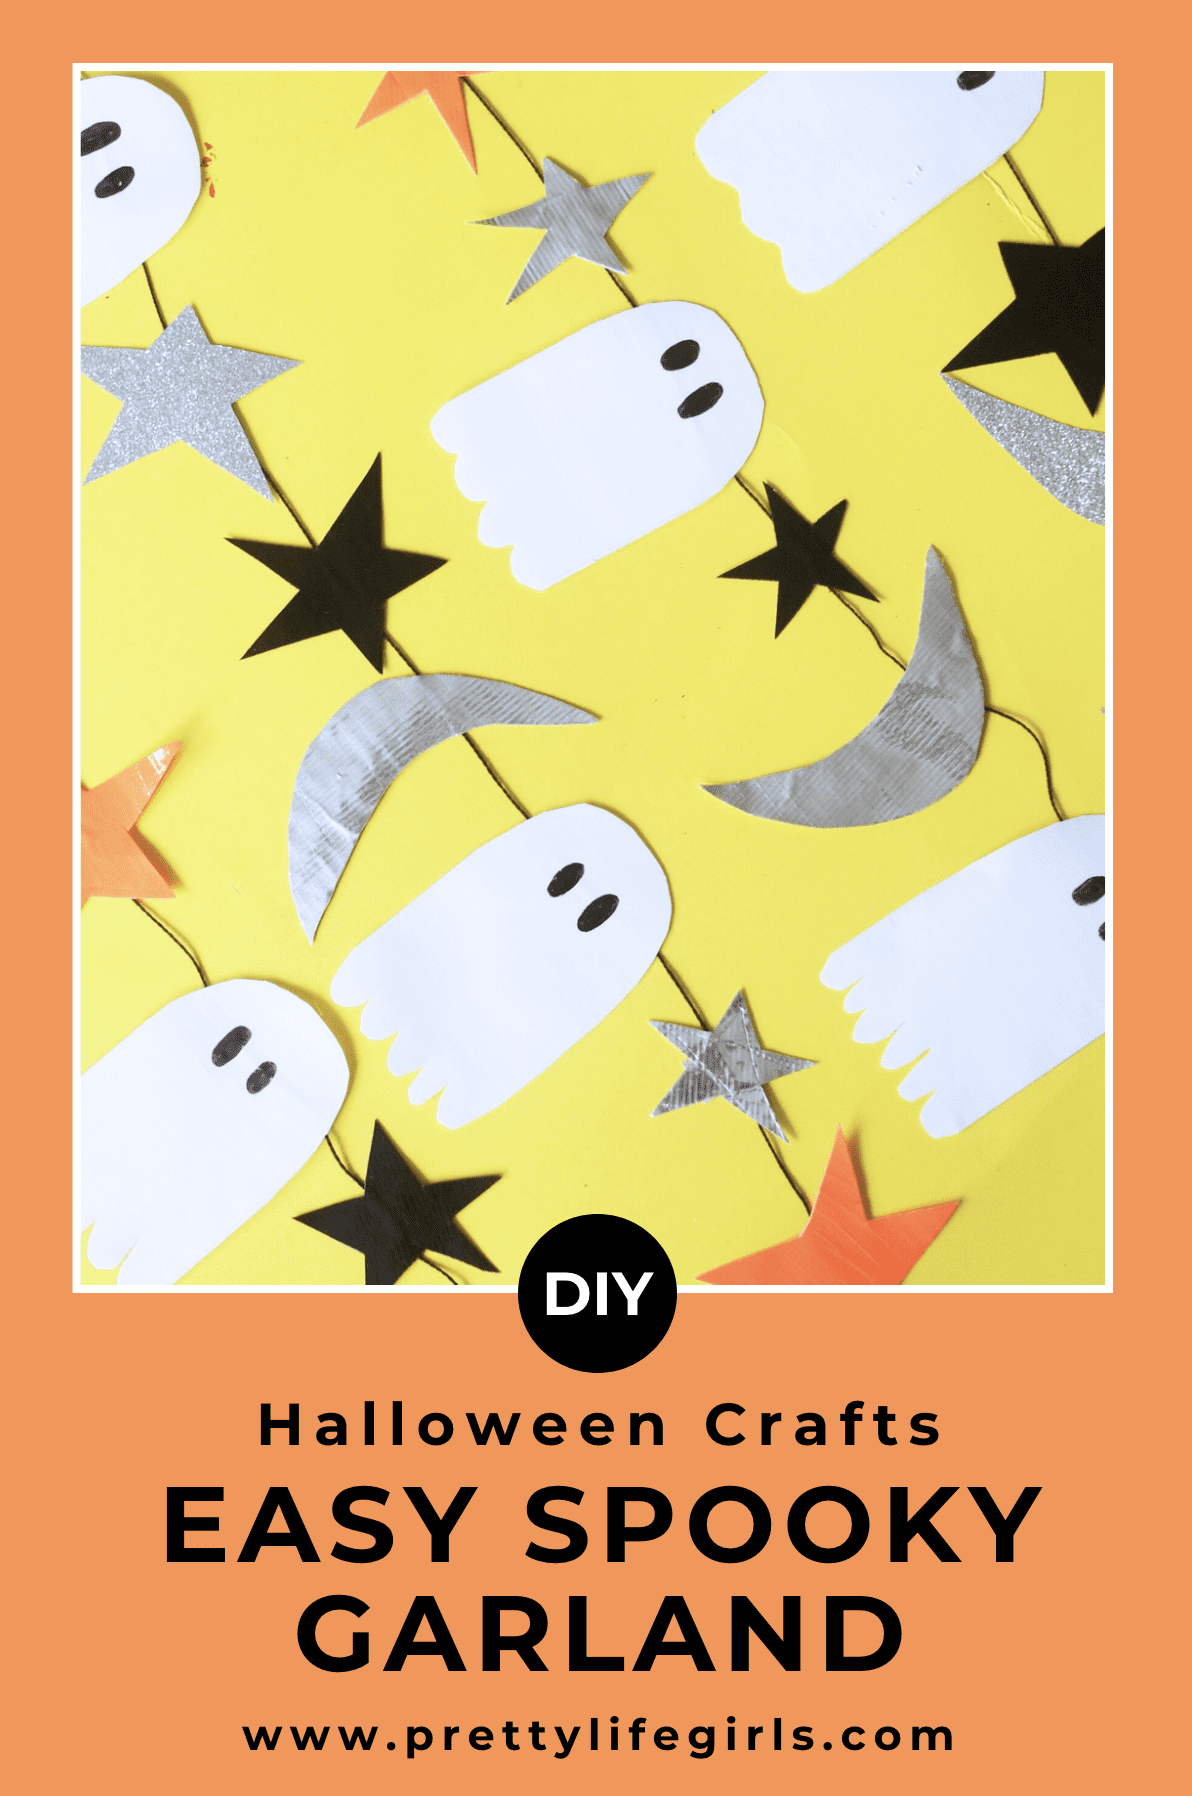
It’s so easy to make a Halloween garland with duct tape–you only need a couple of supplies AND it will last much longer than its paper counterpart! Keep reading for the tutorial!
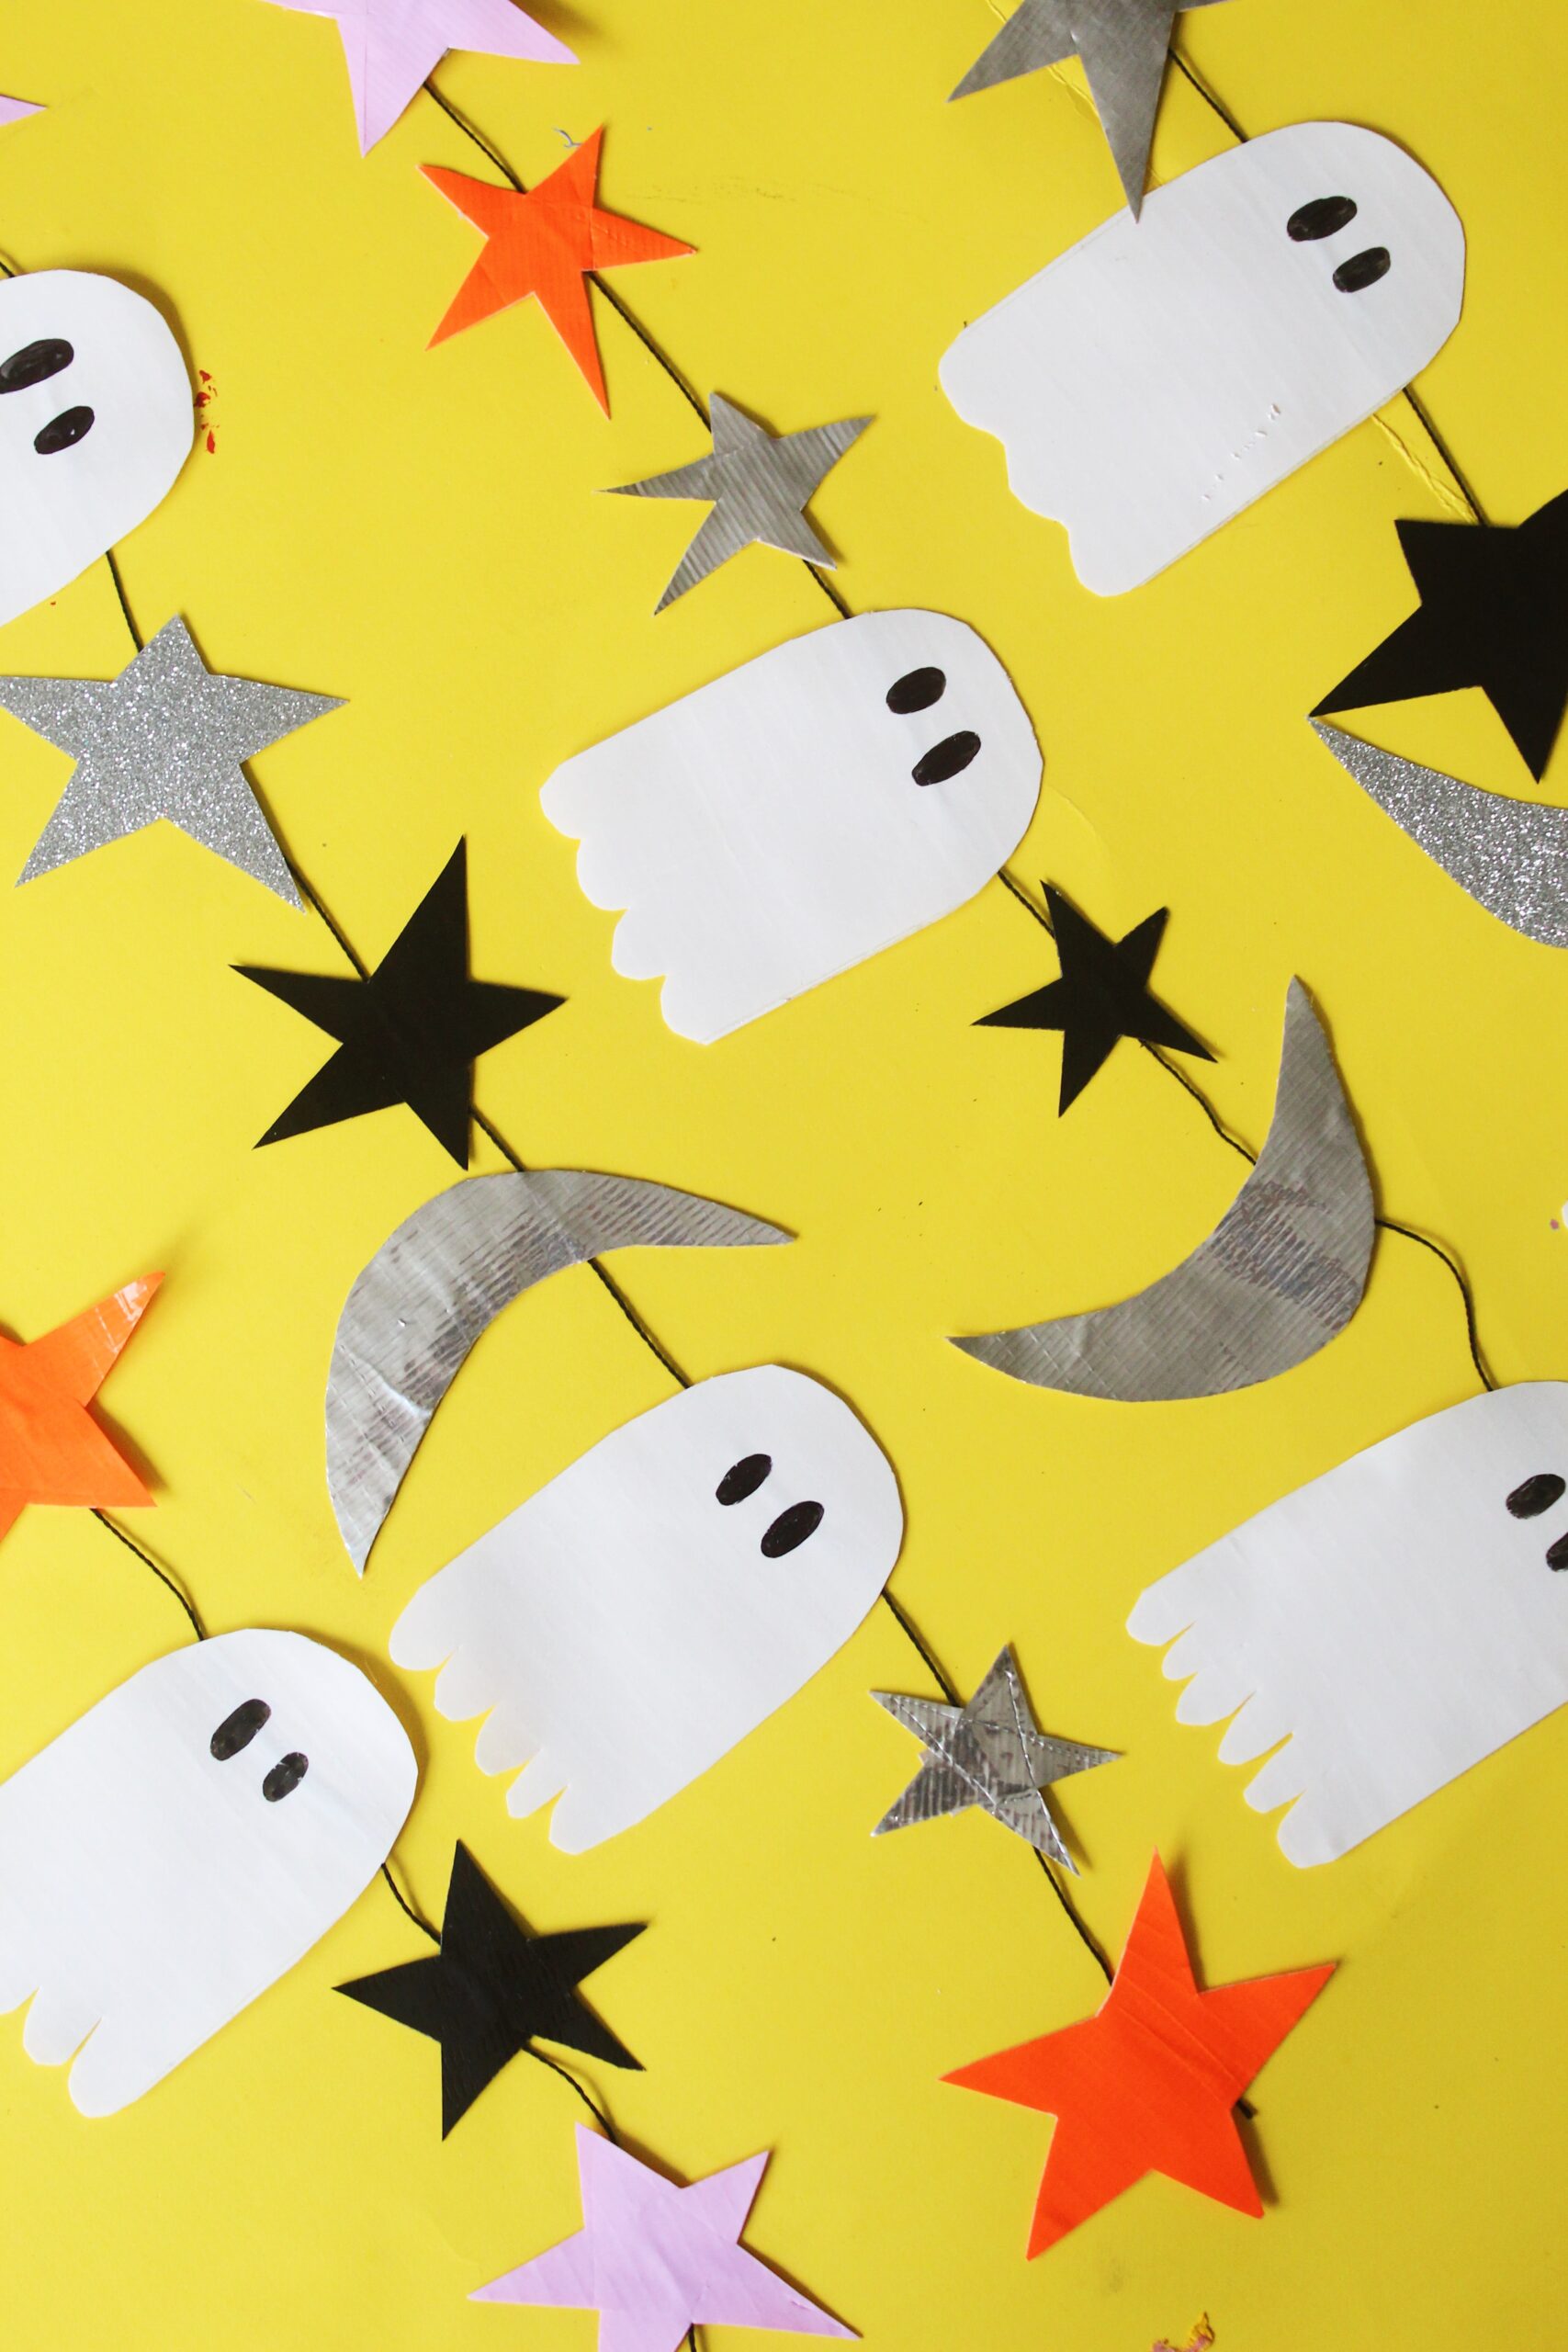
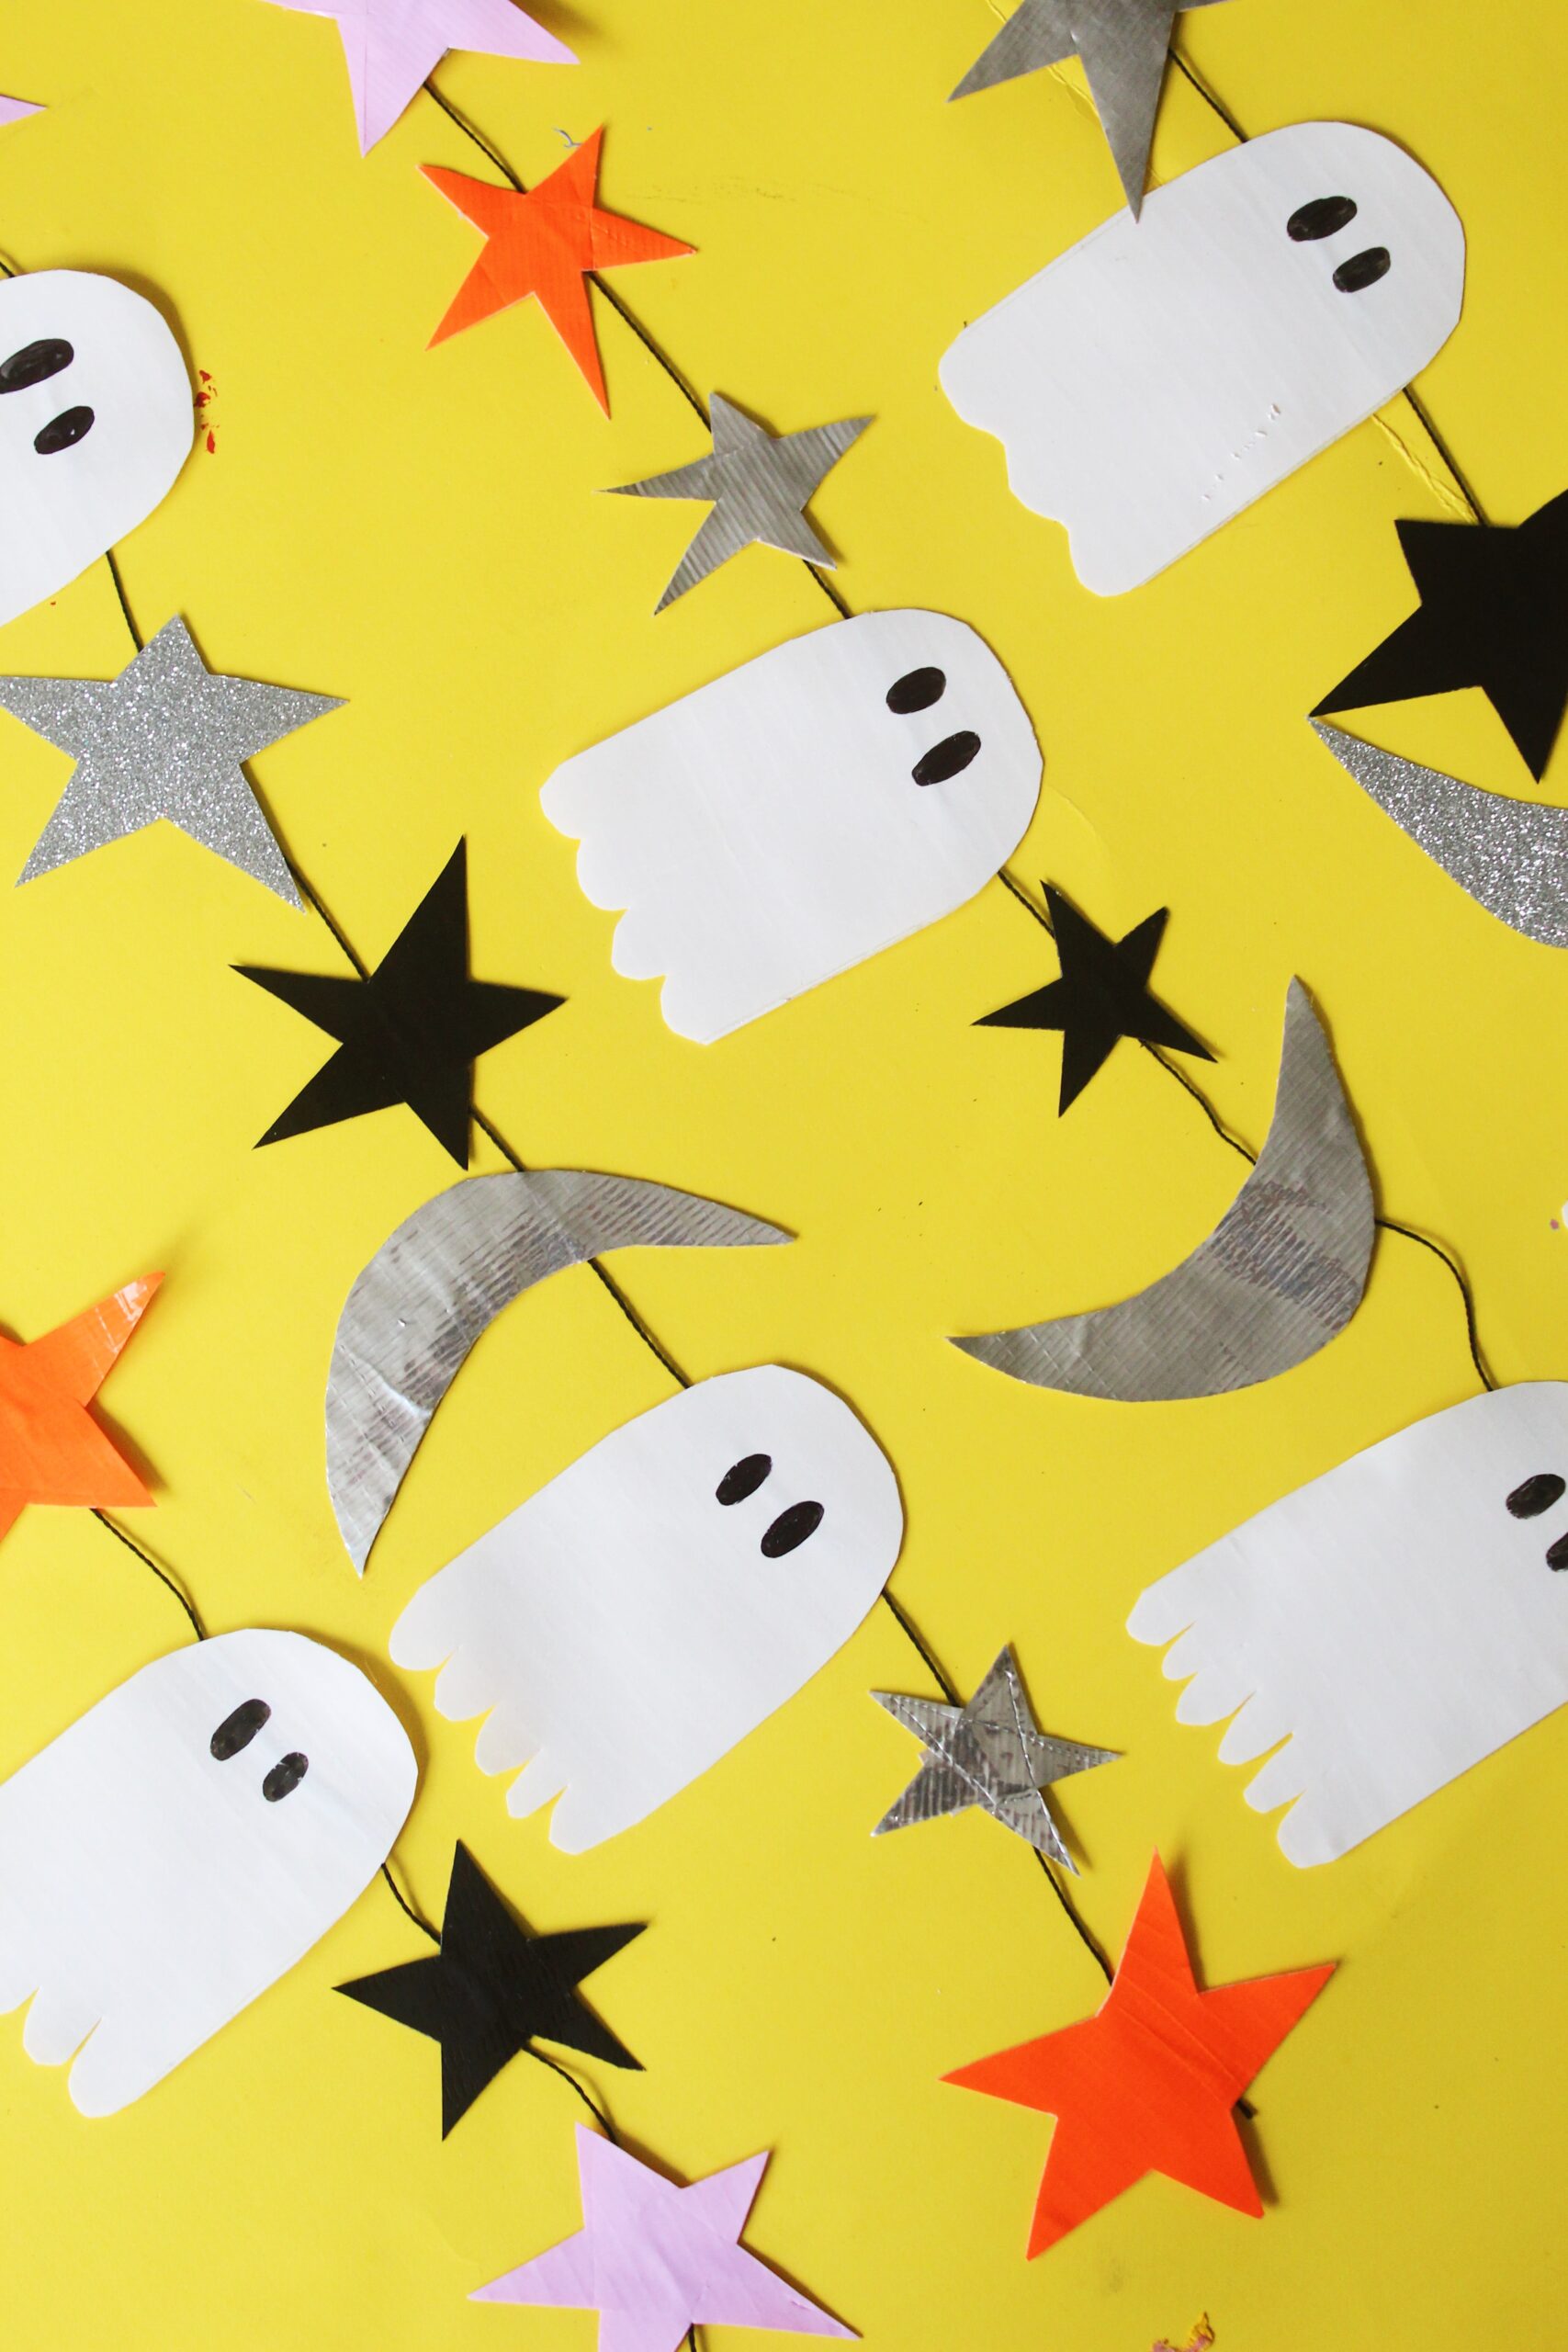
How to Make a Halloween Garland with Duct Tape
We loved the idea of using duct tape for this project because it is super durable so the garland will last year after year! Plus, duct tape comes in various colors and patterns making it easy to achieve the same colorful results you might with a paper garland.
This project is so simple and requires only a handful of supplies. The trick is attaching the tape to itself so the shiny backing is on both sides. This creates a surface that you can use to cut out any shape!
Is there a difference between duct tape and Duck Tape?
Duct tape is the generic name for a range of strong and durable tapes comprised of adhesive, cloth, and backing. Duck Tape is a specific brand of duct tape whose name was inspired the original name of duct tape. For this project we used Duck Brand Tape because it comes in so many vibrant colors!
What can you make with just duct tape?
Duct tape is incredibly versatile and can be used by kids and adults alike to make art, crafts, and more! A great starter project is duct tape wallets which were a hit among millennial teens at summer camps and are still so satisfying to create! Or, now that bows are back and all the rage, you can use patterned duct tape to make a bow! There are so many possibilities with duct tape–in fact, here is a list of 20+ duct tape projects to get you inspired!
Now, on to the garland!
Watch us make the garland on IG Reels, here!
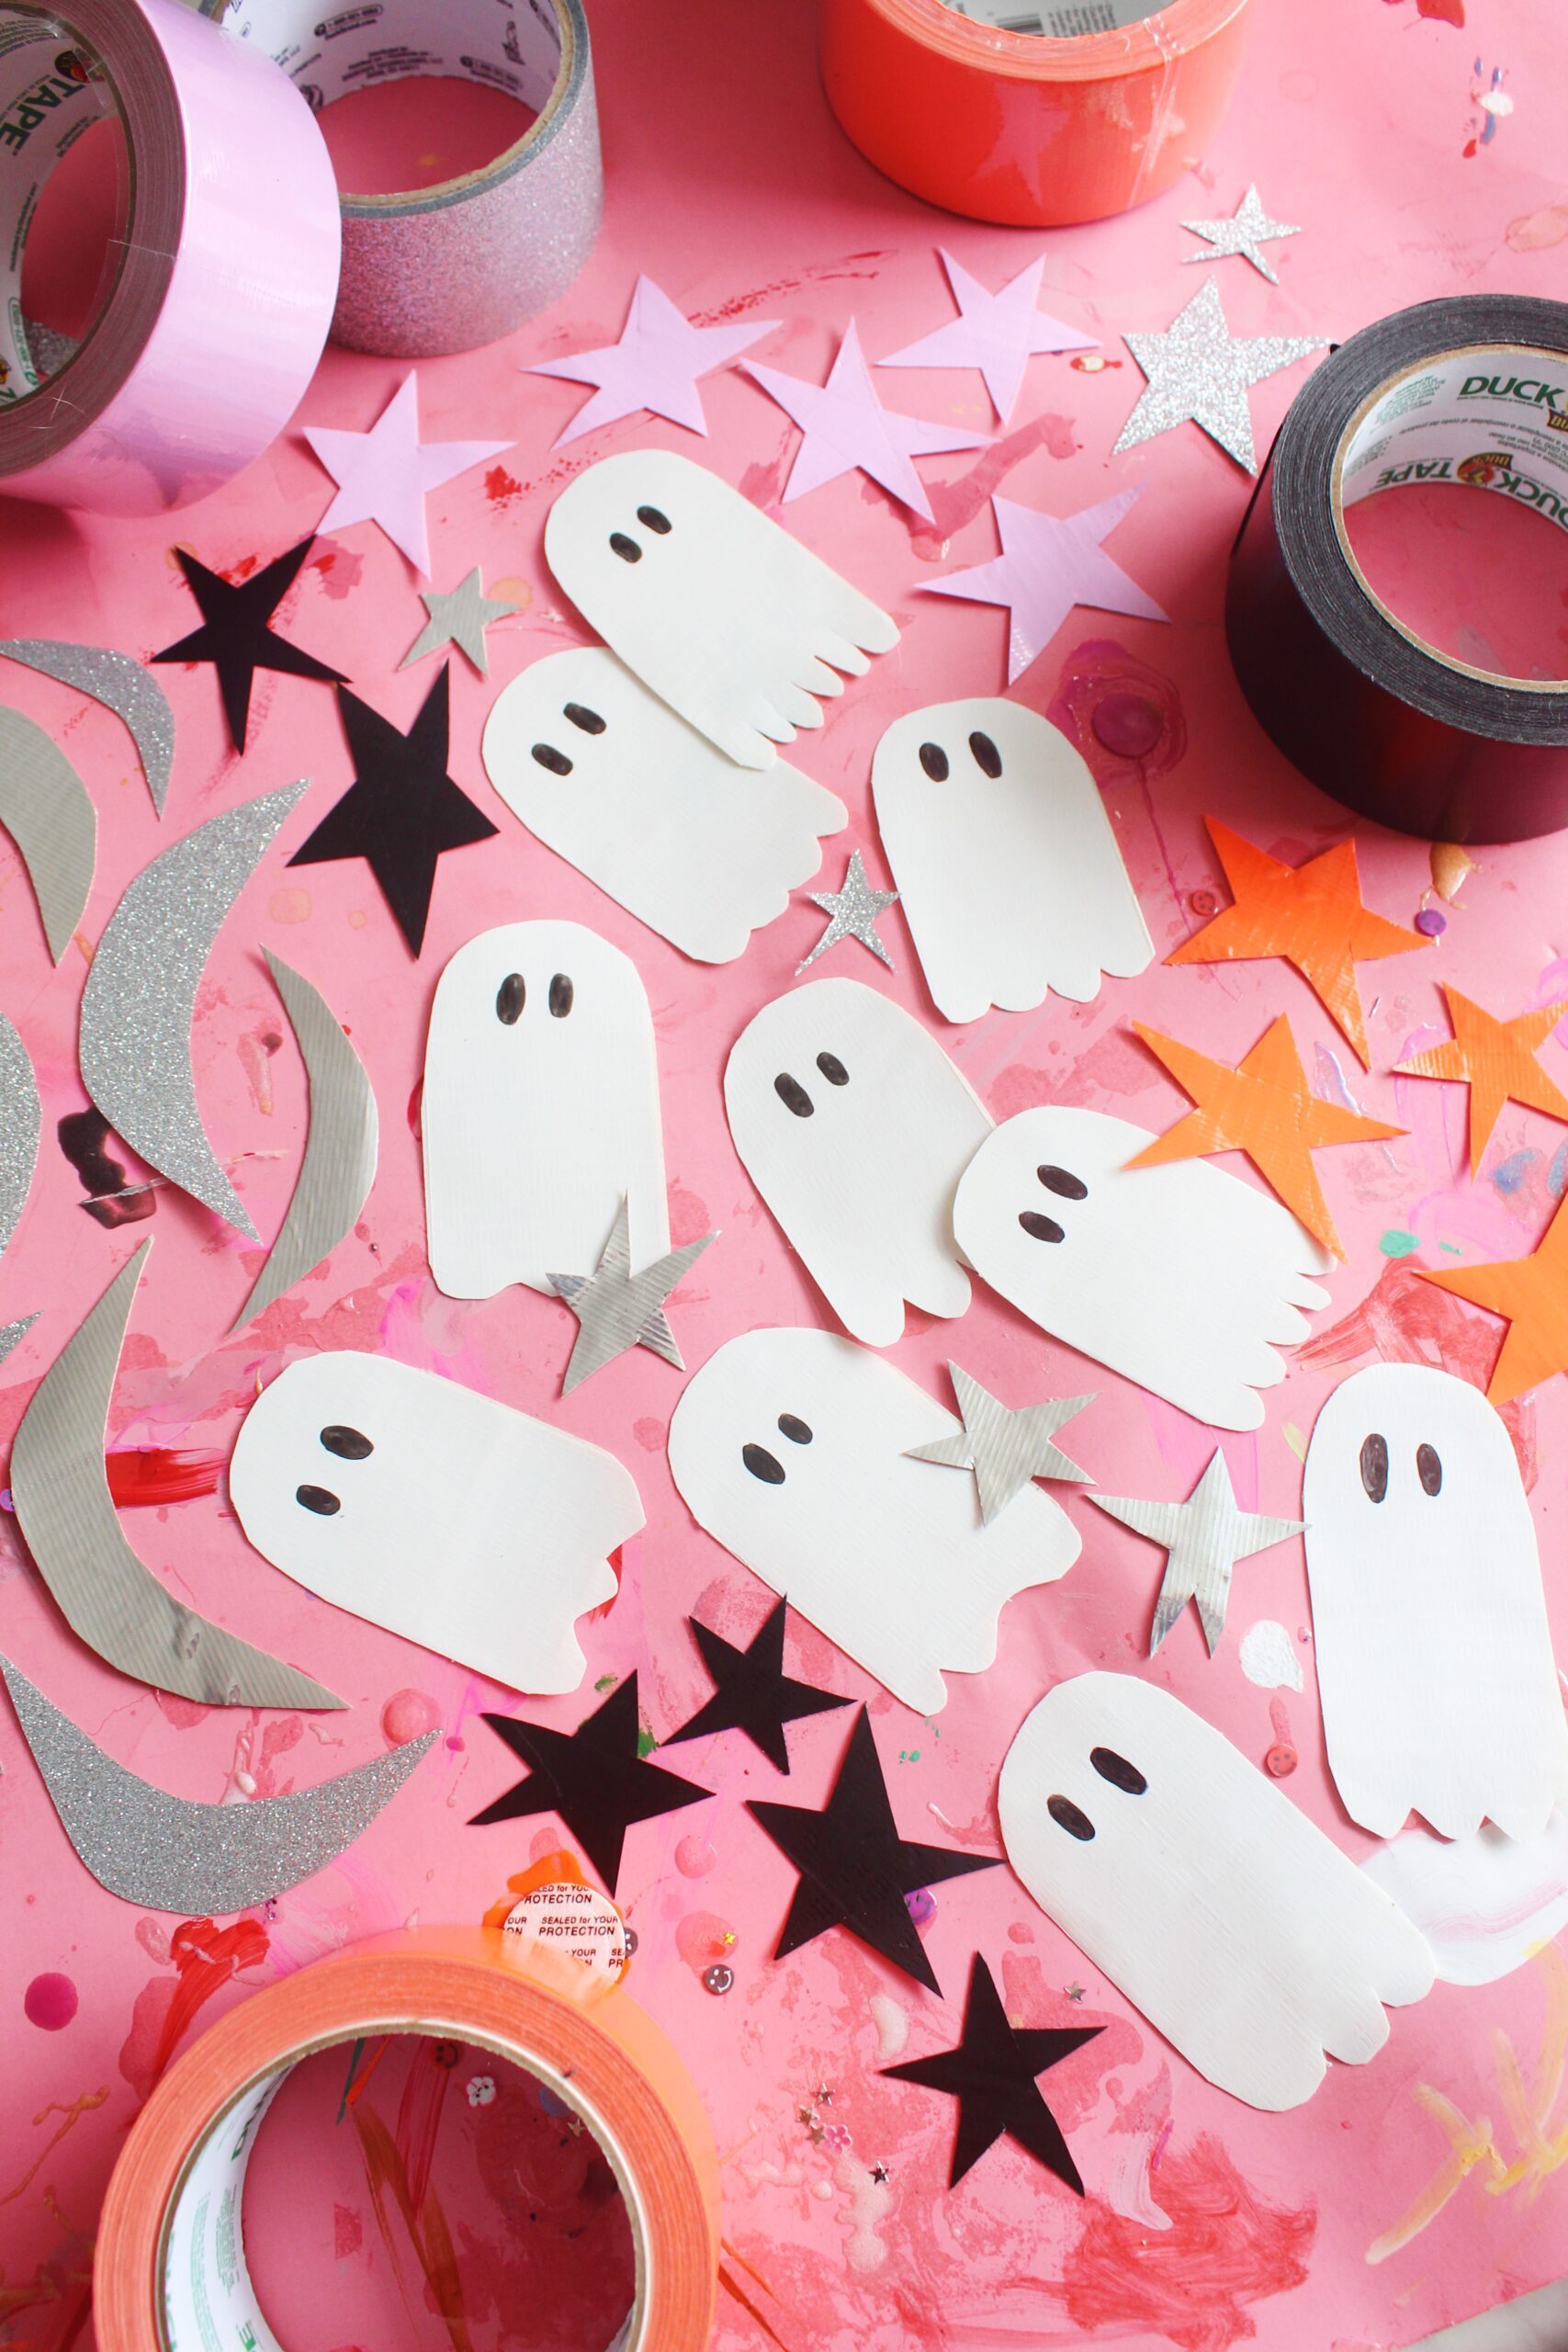
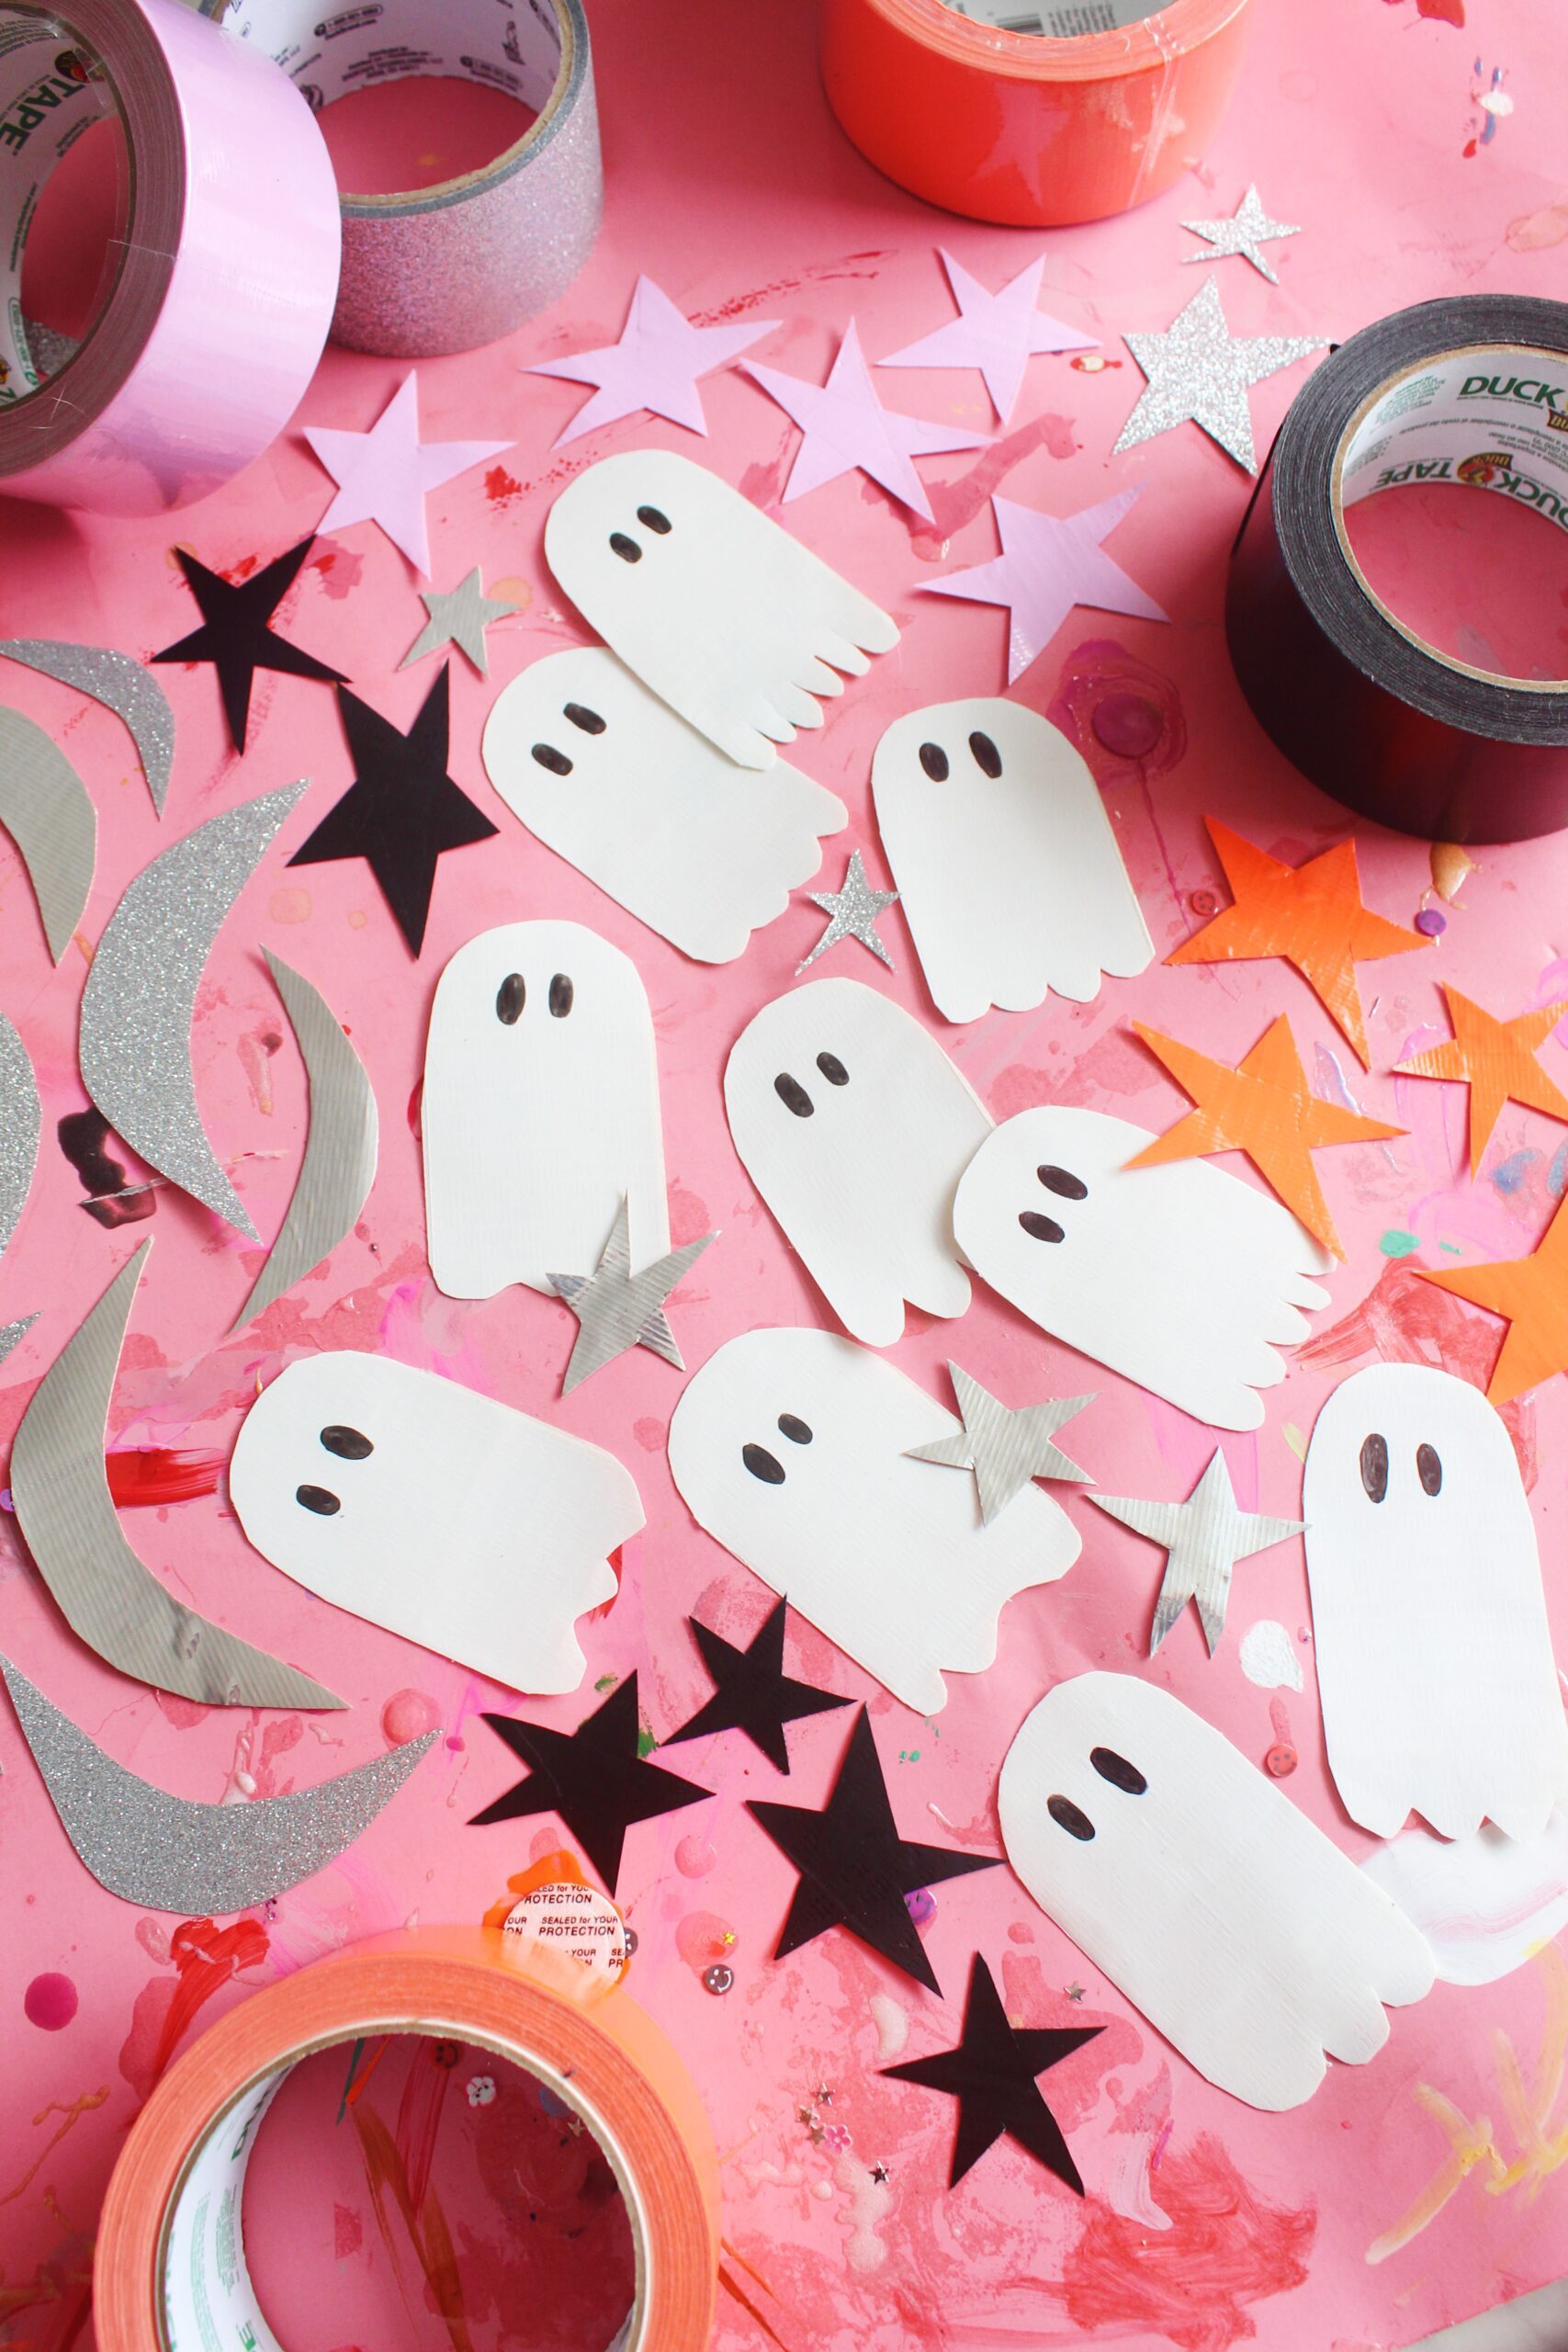
Supplies Needed to Make a Halloween Garland with Duct Tape
Duck Tape in Baby Pink, Chrome, Black, White, Neon Orange
Duck Glitter Crafting Tape in Silver
Scissors
Permanent Marker in Black
String

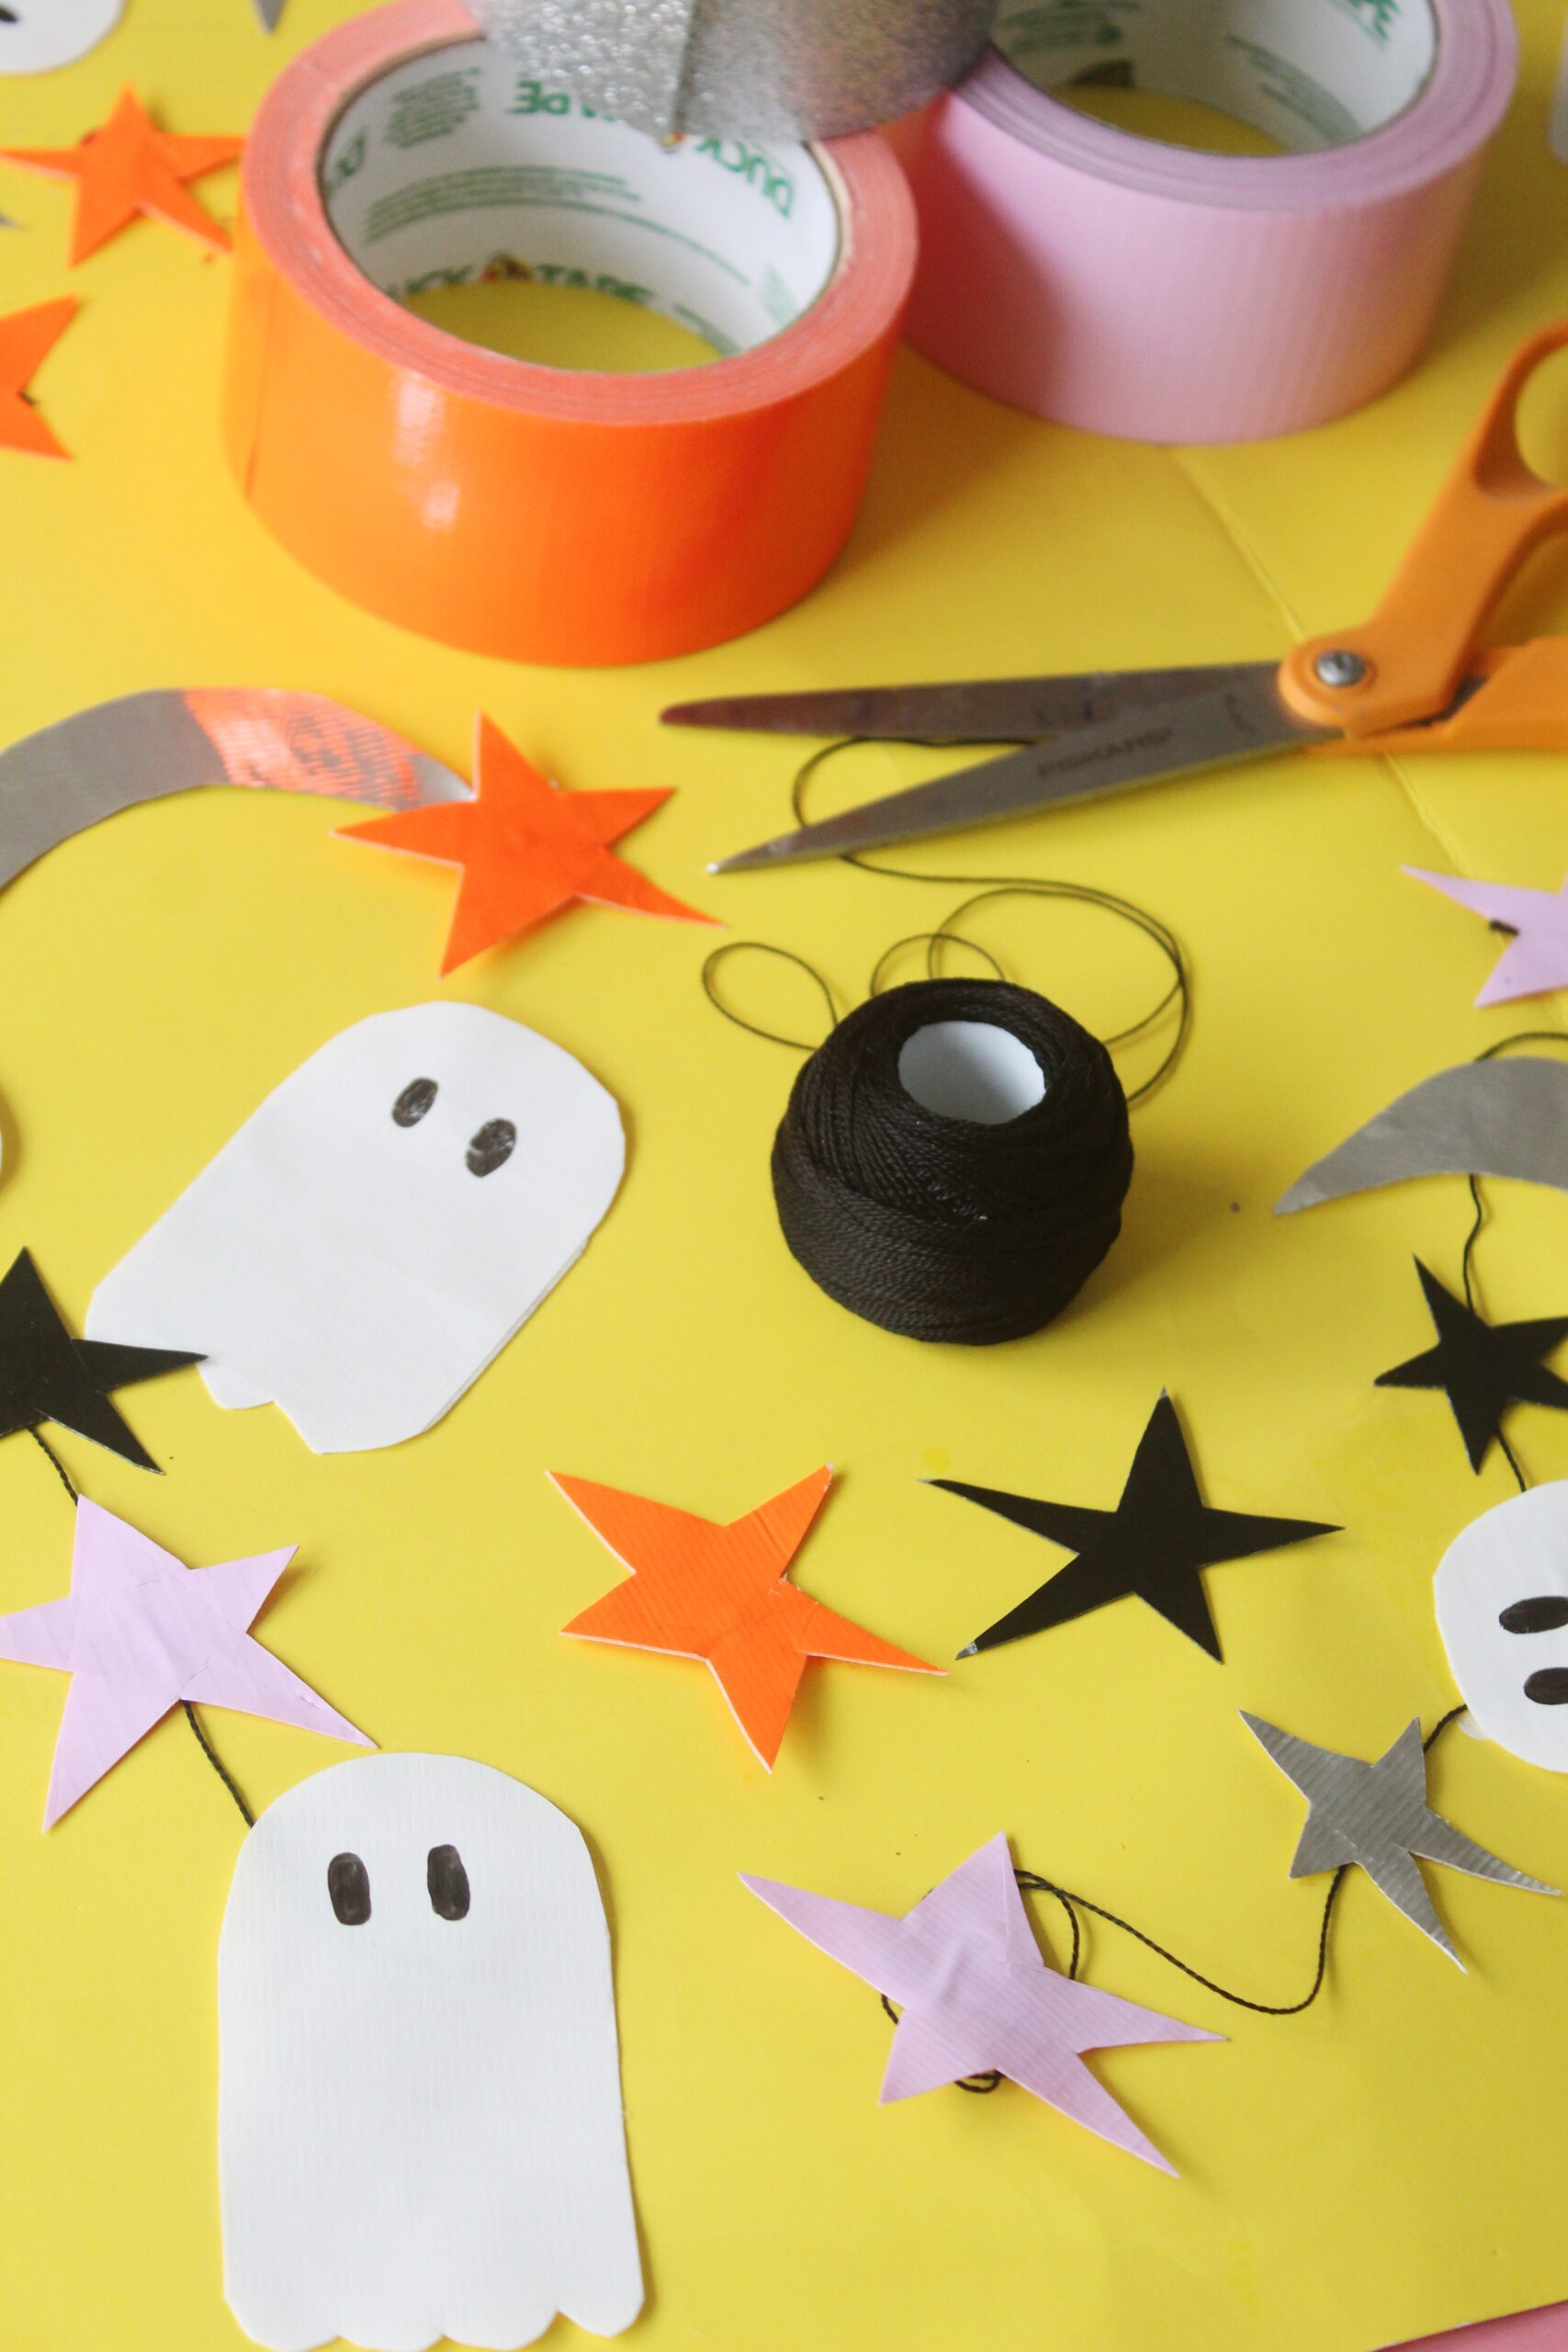
How to Make a Halloween Garland with Duct Tape
- Cut a 12-inch strip of Duck Tape in white and place on a flat surface, sticky side up.
- Cut another 12-inch stripe of Duck Tape in the same color and place directly on top of the first strip of tape so that both sticky sides of the tape are touching. Use your fingers to smooth out any bumps or bubbles.
- Using scissors, cut ghost shapes from the strip of tape.
- Using a black permanent marker, draw eyes on the ghosts.
- Repeat this process to create your desired shapes in your desired colors. For instance, we used silver to make half moons, and baby pink, black, and neon orange to make stars.
- Once you have created all of your desire shapes, cut a number of small strips (approx ¼” x ½ in) of Duck Tape in matching colors to your shapes.
- Attach the shapes to your string by taping it to the back of each shape using its matching tape strip.
- Hang and enjoy!

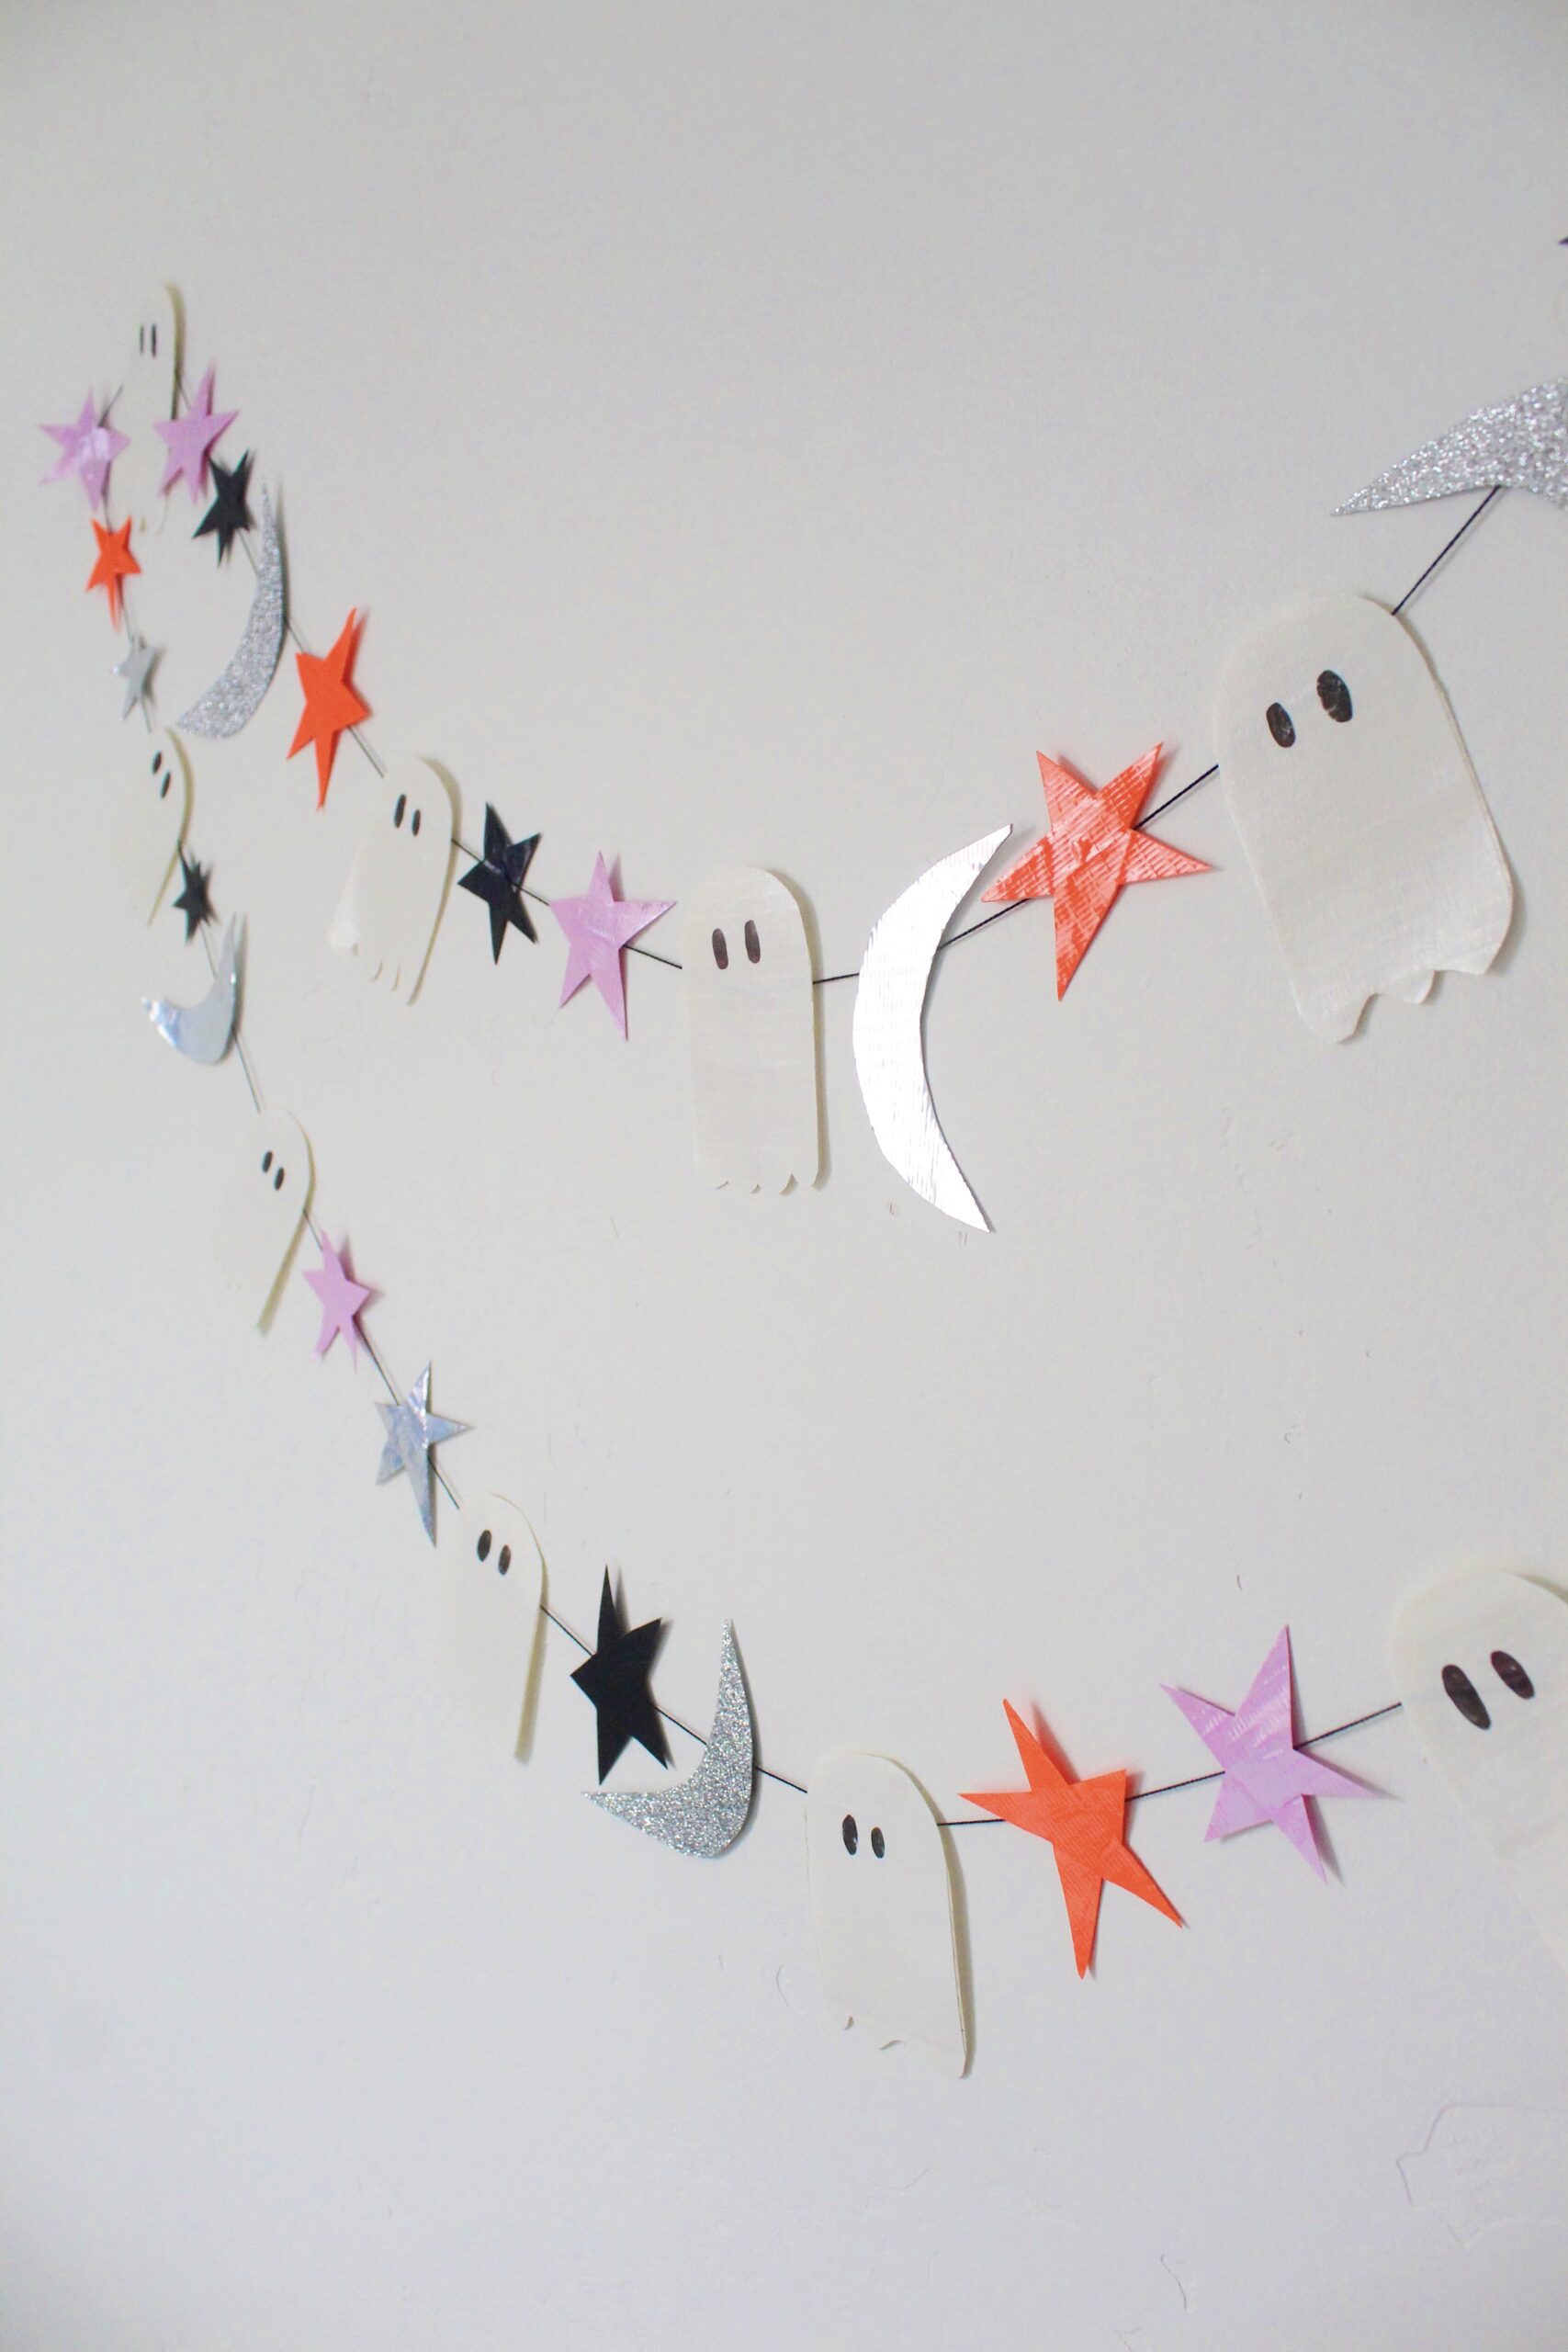
So easy and couldn’t be cuter! You can hang it outside since the tape is water resistant and use it year after year since the tape will last much longer than other supplies! I may have to do this project for every holiday!

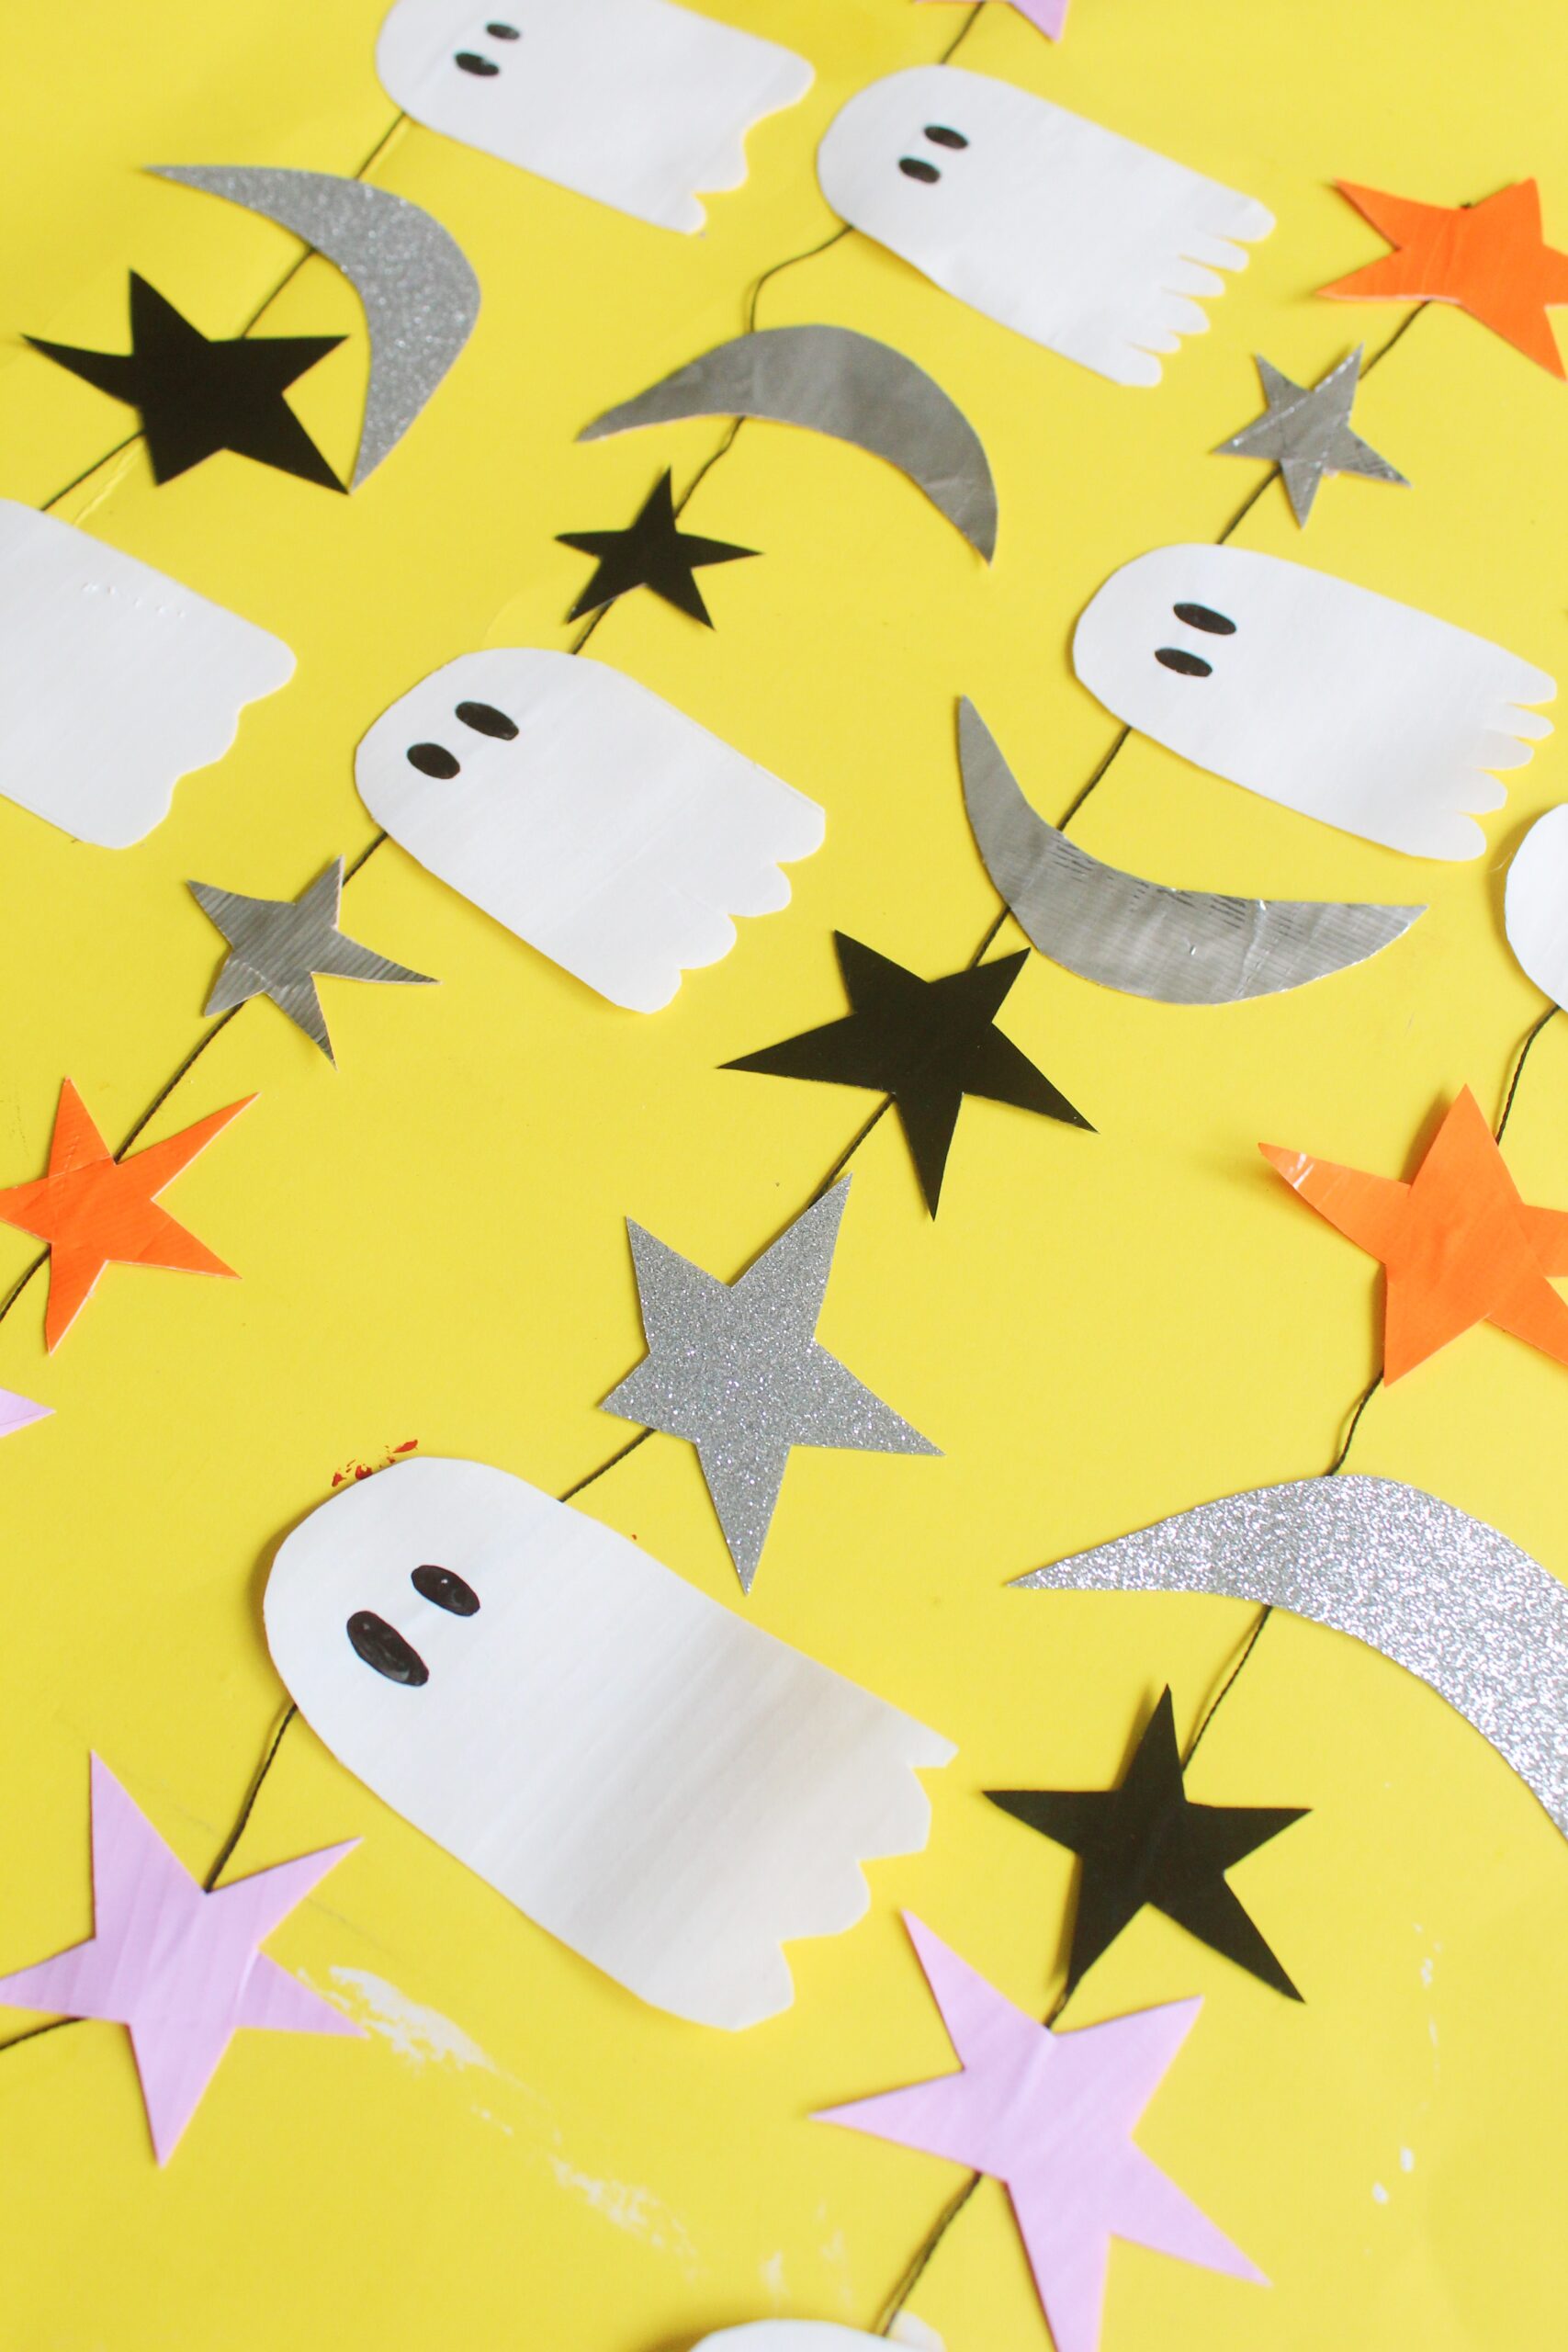
Happy Making!
ox. Liz + Sam


