Today we’re going to help you get started on your journey to becoming a tie dye expert by sharing 5 tie dye techniques that you can try now! All you need is some fabric, rubber bands, and dye and you’ll be on your way to creating and mastering a variety of patterns and designs using tie dye!
In our new book, DIY Guide to Tie Dye Style, not only do we share even more tie dye techniques, we break down all the tie dye supplies, methods, and tips you need for success. Plus, we share 20 unique tie dye projects, from wearables to home decor and even party decor and gifts to fill your home and closet with modern, unique and gorgeous tie dye. We think you’re going to love it!
5 Tie Dye Techniques to Try
Watch the video (and be sure you subscribe to our YouTube channel), or read the tutorials below!
1. Heart
1. Fold damp fabric in half lengthwise. Use a washable marker to draw half a heart shape at the fold where you want the heart pattern to be.
2. Gather the fabric along the drawn line. Then use a rubber band to bind around the line. Add additional rubber bands for additional heart patterns.
3. Saturate the entire bundle with dye.


2. Bullseye
1. Lay damp fabric flat on your work surface. Pinch at the center of where your bullseye pattern will start. Wrap a rubber band around the pinched area.
2. Working your way from the first rubber band, bind the fabric with additional rubber bands, evenly spaced, until it is bound from end to end.
3. Saturate the entire bundle with dye.


3. Stripe
1. Lay damp fabric flat on your work surface. Fold lengthwise, accordion style, until you have created a narrow rectangle.
2. Use rubber bands to bind your pleated fabric top to bottom, evenly spacing them on the folded fabric. Add as many or as few rubber bands as you’d like to create more or fewer stripes!
3. Saturate the entire bundle with dye.


4. Bunch
1. Lay damp fabric flat on your work surface. Bunch the fabric into a mound. Bunch the fabric tightly or loosely for varying patterns.
2. For a more defined pattern, secure the bunched fabric with rubber bands.
3. Saturate the entire bundle with dye.

5. Roll
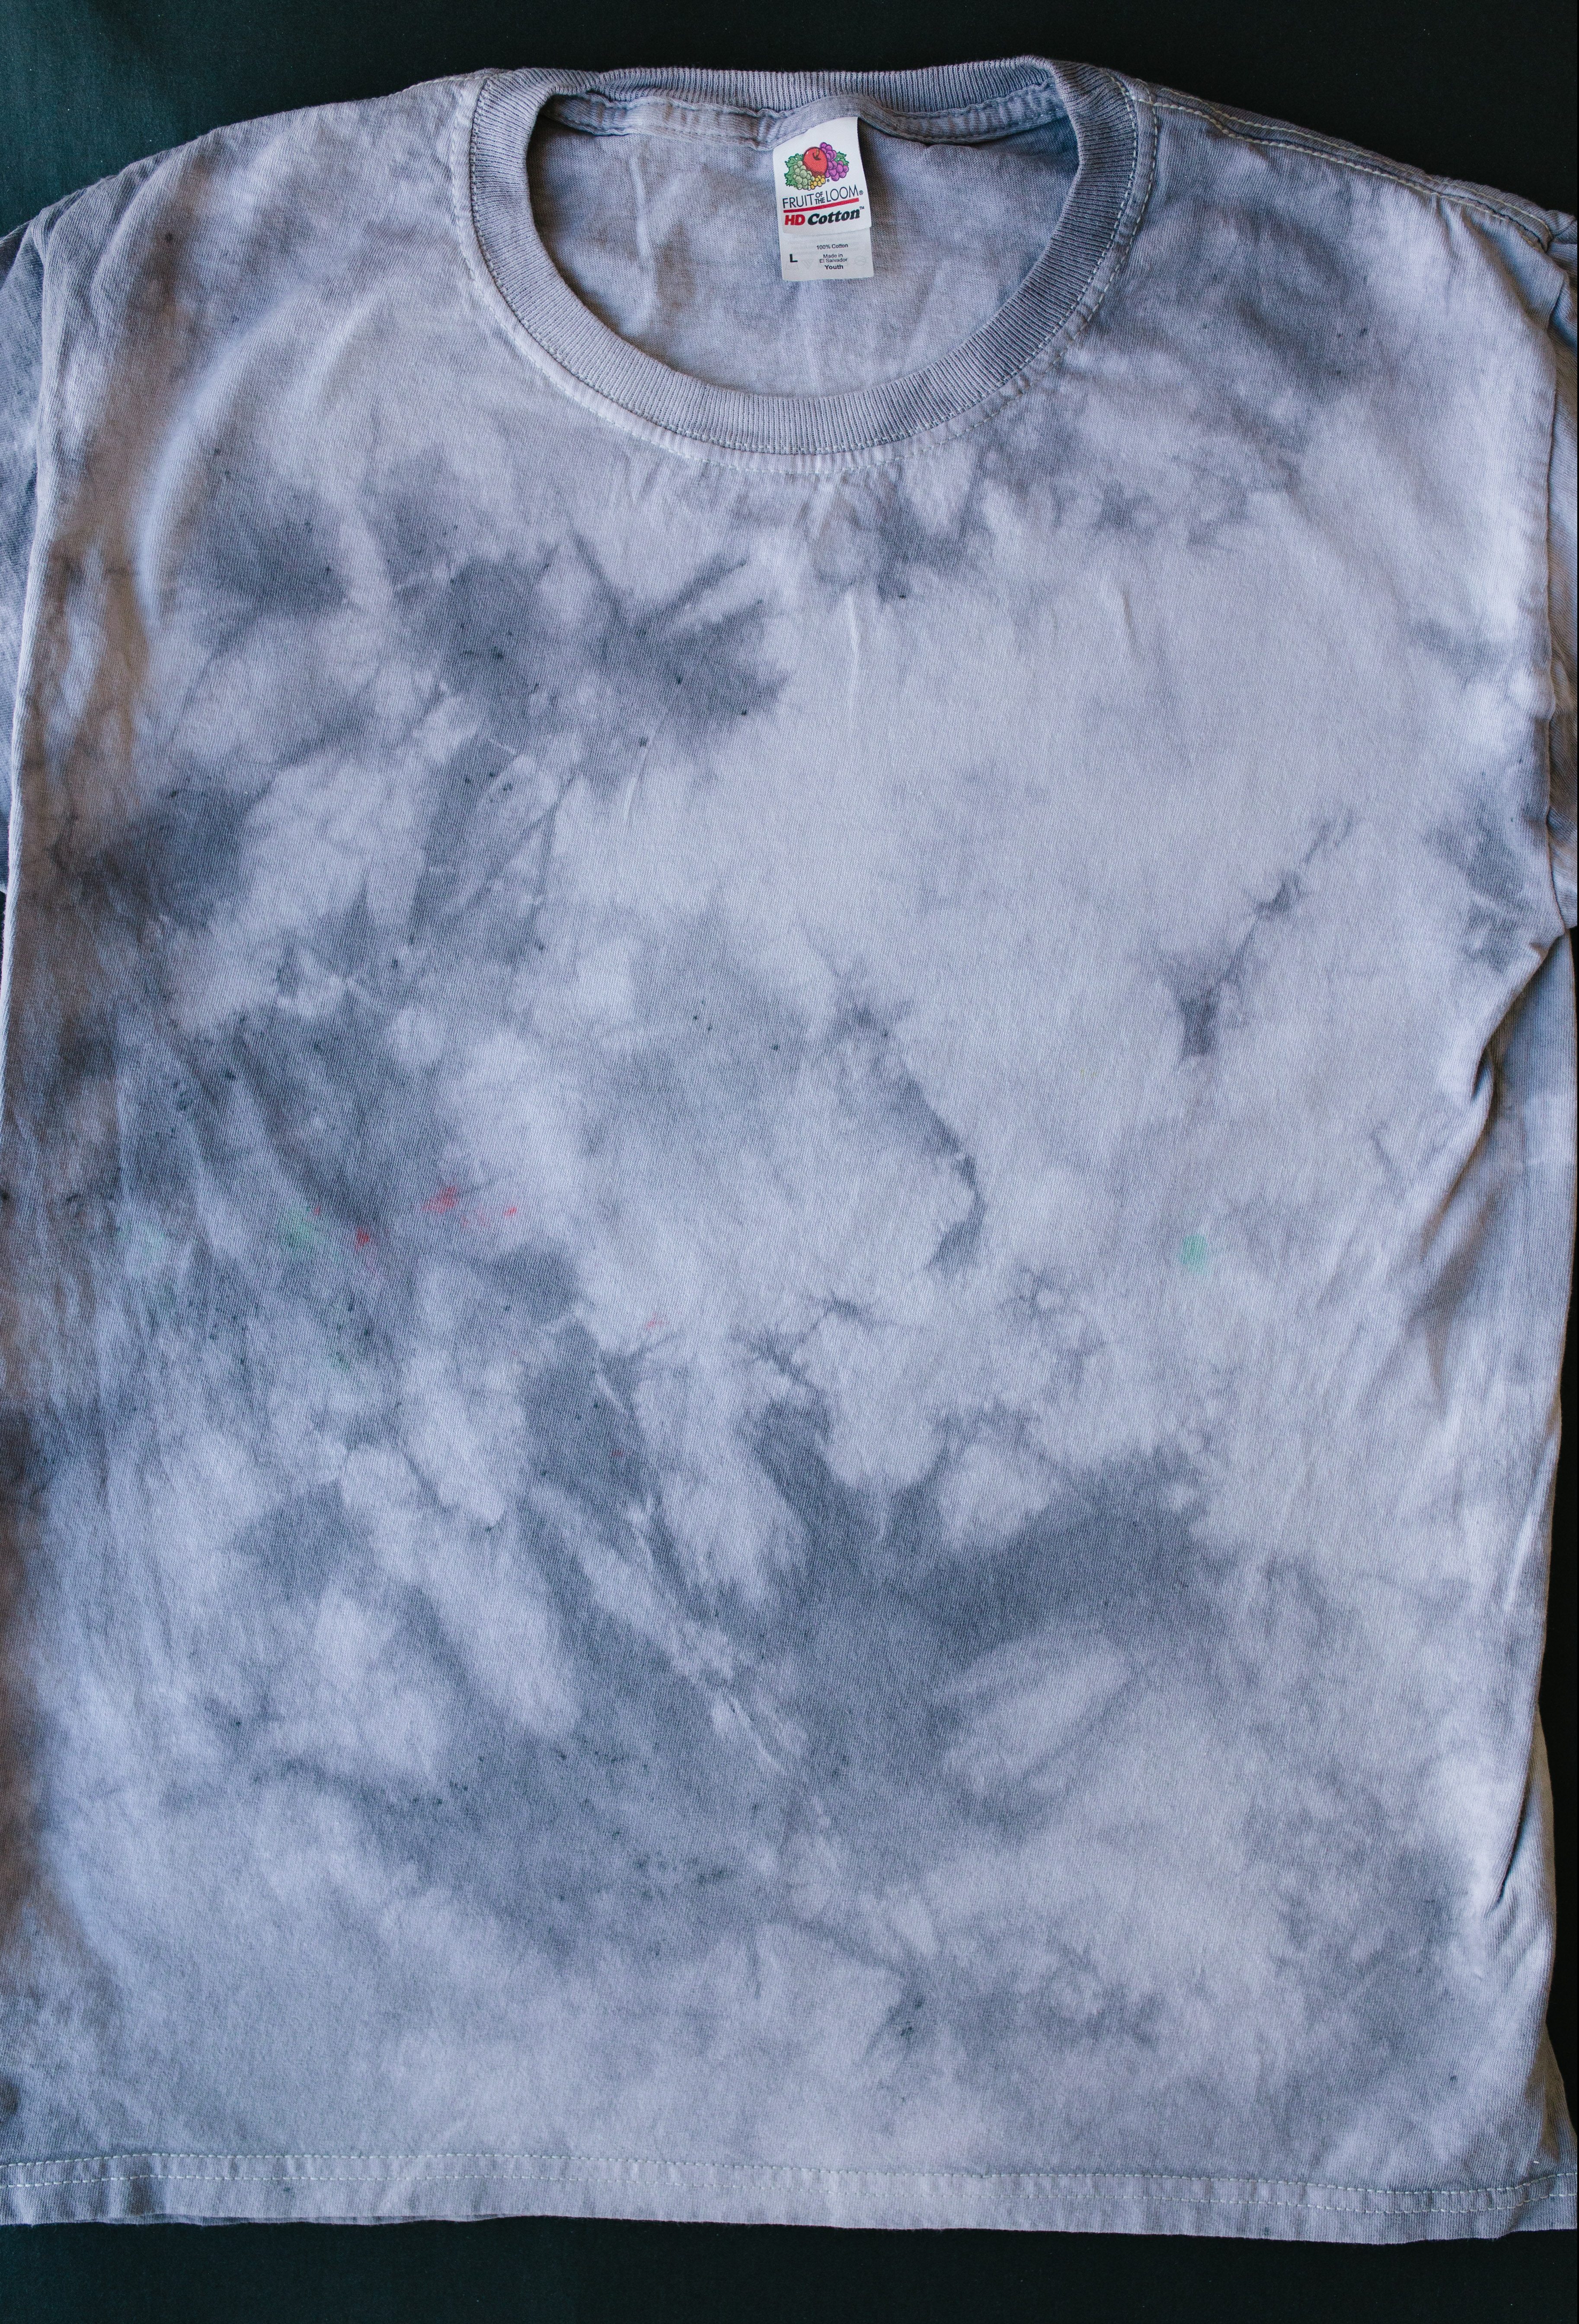
1. Lay damp fabric flat on your work surface. Cut a piece of rope longer than the width of your fabric.
2. Lay the rope on the fabric, and roll the fabric up around the rope. NOTE: The area you initially roll around the rope will have the most white.
3. Tie the ends of the rope together, pulling tightly and scrunching the fabric as much as you can. Knot the rope.
4. Saturate the entire bundle with dye.


For more binding techniques and other tips for tie dye, be sure to check out our book DIY Guide to Tie Dye Style: The Basics and WAY Beyond!

Happy making!
ox. Liz and Sam
Looking for more tie dye inspiration? Here are some of our favorites!
