Sometimes Pinterest can get downright out of hand with it’s fancy Easter egg dying methods. I mean, while I would love to have a collection of eggs that had all of the constellations in our galaxy meticulously hand-painted on them, I’m tired. And I have dinner to make. That’s why I am all about the boxed dying kits you can grab at the store. They are simple, affordable, kid friendly, and you can count on them working. However, if you would like to elevate your eggs ever so slightly but don’t want to have to take a watercolor class to do it, we’ve got a couple of simple ideas for amping up your store-bought dye kits. Here’s how:
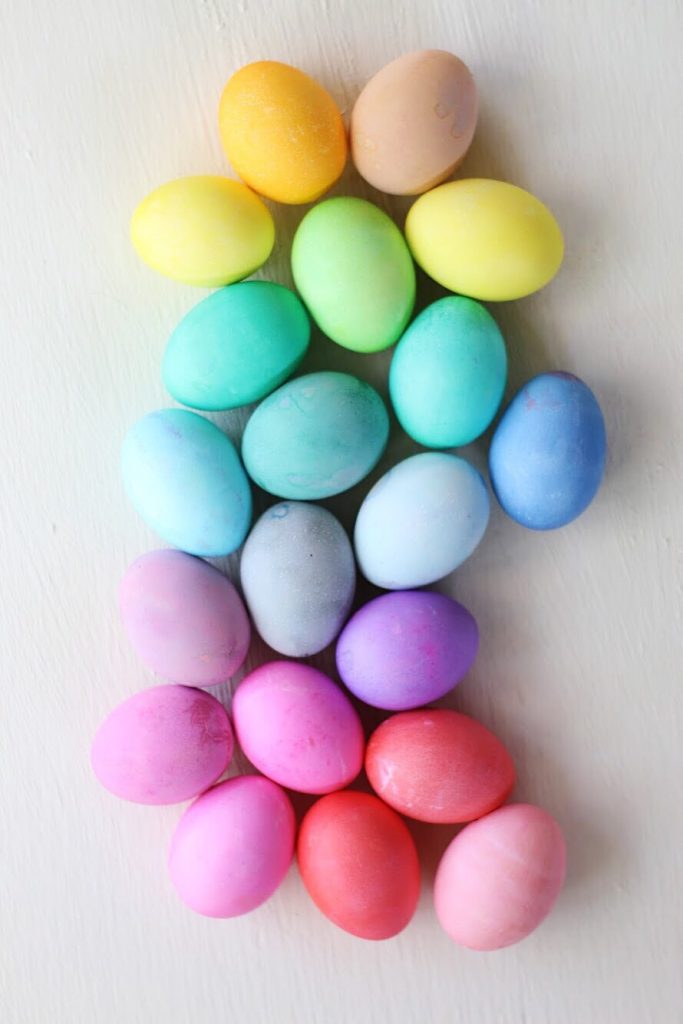
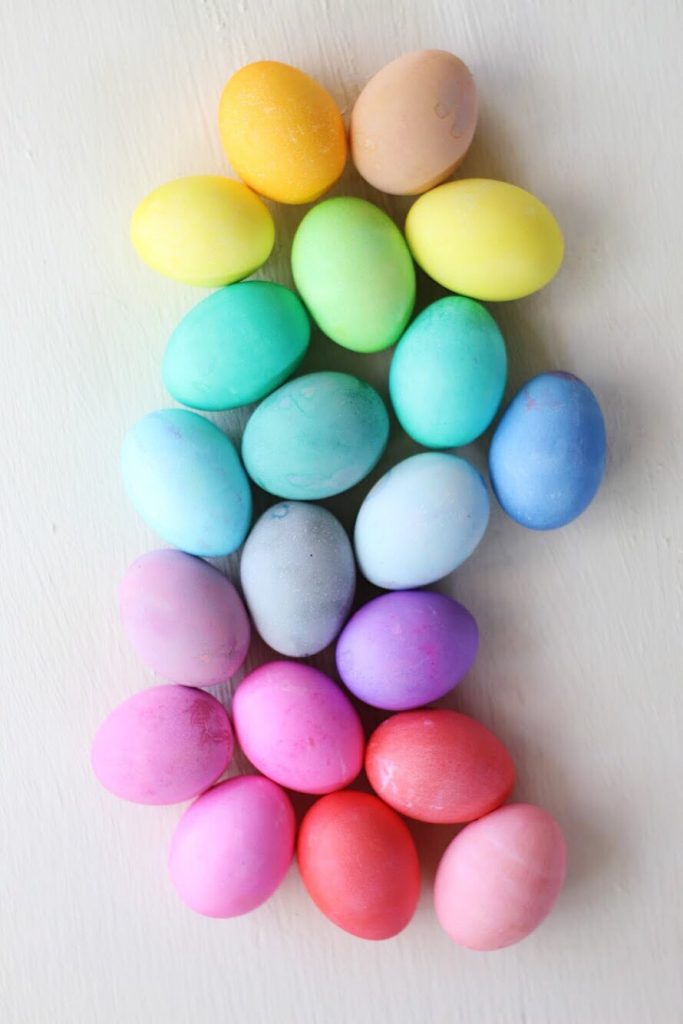
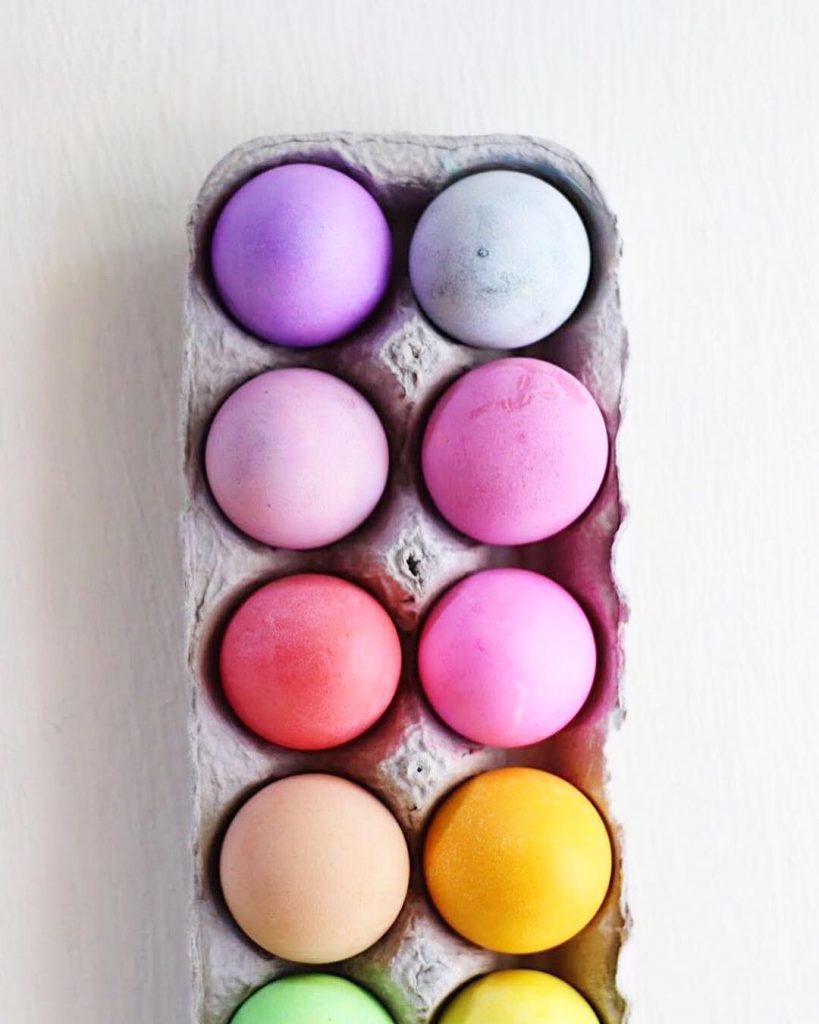
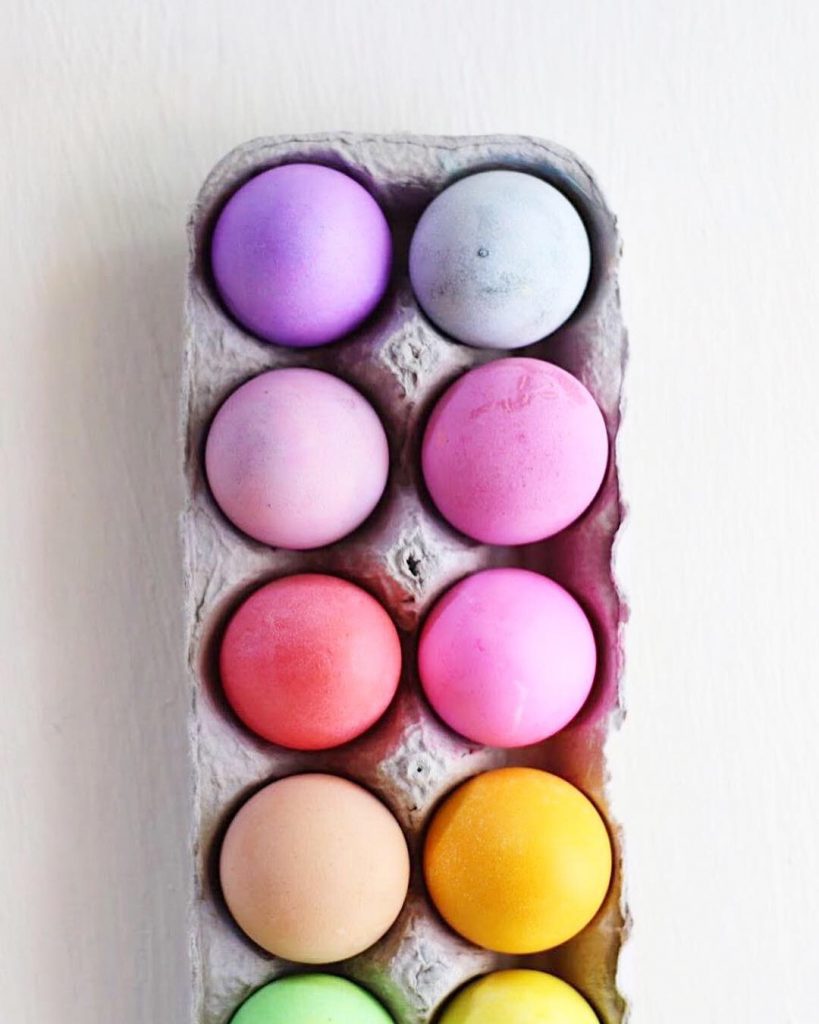
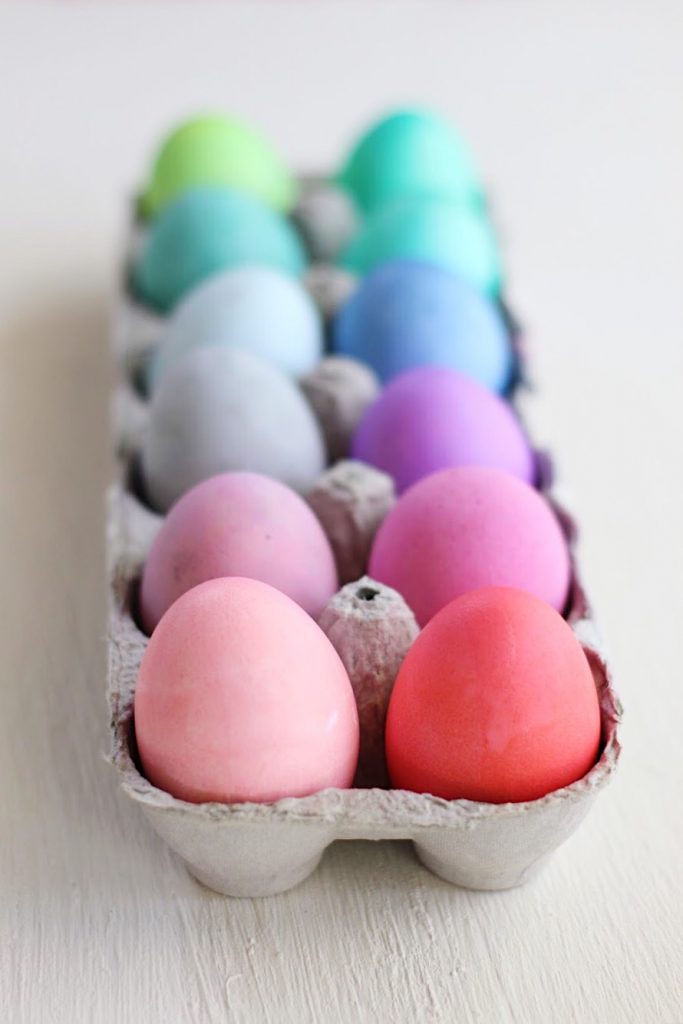
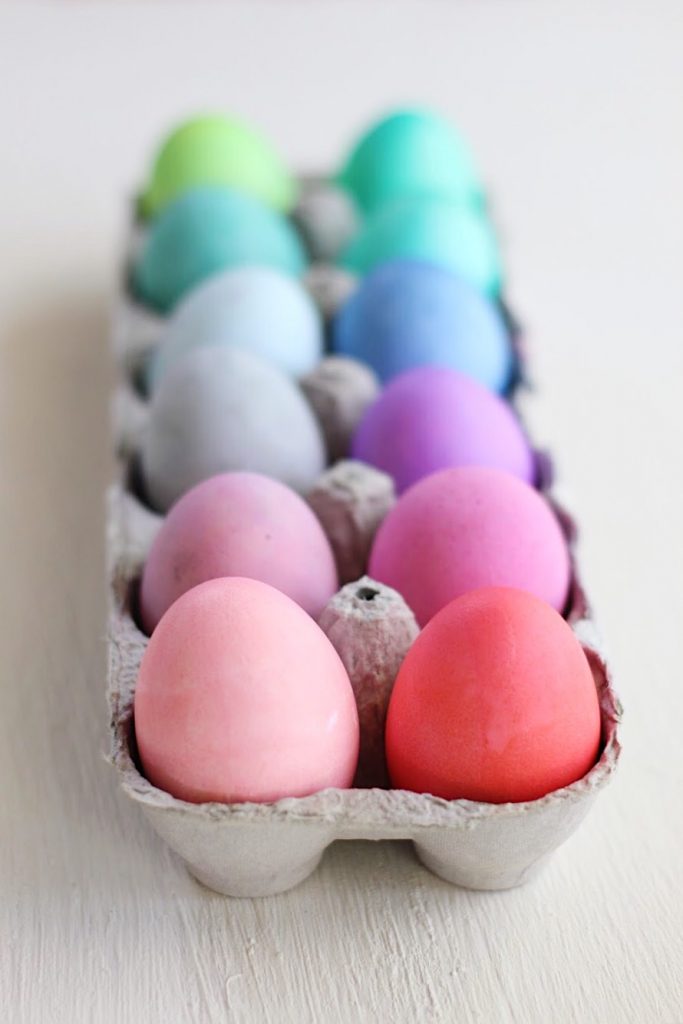
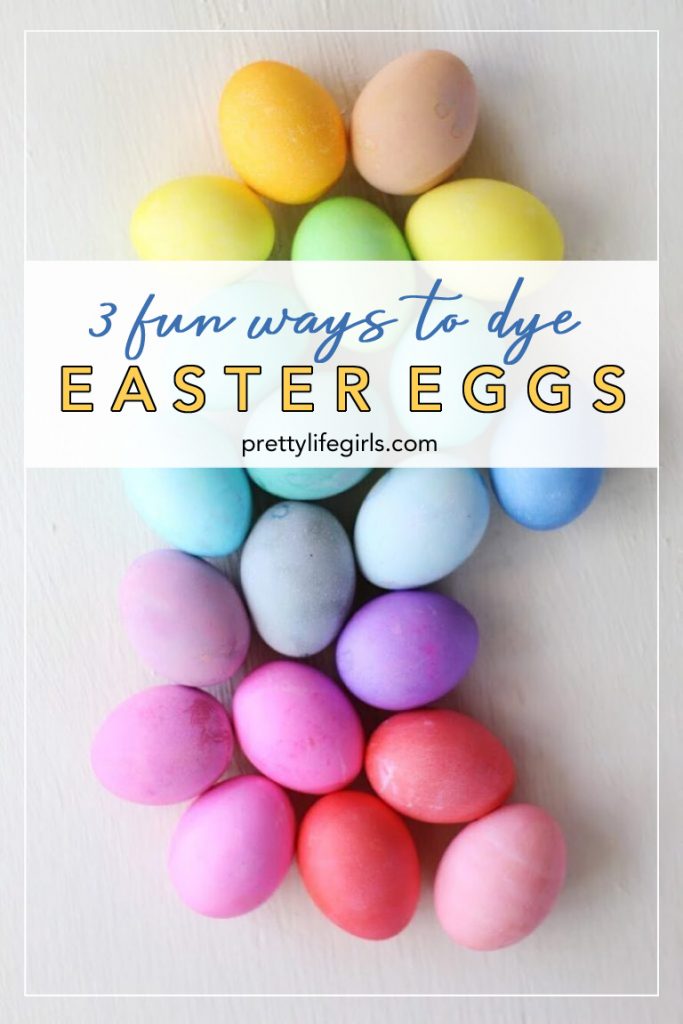
- Vibrant and Varied: I love using a basic kit to make vibrant solid-colored eggs, and I especially love finding ways to make more colors out of the kits at the grocery store. One way is to dye your eggs with double the vinegar on the box and no water. Then, let them soak for a few minutes in one color, and then a few minutes in another to achieve different colors. I also had fun achieving different shades by using more than just white eggs. Using brown eggs with the kit colors can produce a deep and muted color palette. I also boiled some of my eggs brown eggs in vinegar instead of water which lightened them a bit and made it so that when they were dyed they made a new batch of interesting colors you couldn’t get from a plain white egg.

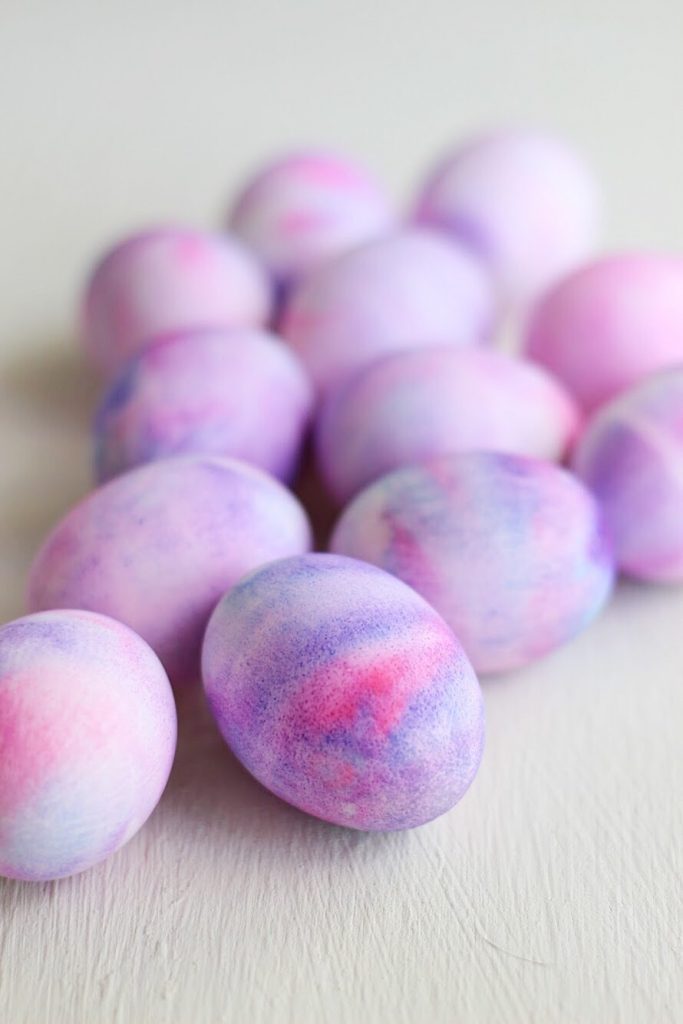

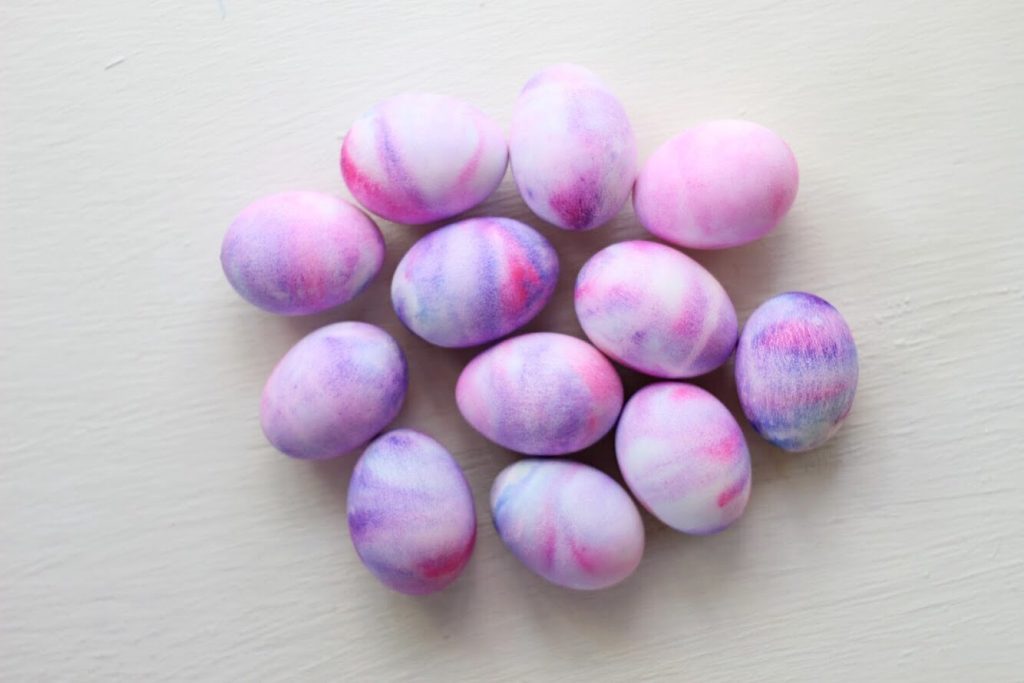

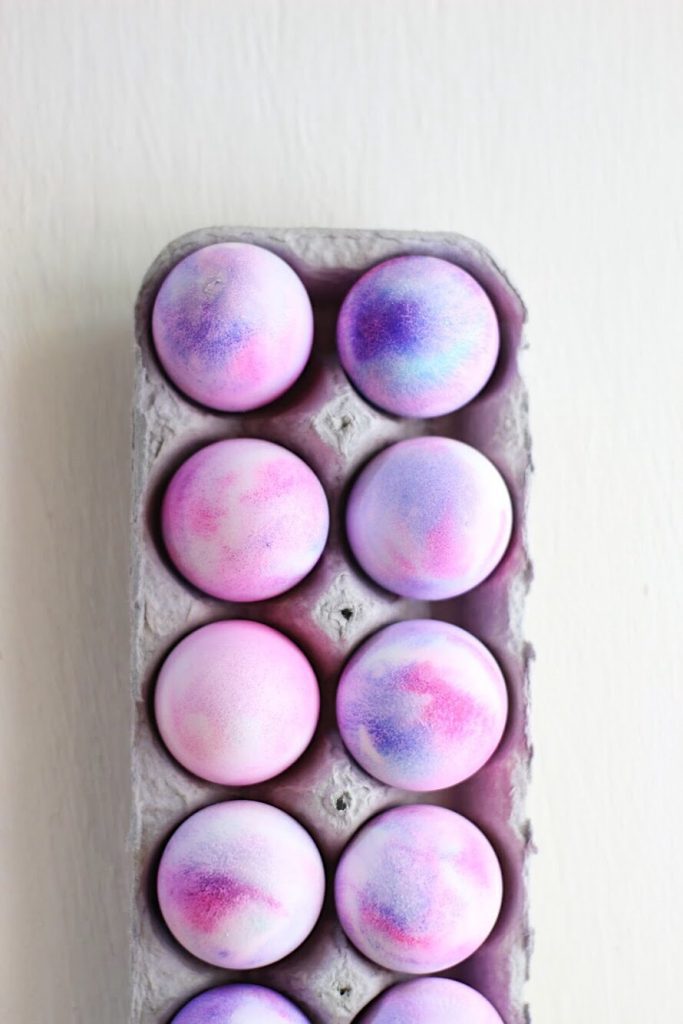
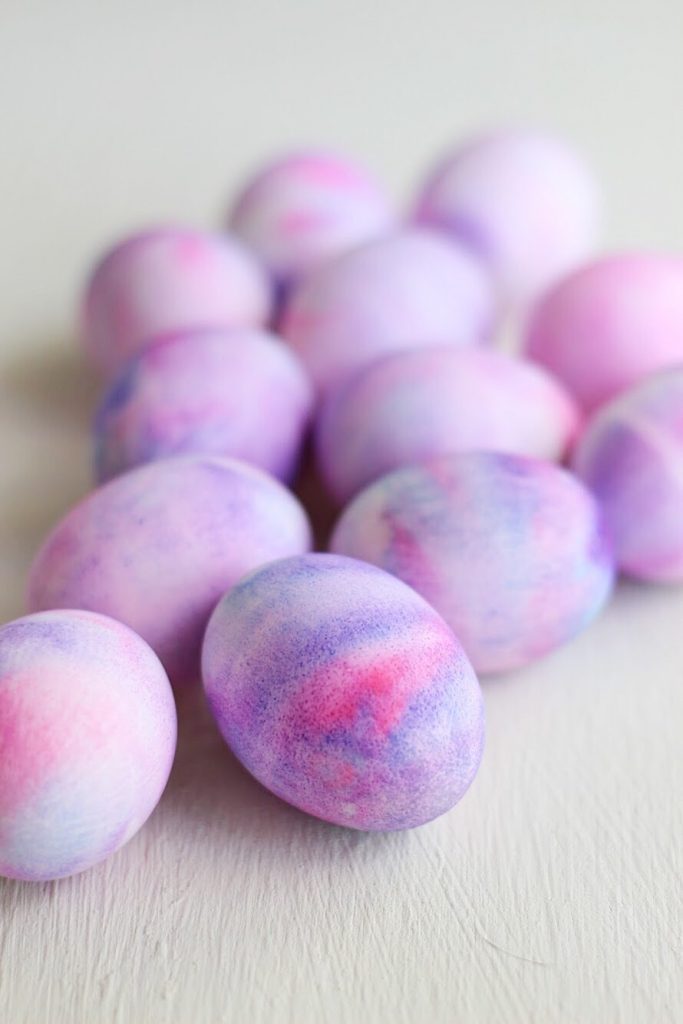
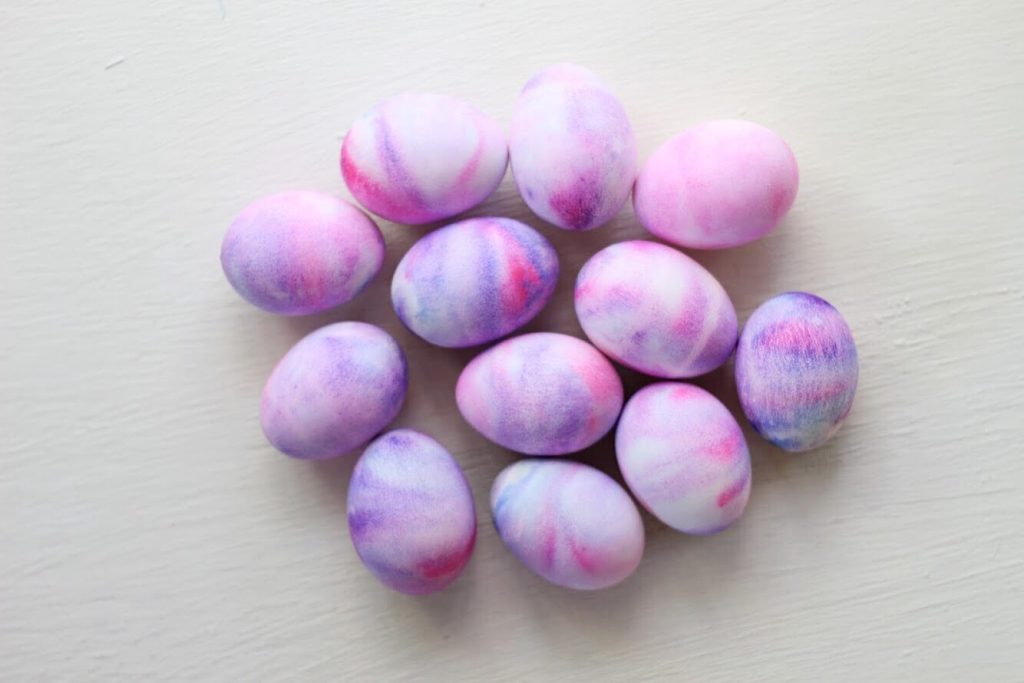
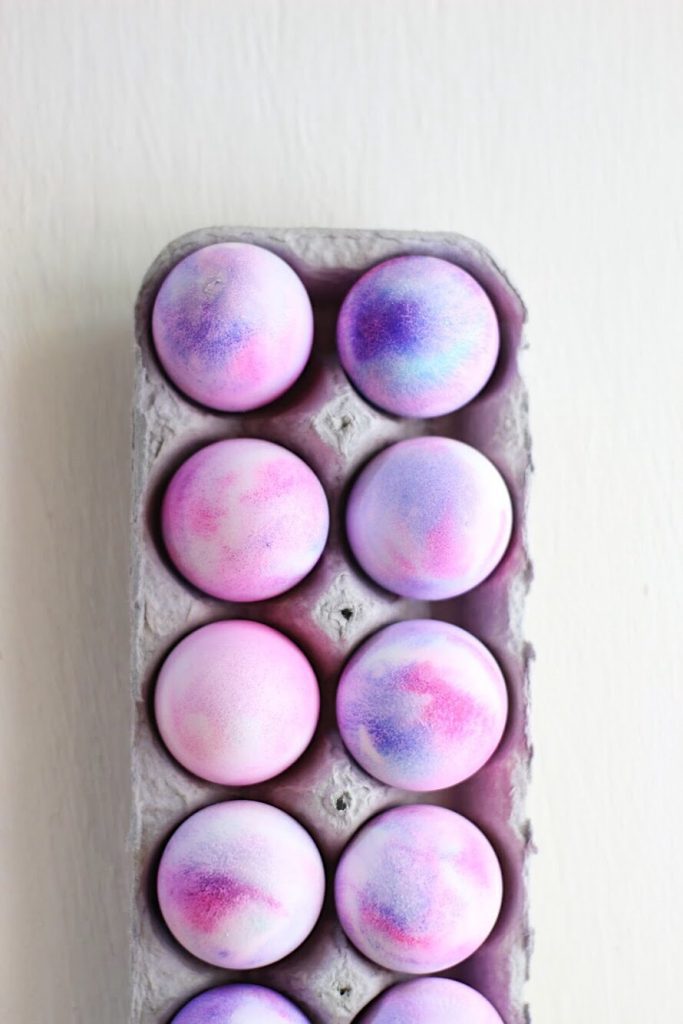
- Unicorn Swirl Eggs: This might be our new favorite method for egg dying. You can get this effect by using this kit from PAAS, or you can do it using shaving cream and food coloring. The kit comes with a foam that you cover with dye, swirl, and then roll your eggs. Then, let the eggs sit for awhile in the foam, rinse them, and voila! You’ve got beautiful, magical eggs! If you buy the kit it also comes with glue and glitter so you can make them extra special.

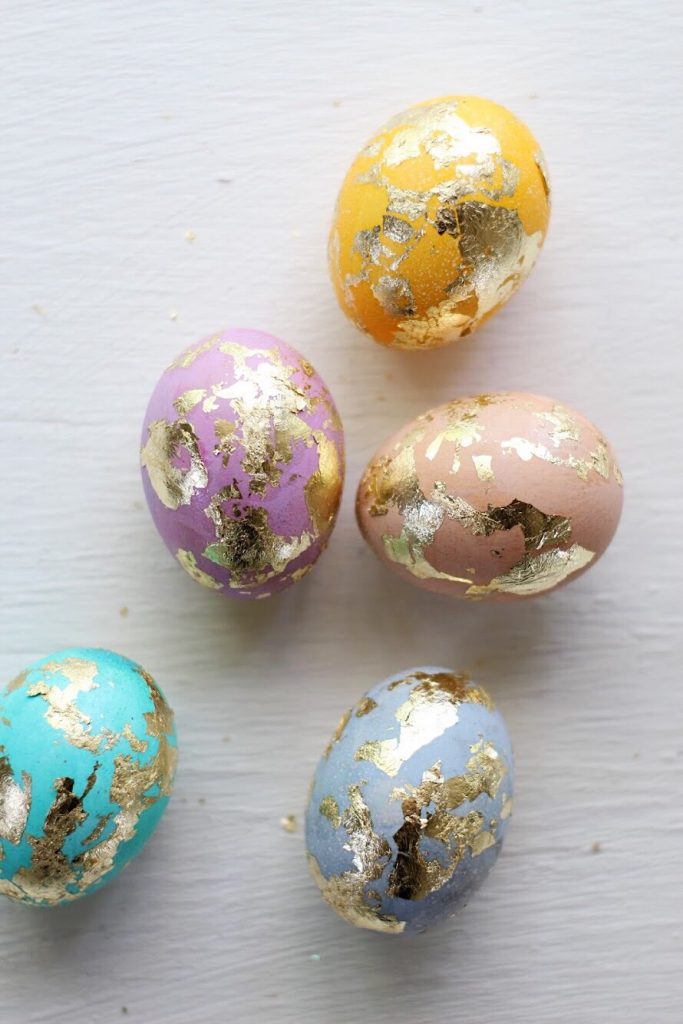

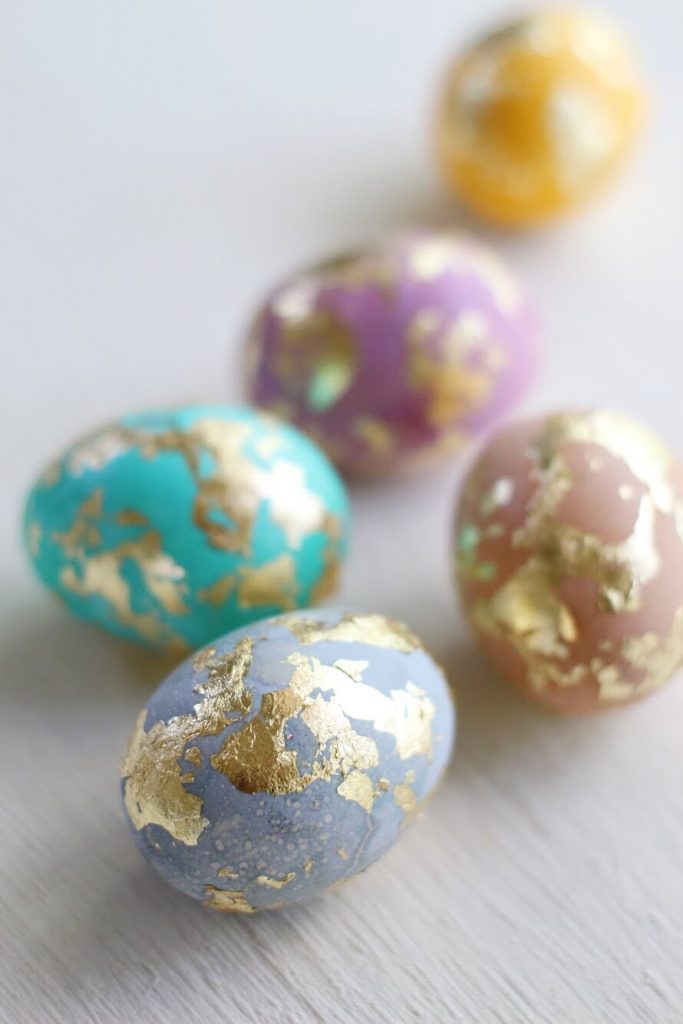

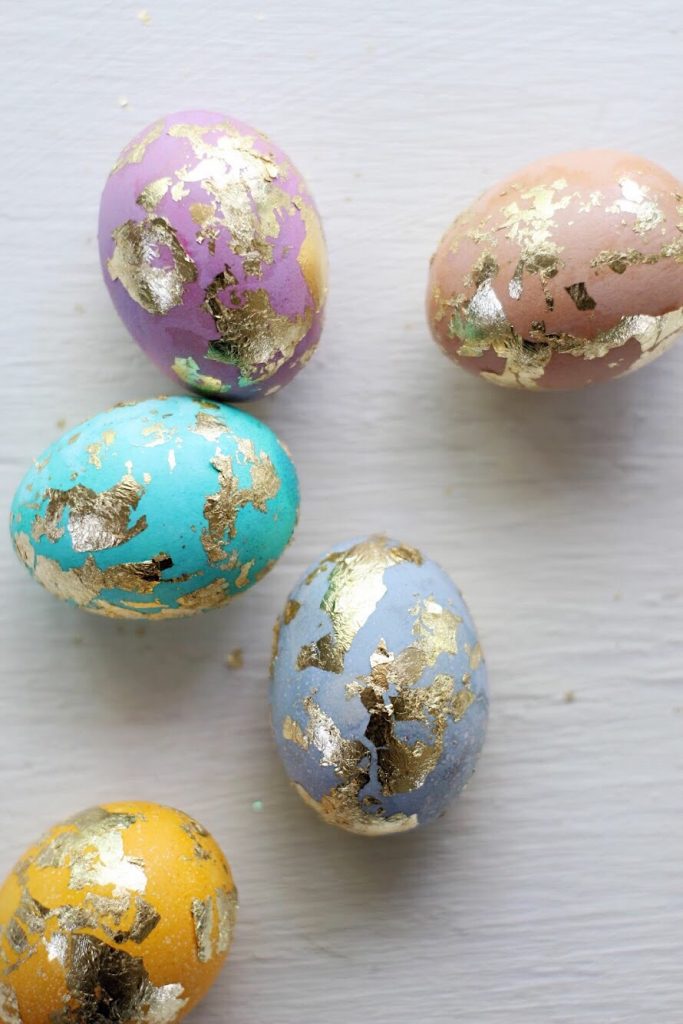
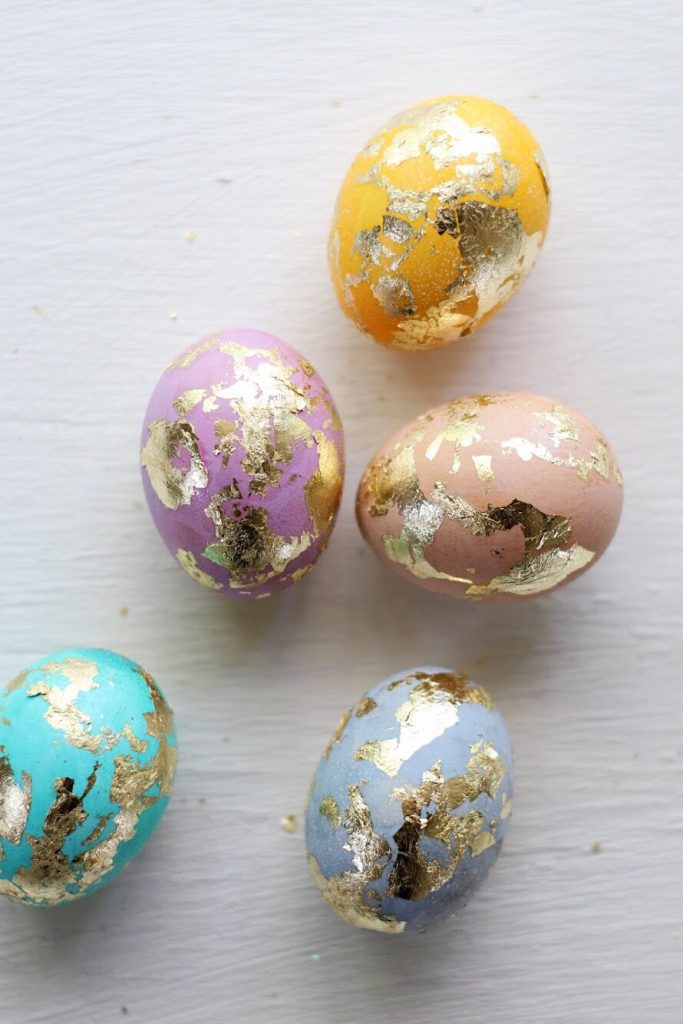
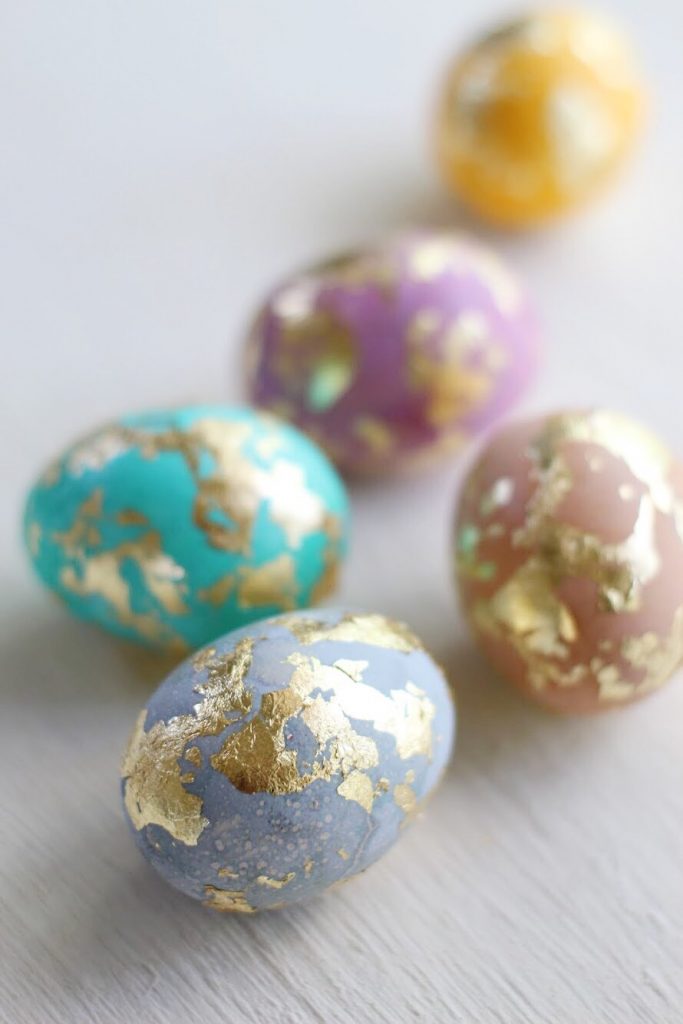
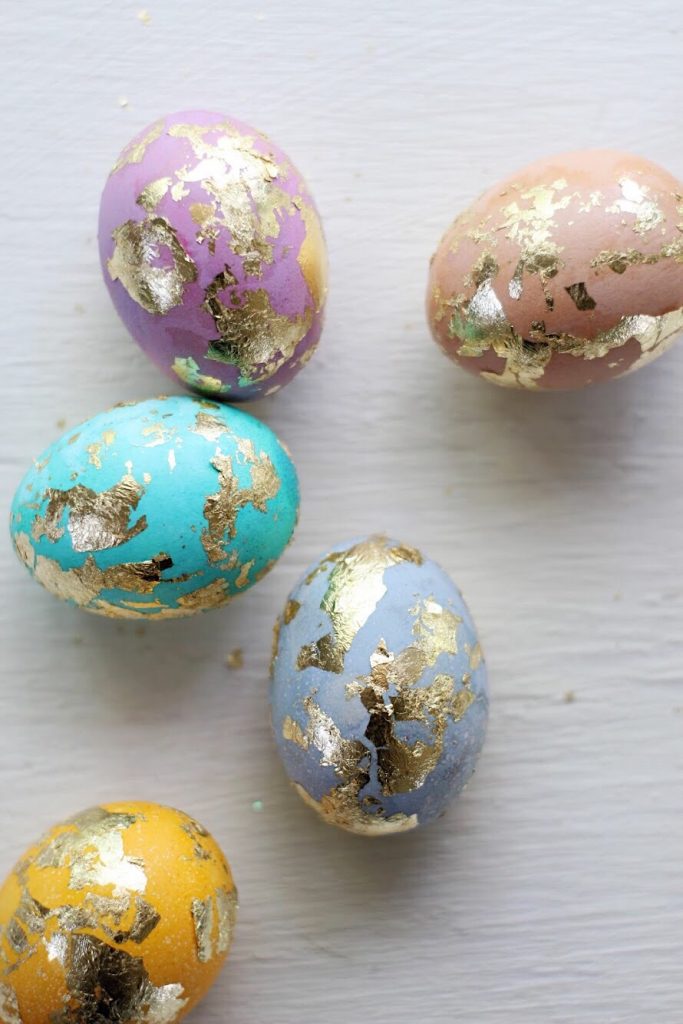
- Gold Foil Eggs: This method is such a simple way to take your dyed eggs to the next level. Once your eggs are dyed with your kit and completely dry, use Mod Podge, Elmer’s glue, or foil glue and blot a light layer of glue all around the surface of the egg, using a paint brush. Let dry for about 30 seconds or until tacky. Then, press a gold foil sheet to the tacky glue. Once the foil has adhered to the glue, gently rub off the excess foil. Repeat process all over the egg until you have covered it with foil to your liking.
That’s it! You’re ready to have an EGG-cellent time! (I’M SORRY, BUT I HAVE TO MAKE THAT JOKE EVERY YEAR. IT’S THE LAW.) And be sure to let us know how you are dyeing your eggs this year! We’d love to hear!
Happy Easter!
ox. Liz
