These DIY Plant Markers are sponsored by Plaid Crafts. All opinions are ours alone.
This post may contain affiliate links, which help us support this site.
Spring is HERE. We did it! It certainly wasn’t easy and, here in Utah, Mother Nature is still a bit confused about what she’s feeling, BUT, it’s here nonetheless! So, what is first on your spring to-do list? Are you planting flower pots? Getting those garden boxes ready? Whipping up a colorful wreath for your front door? We love it all. Give us green and flowers and sunshine!
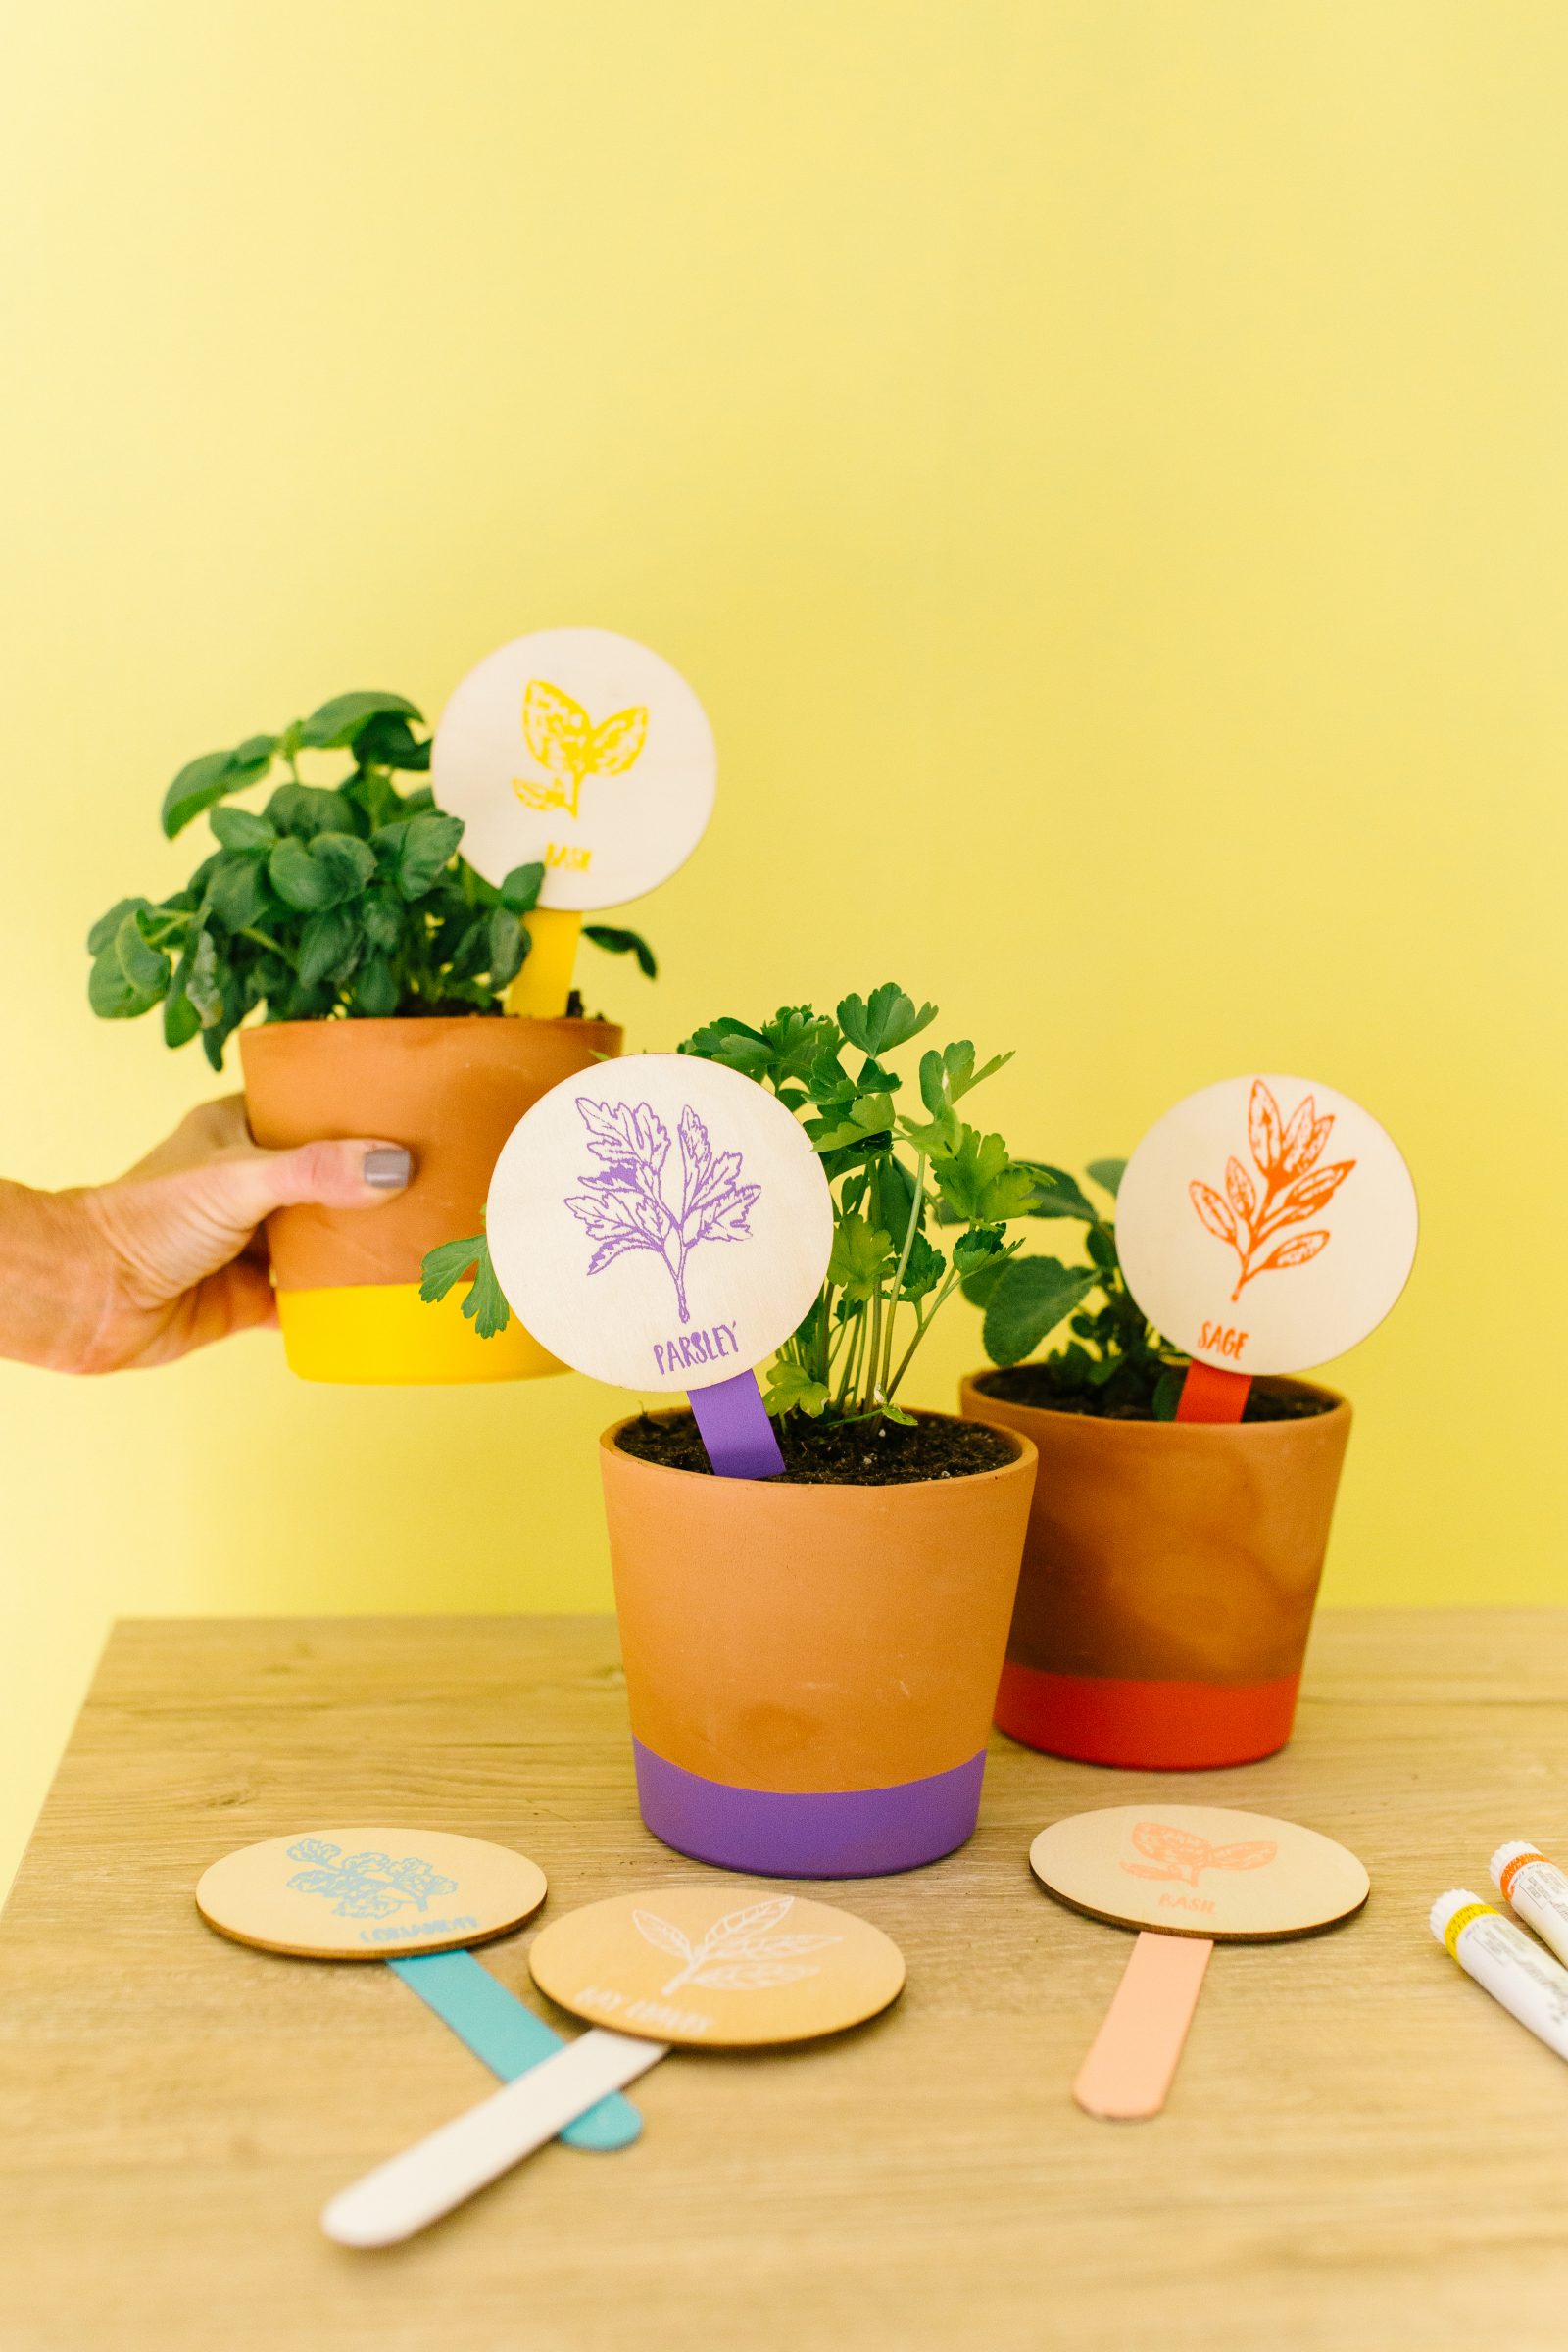
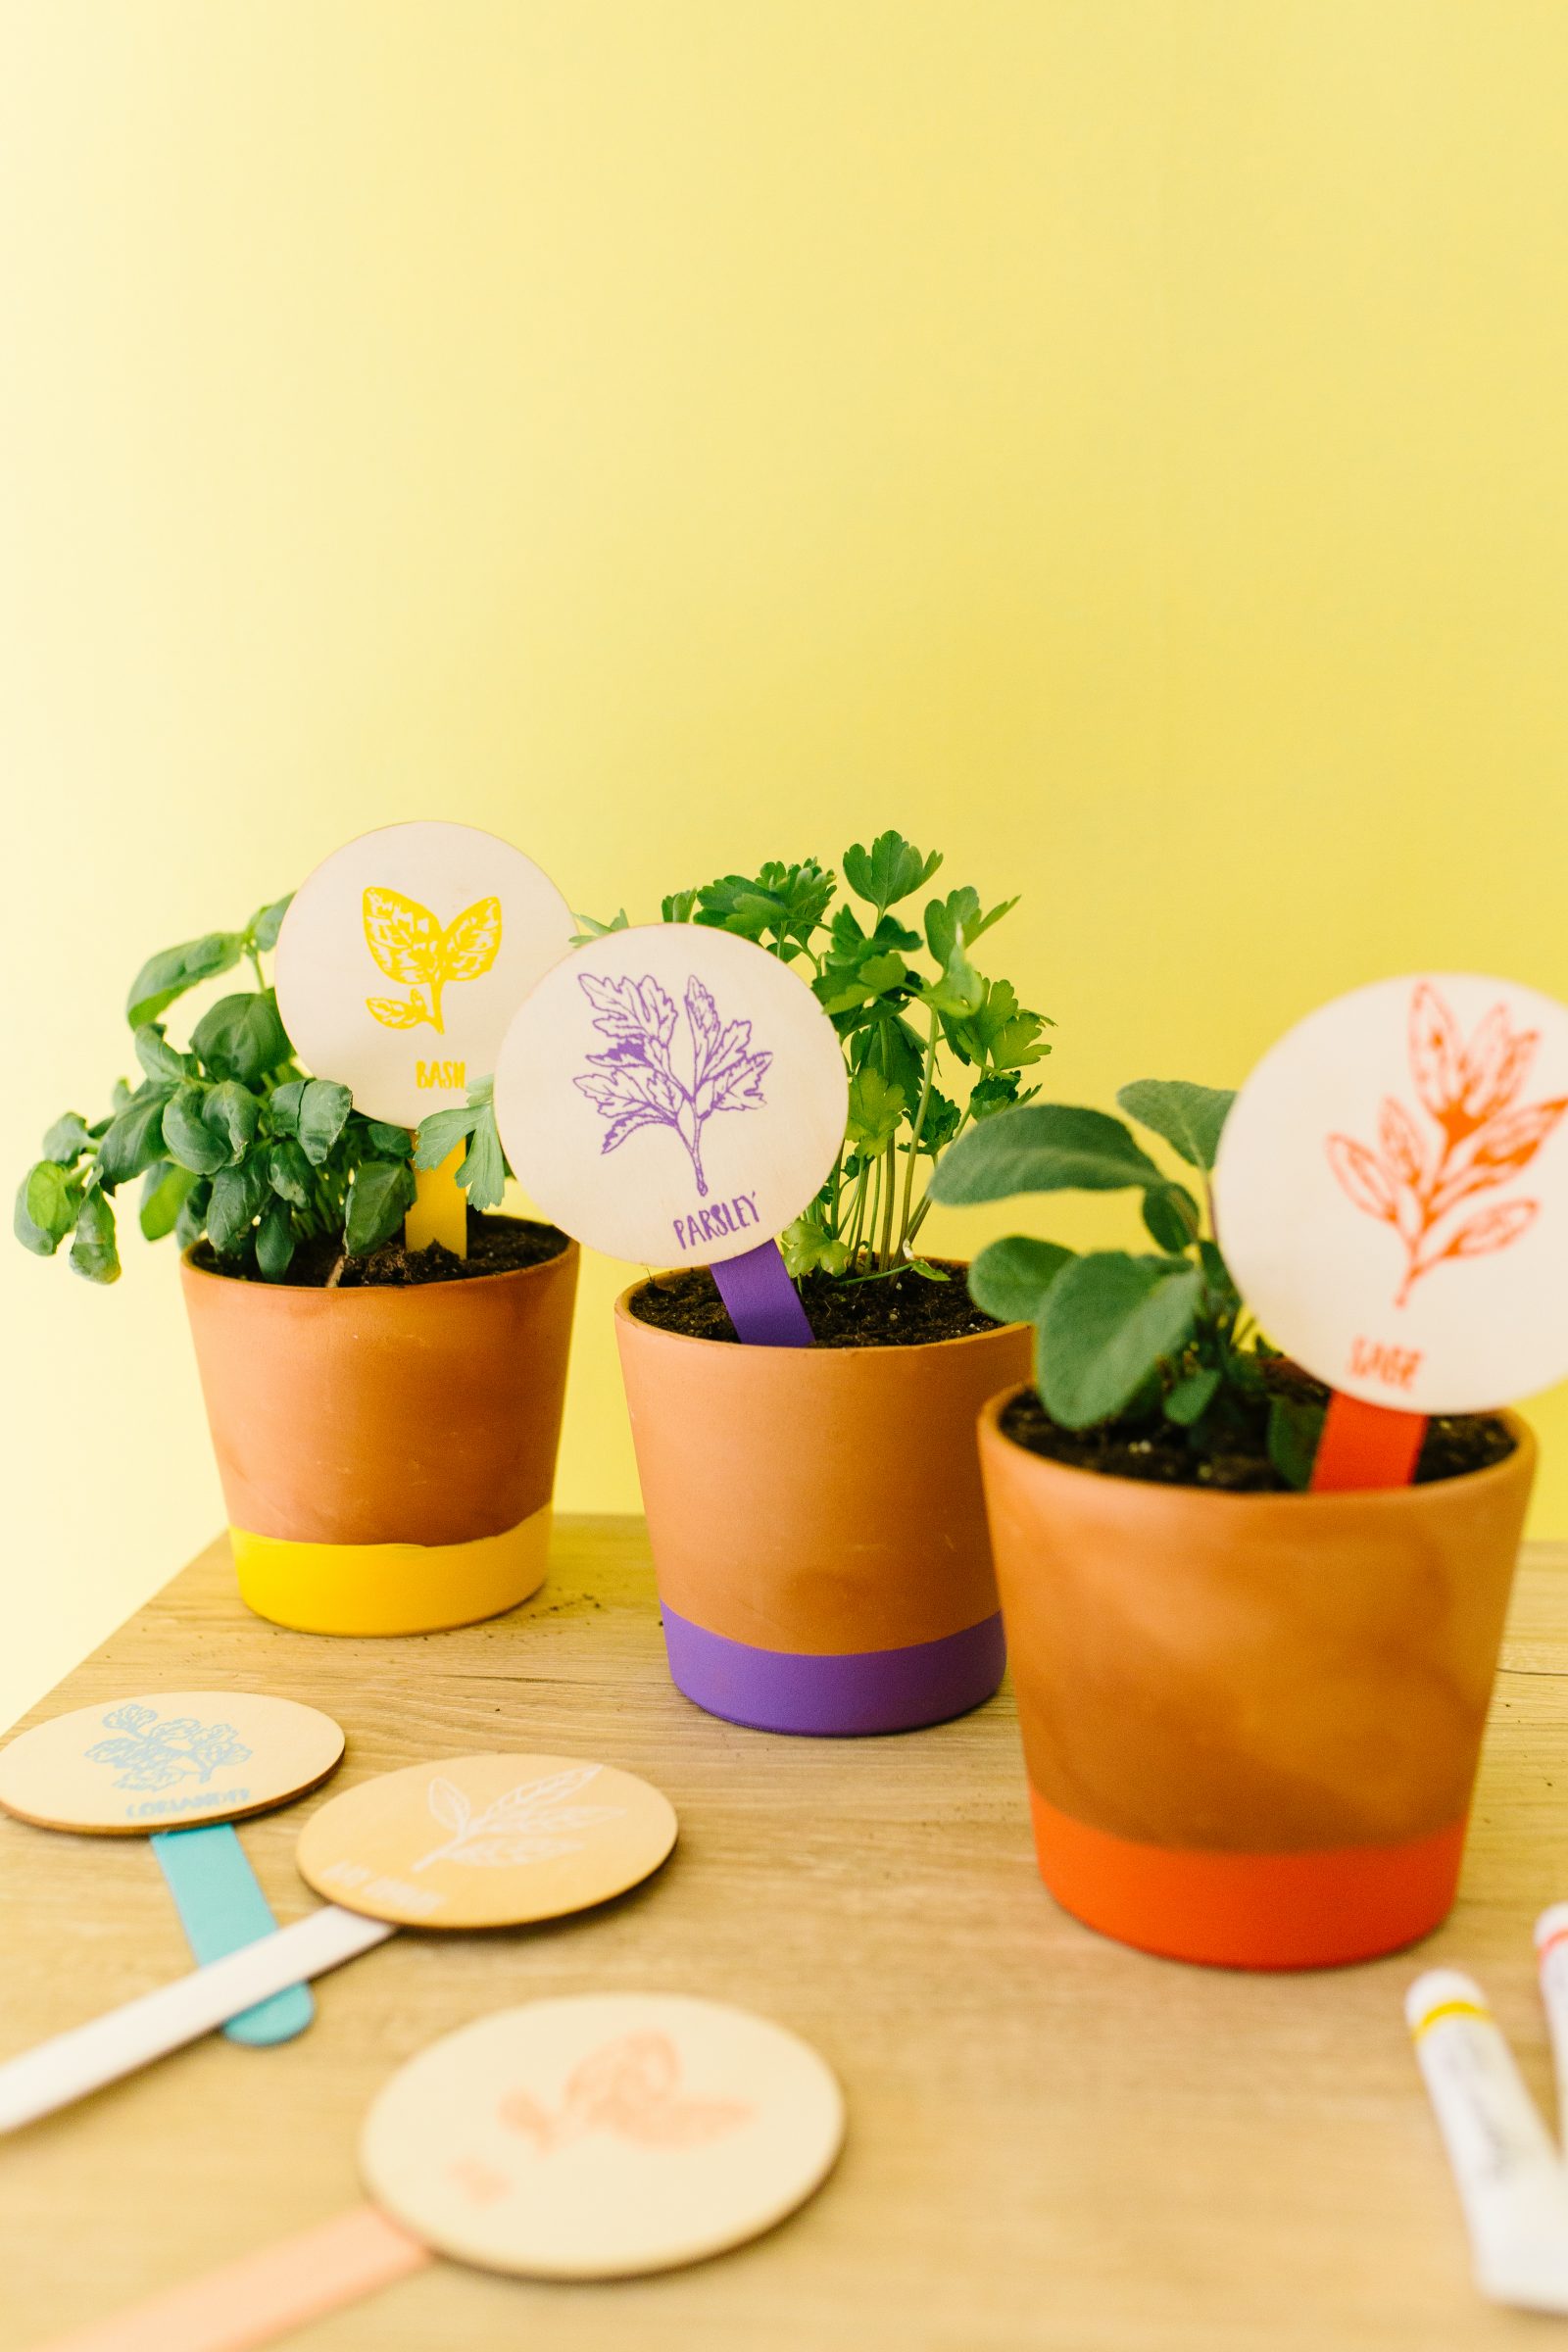
We definitely have our eyes on getting our own garden into shape, but since we still have snow on the forecast (like I said, time to get it together, Mother Nature) we are working on some starters and pots that can be kept safe inside for the time being. So, today we are excited to share a fun herb garden idea for making matching pots and DIY plant markers for your herbs, and we are using a new product from one of our favorite crafty brands to do it! Our friends at Plaid Crafts have set up the all new FolkArt Sign Shop with all of the tools you need for any kind of sign-making which include the new FolkArt Sign Shop mesh stencils that allowed us to create our herb markers with such beautiful detail we can’t believe we made them ourselves!
Aside from the herb stencils they also have a huge variety of trendy designs, letters and phrases that can be used on wood, canvas, fabric and more! Plus, each mesh stencil screen has an adhesive backing and can be repositioned easily so you will get awesome results every time. To achieve the most gorgeous effects on our surface we used the FolkArt Sign Shop Acrylic Stencil Pastes which helps to add character and extraordinary detail.
We KNOW you are going to be so obsessed with these products and everything you need to get started on your own sign-making project can be found in the FolkArt Sign Shop exclusively at Michaels stores nationwide. Now, let’s show you how we used them!

Supplies Needed to Make DIY Plant Markers
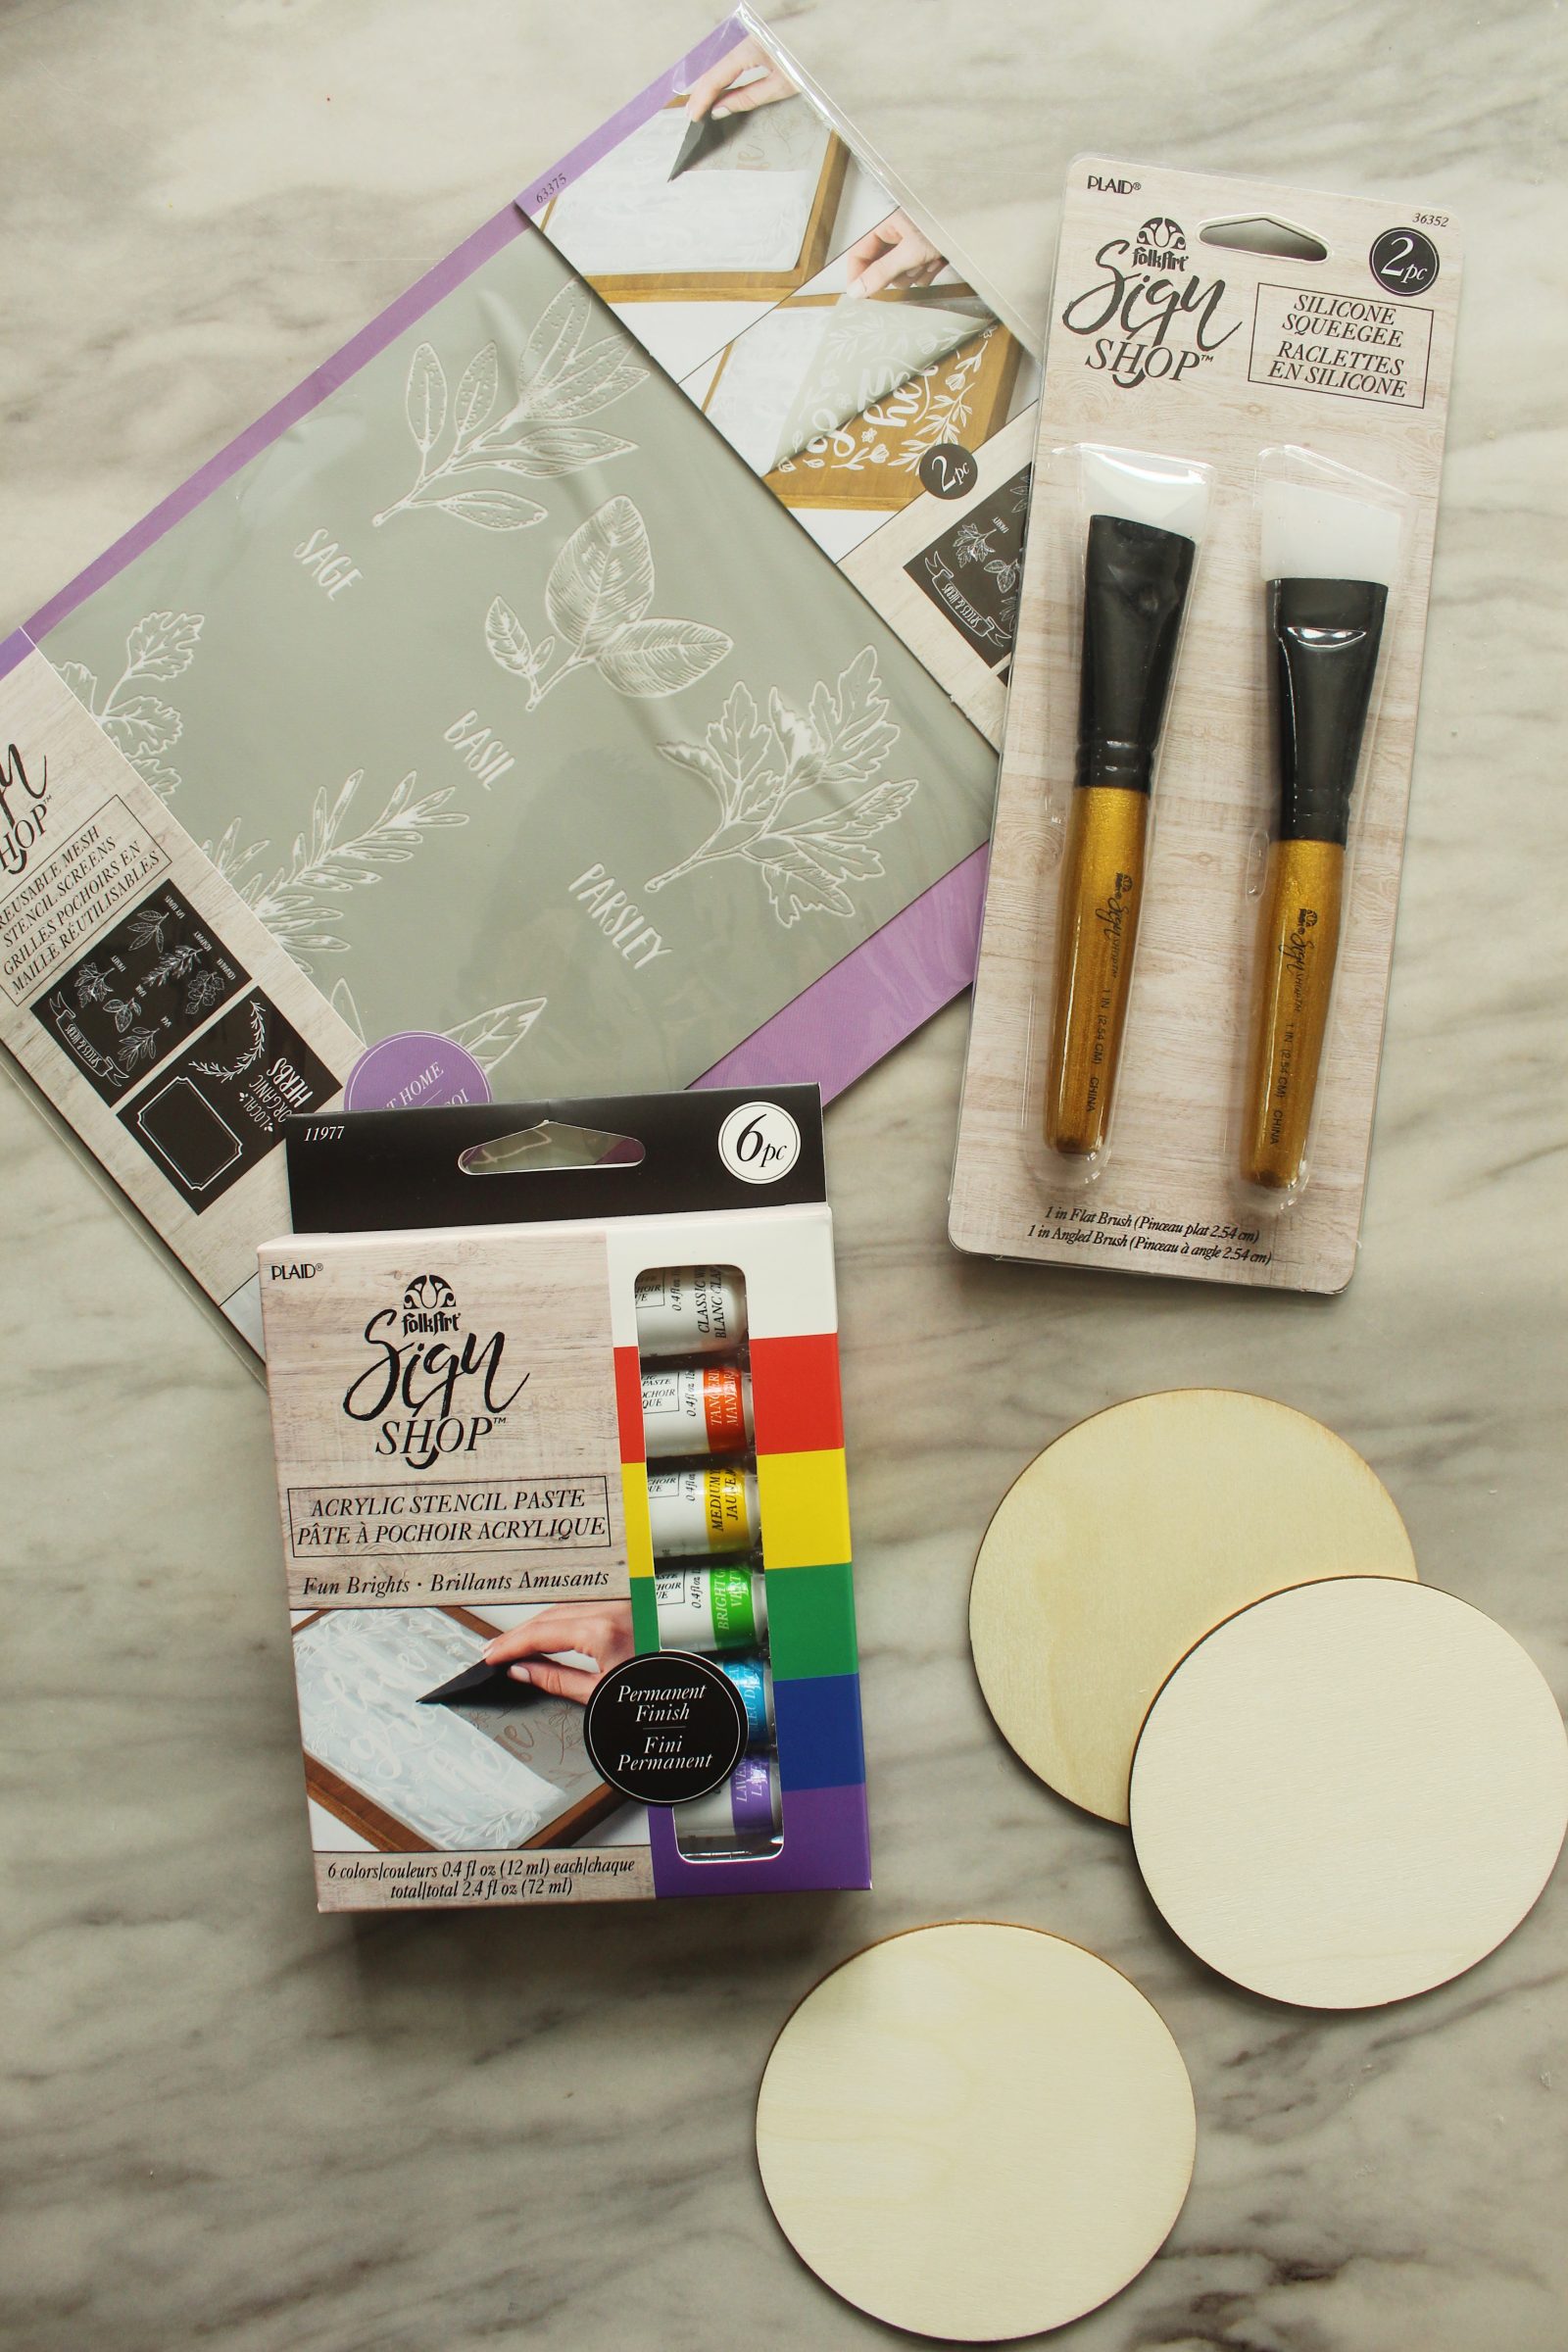
FolkArt® Sign Shop™ Paste Brush Set
FolkArt® Sign Shop™ Fun Brights Acrylic Stencil Paste Set
FolkArt® Sign Shop™ At Home Spices & Herbs Reusable Mesh Stencils
Circular Wooden Discs
Large Popsicle Sticks
Plain Pots
Paintbrushes
FolkArt Multi-Surface Paint
Hot Glue Guns + Sticks
Herbs
Potting Soil

How to Make DIY Plant Markers
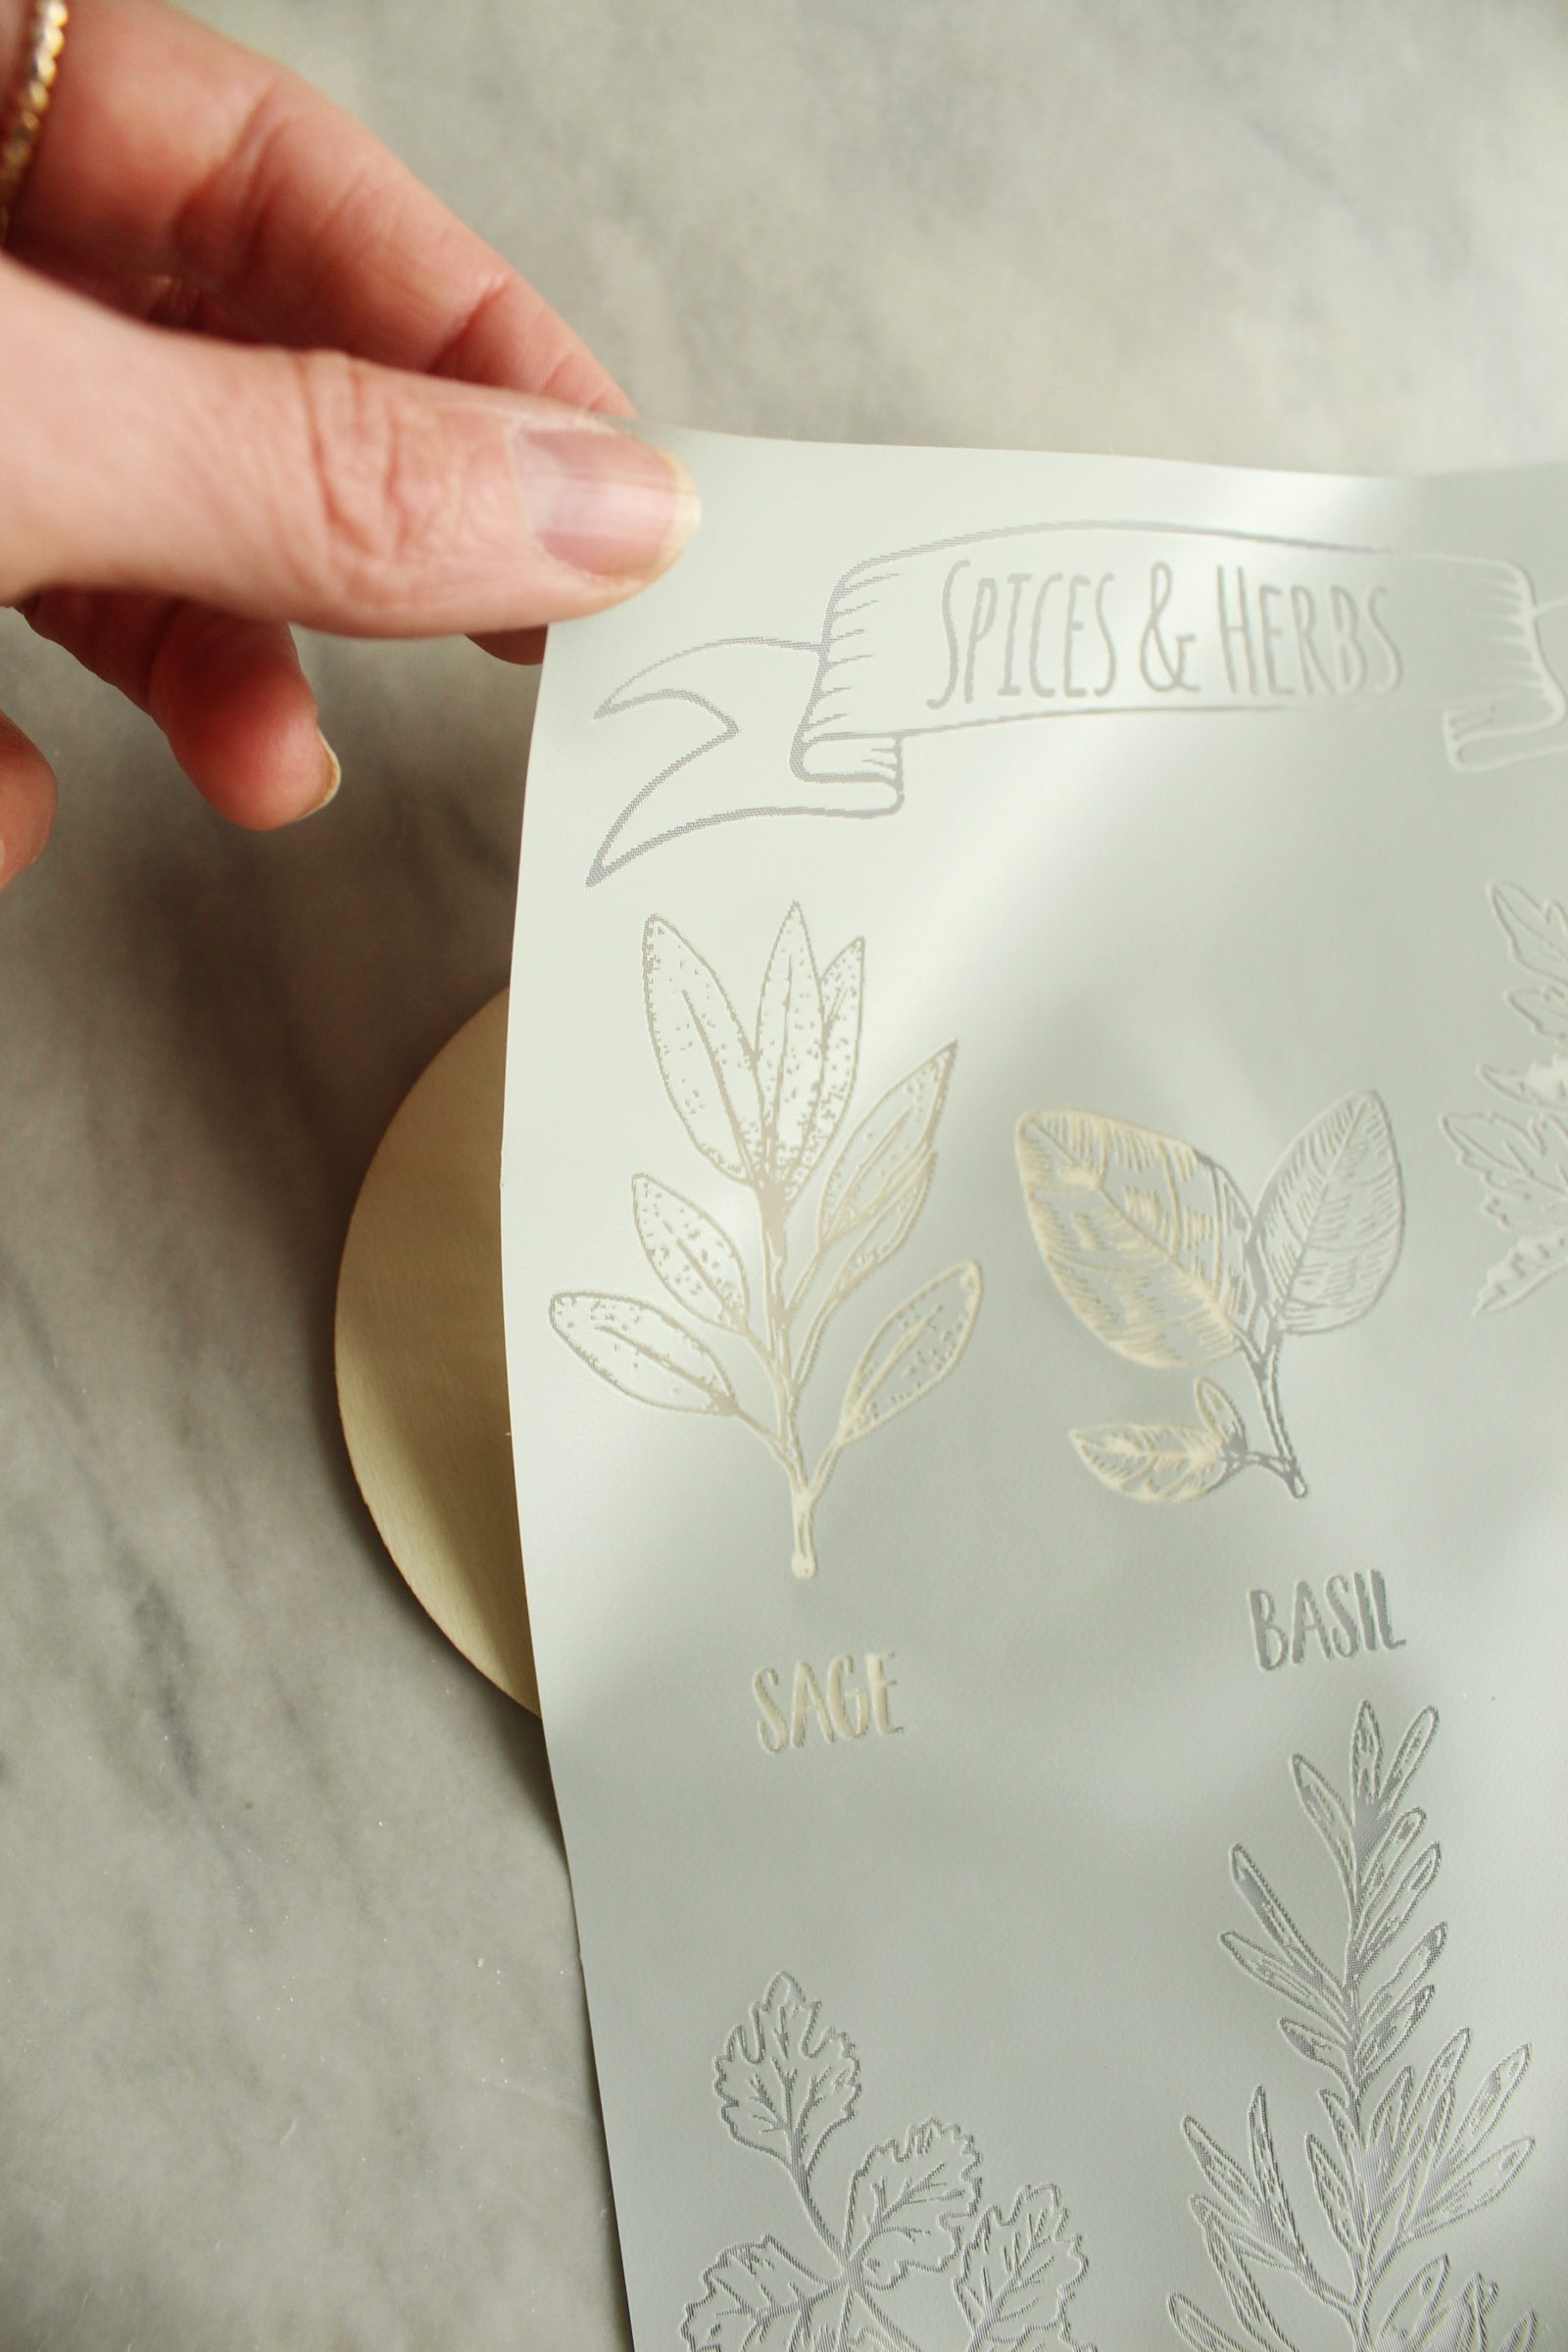
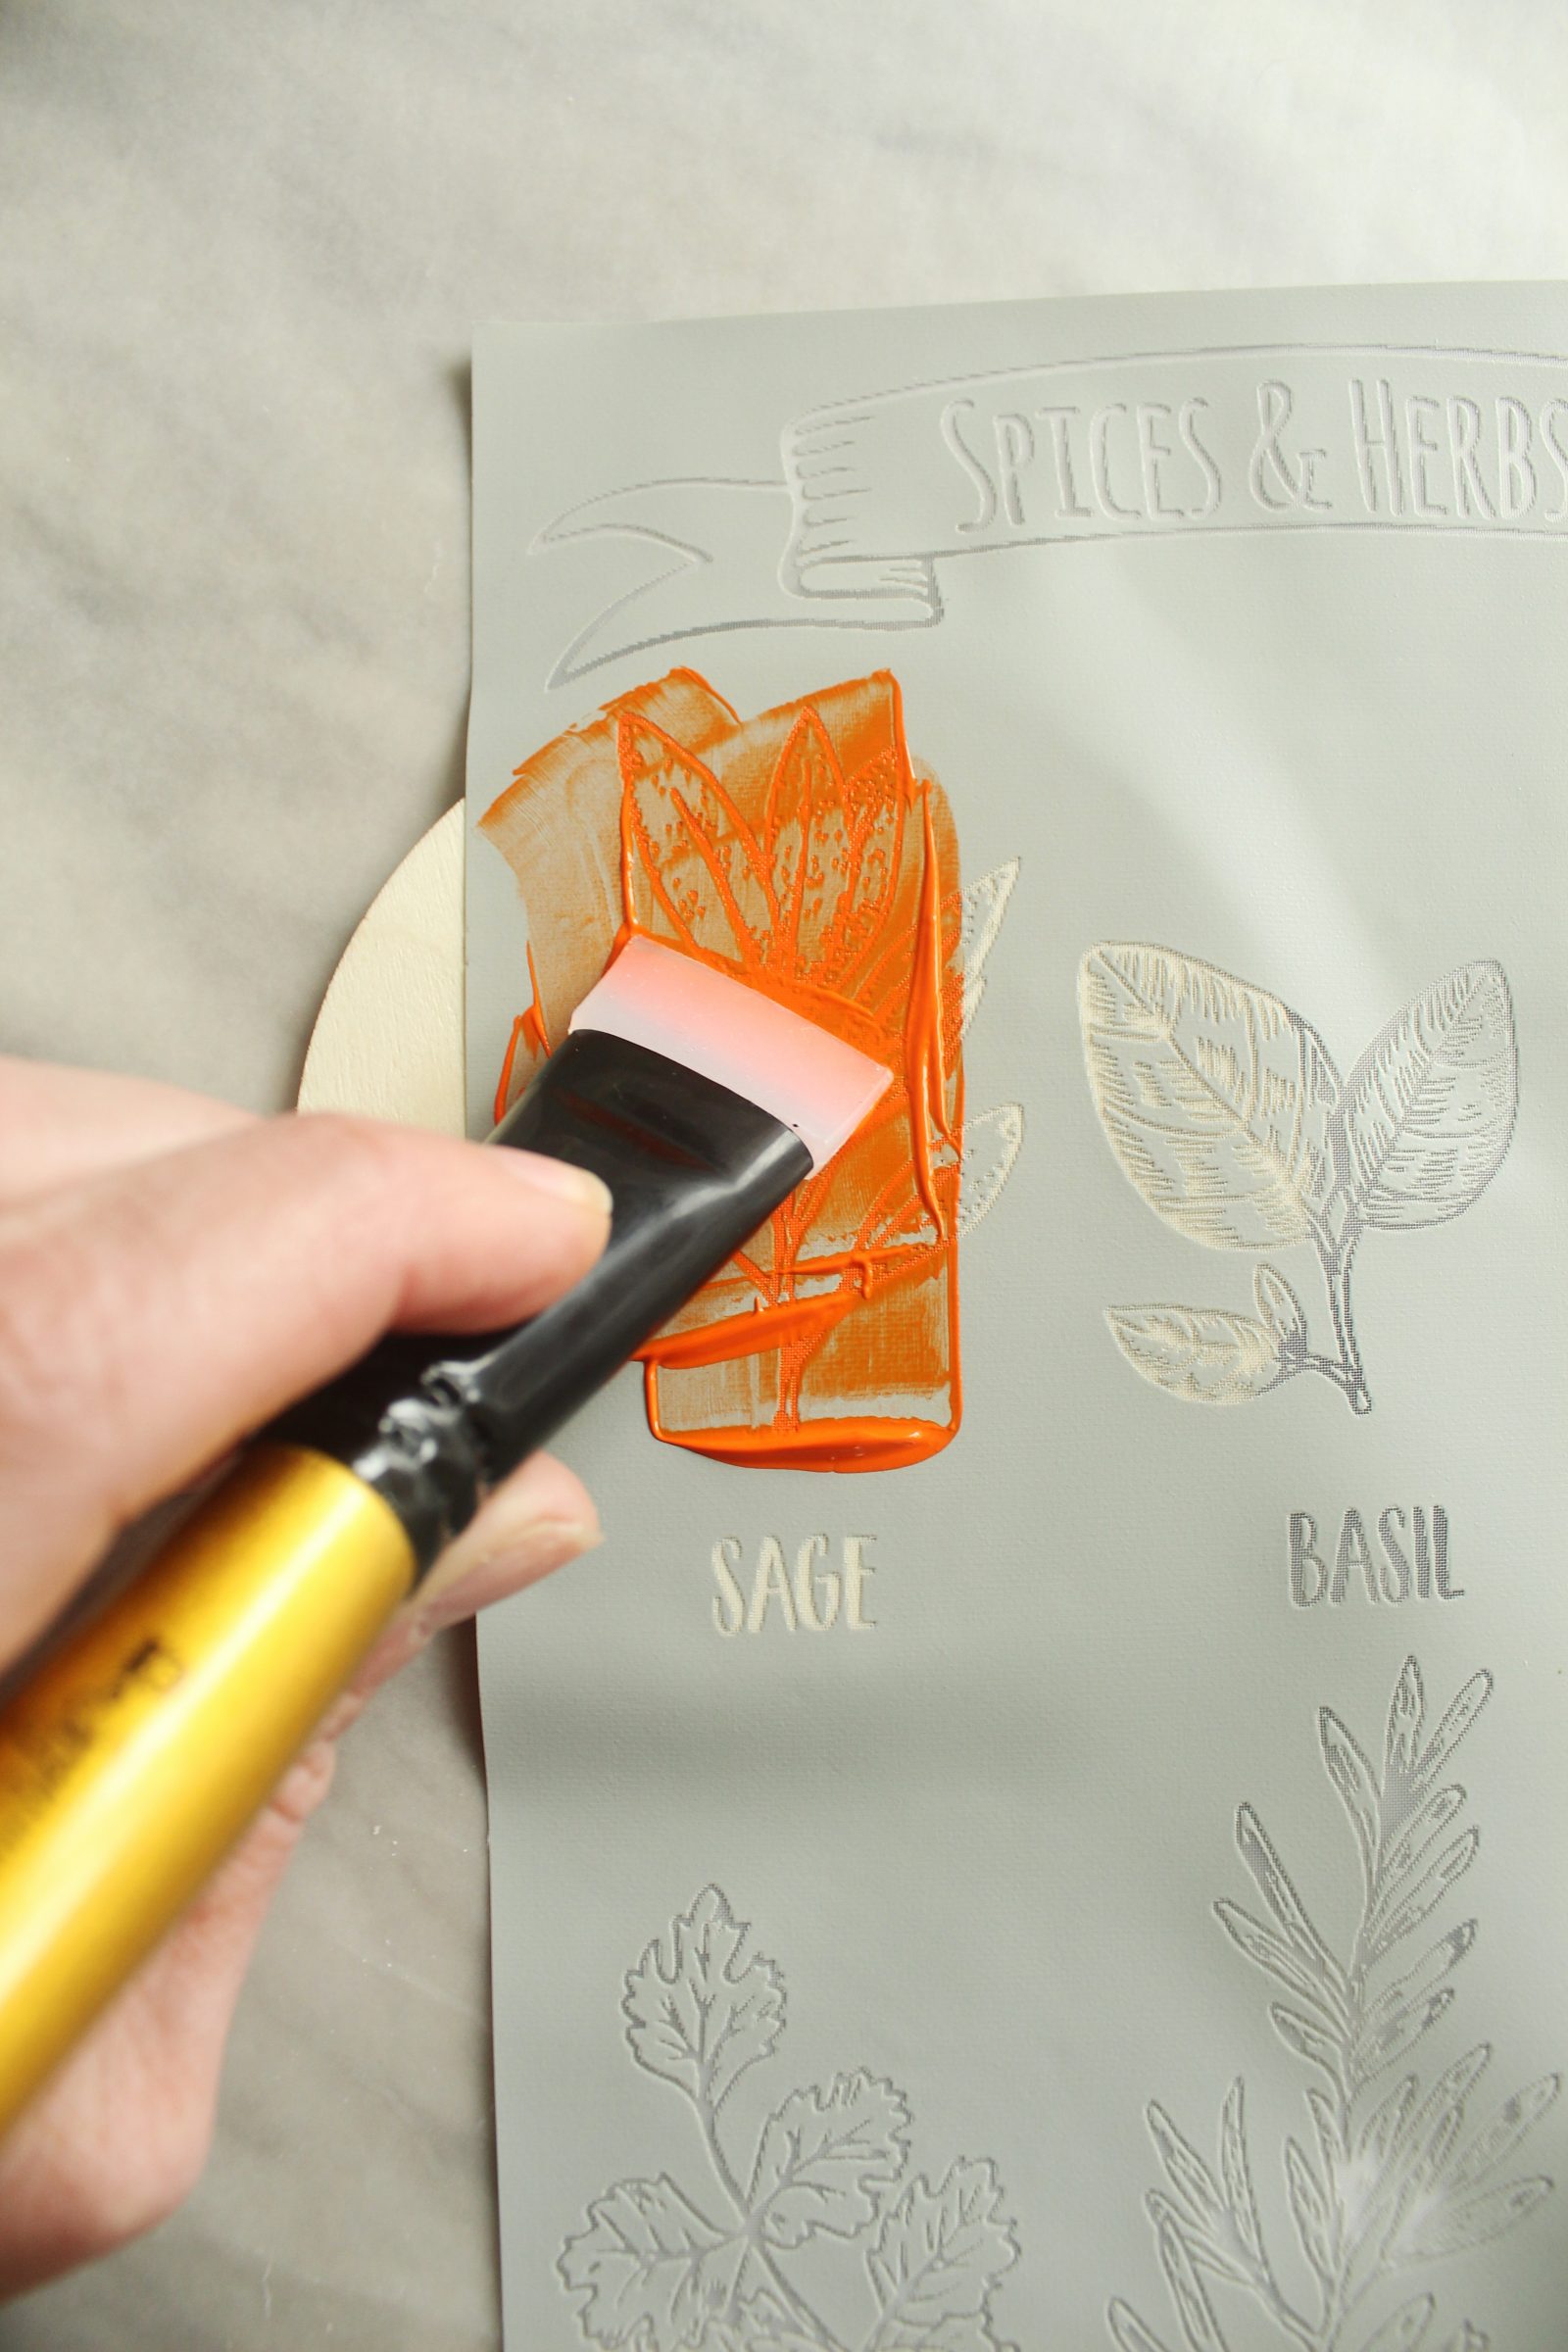
Step 1. Place the mesh stencil on top of your surface and rub with with your fingers to smooth and secure to the surface. The adhesive will stick to the surface so that none of the paste bleeds outside of where you’d like it to go.

Step 2. Load your paste brush with a small amount of paste and gently drag it from the top of the design to the bottom until the entire design has been covered with paste.

Step 3. Gently peel back the stencil to reveal your design. Rinse your stencil before beginning to work on your next surface.
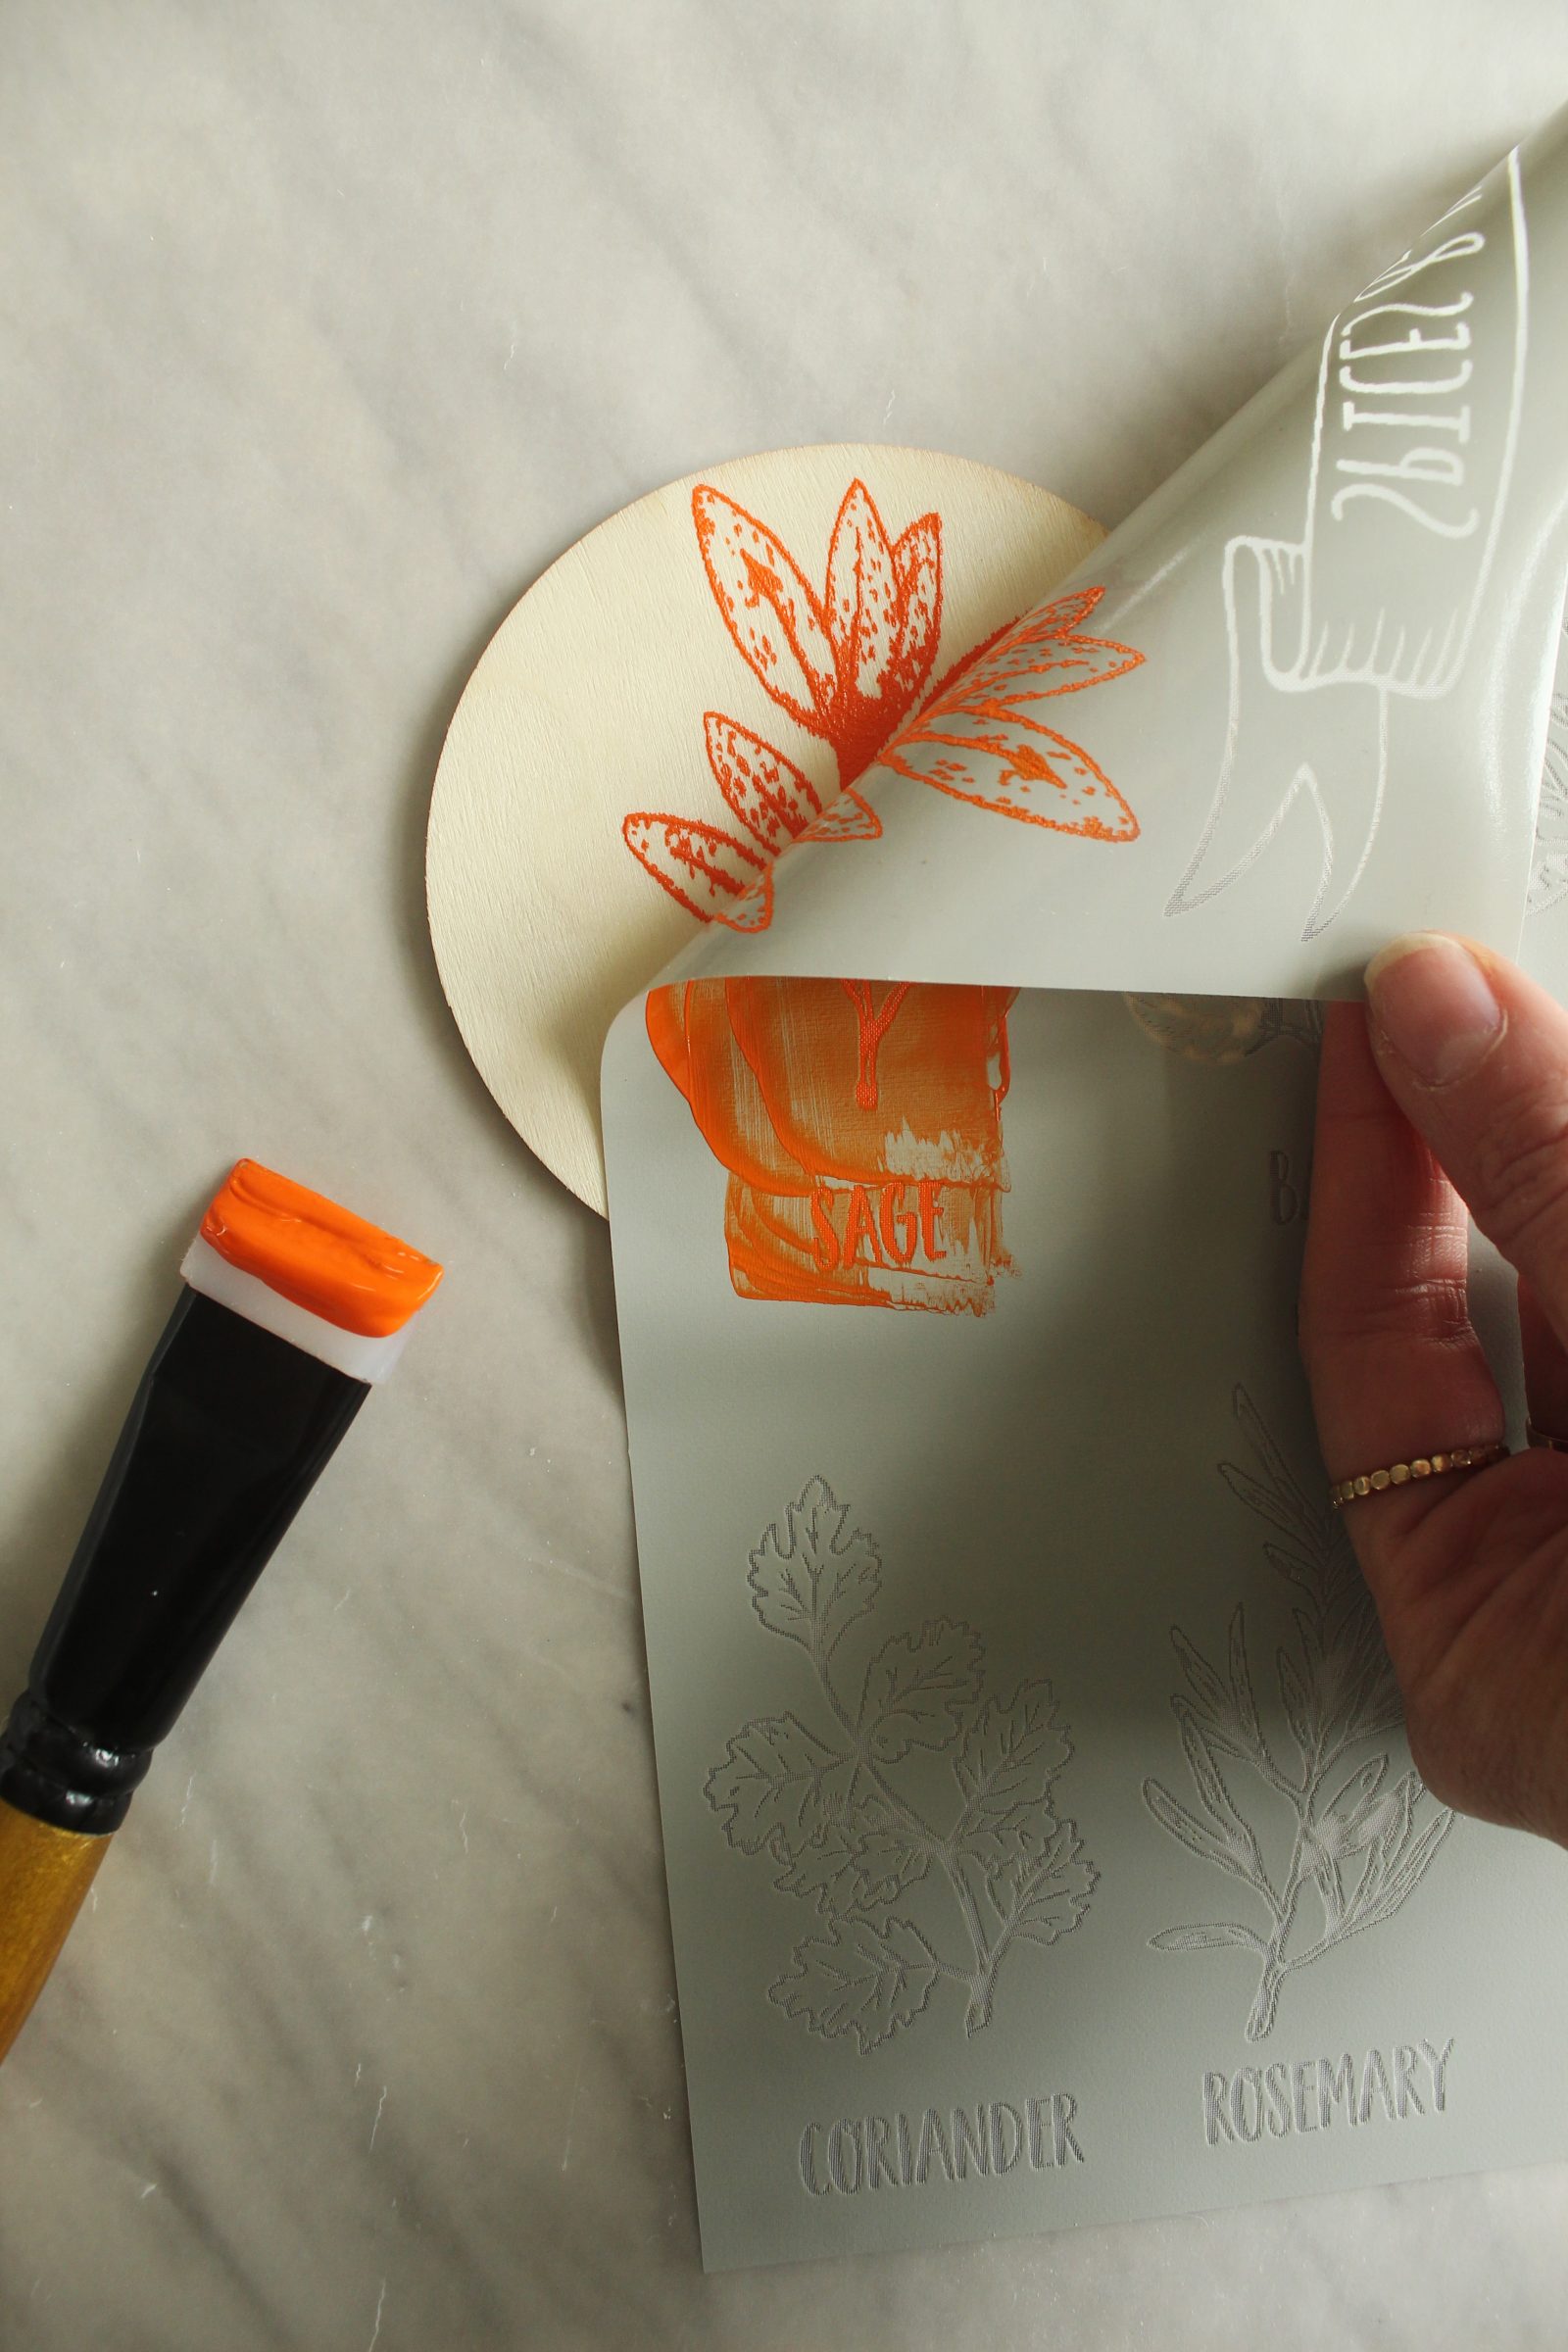

Step 4. Let the paste dry completely.
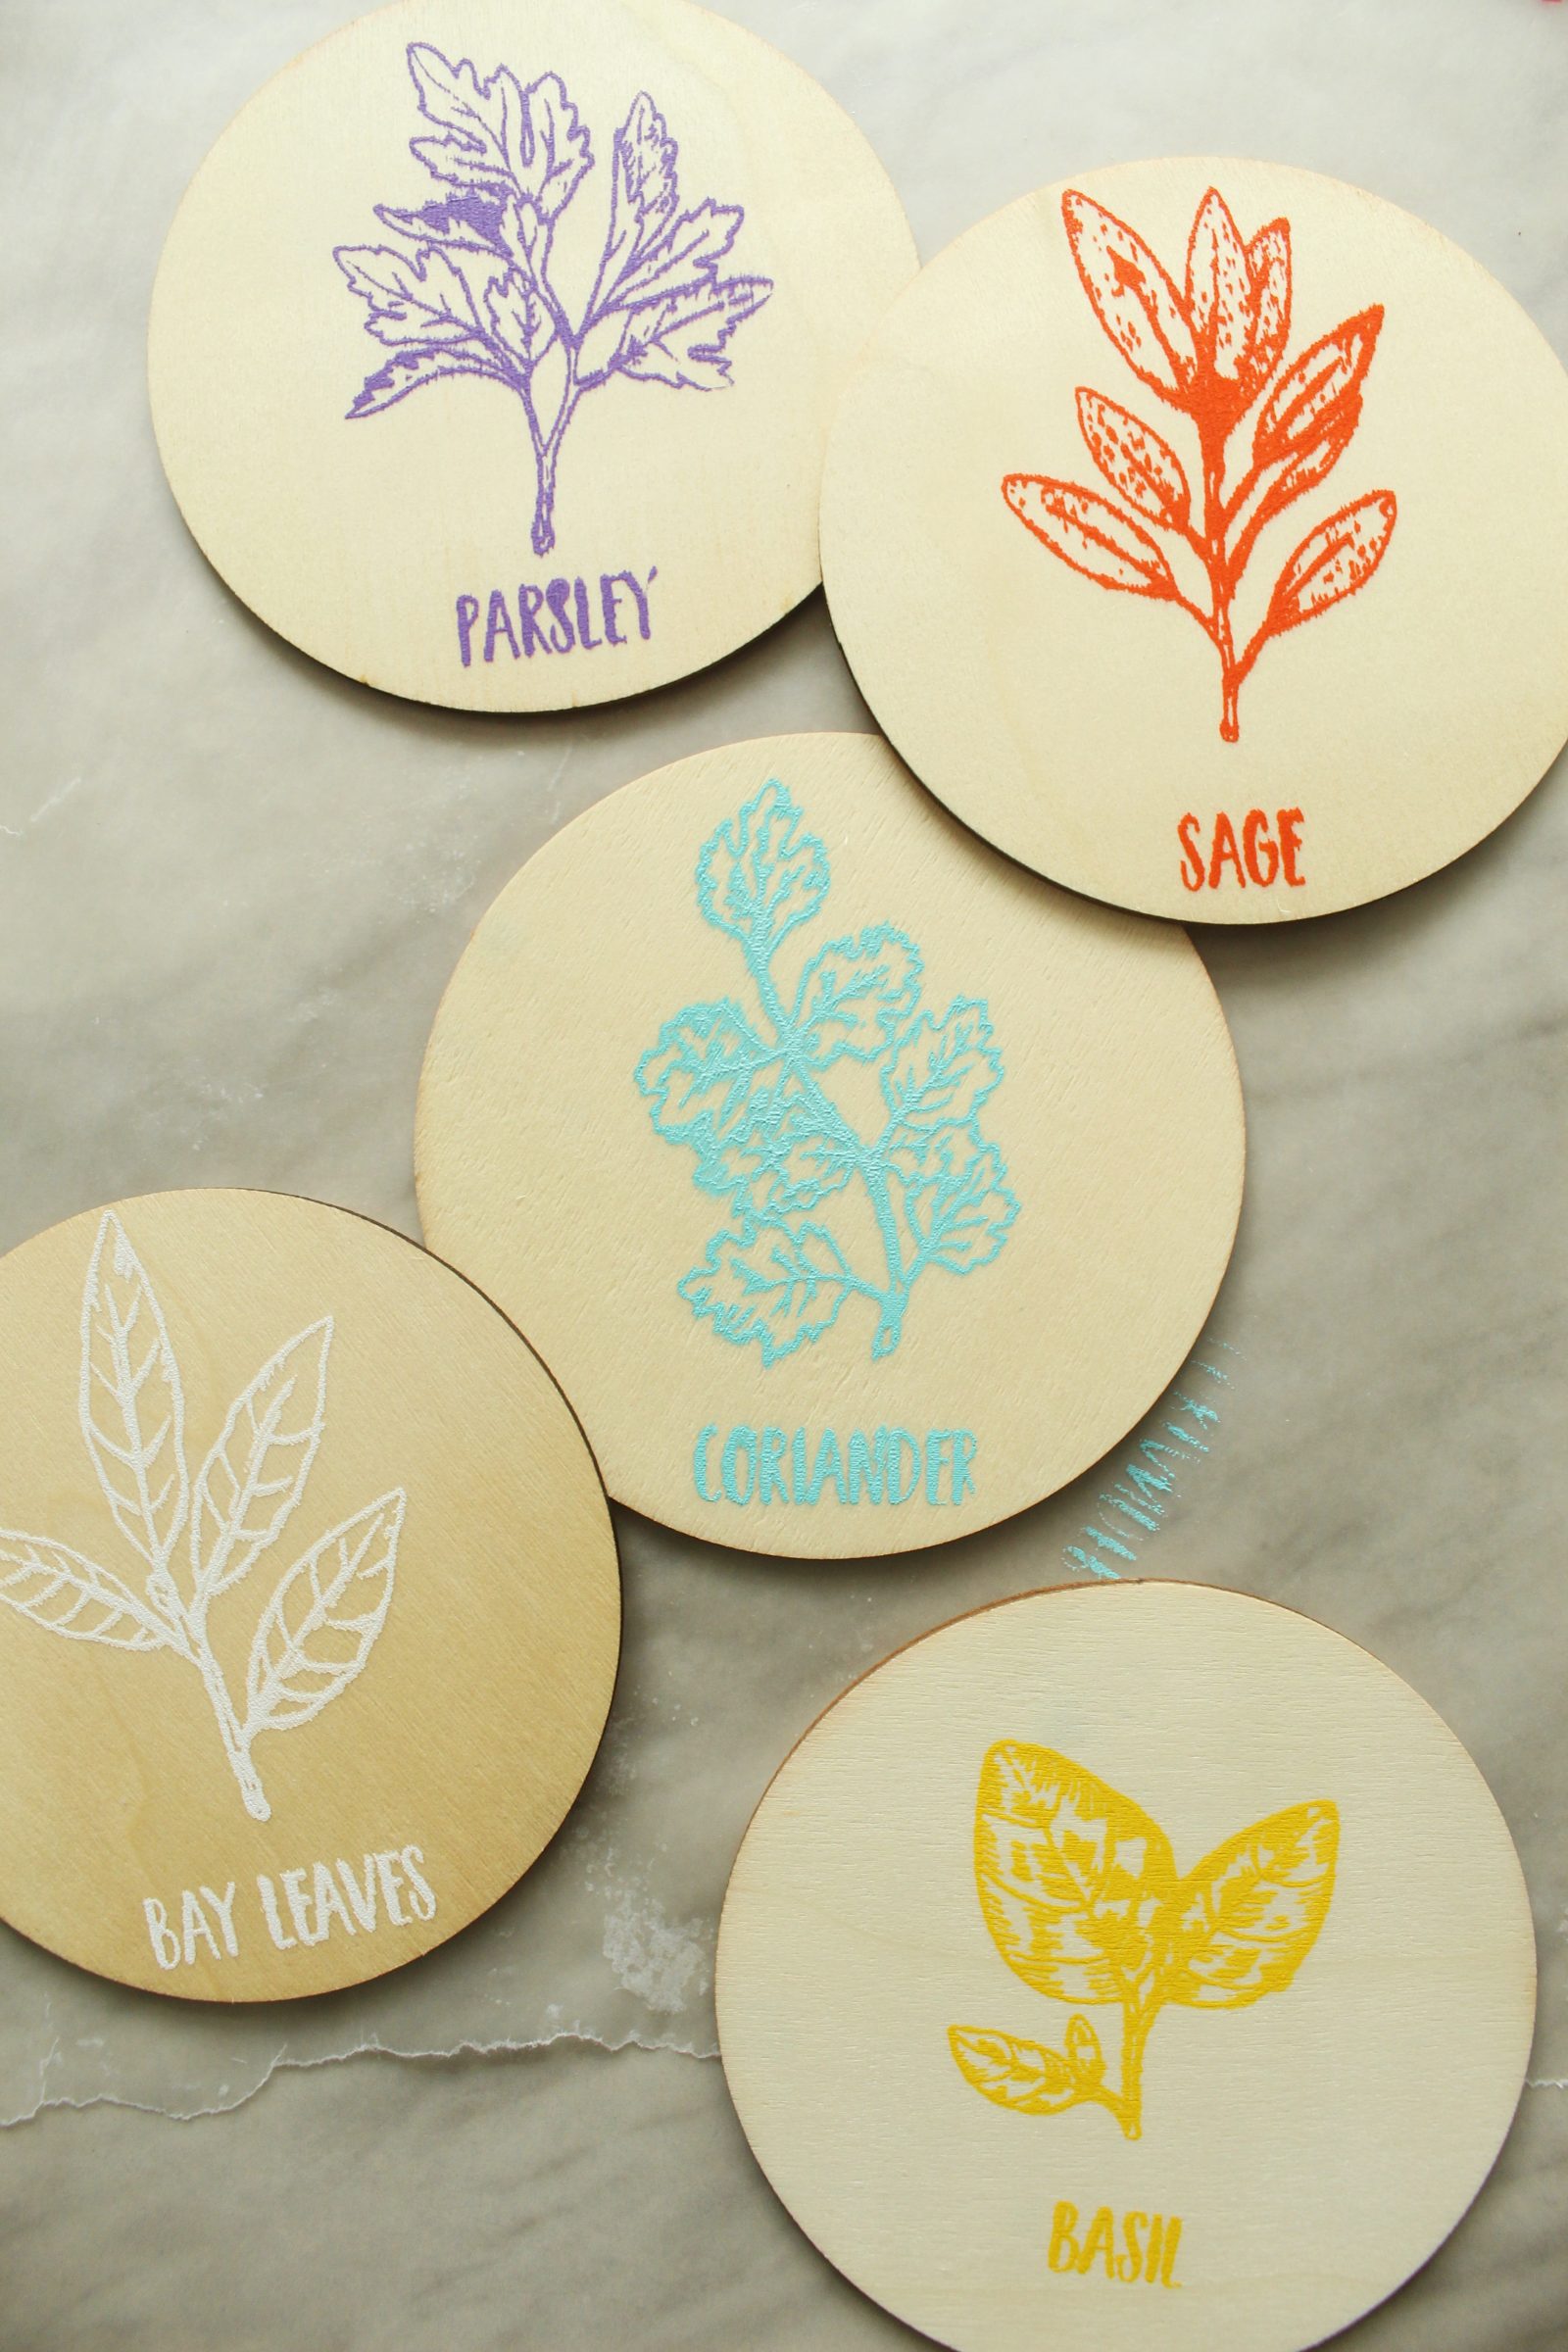

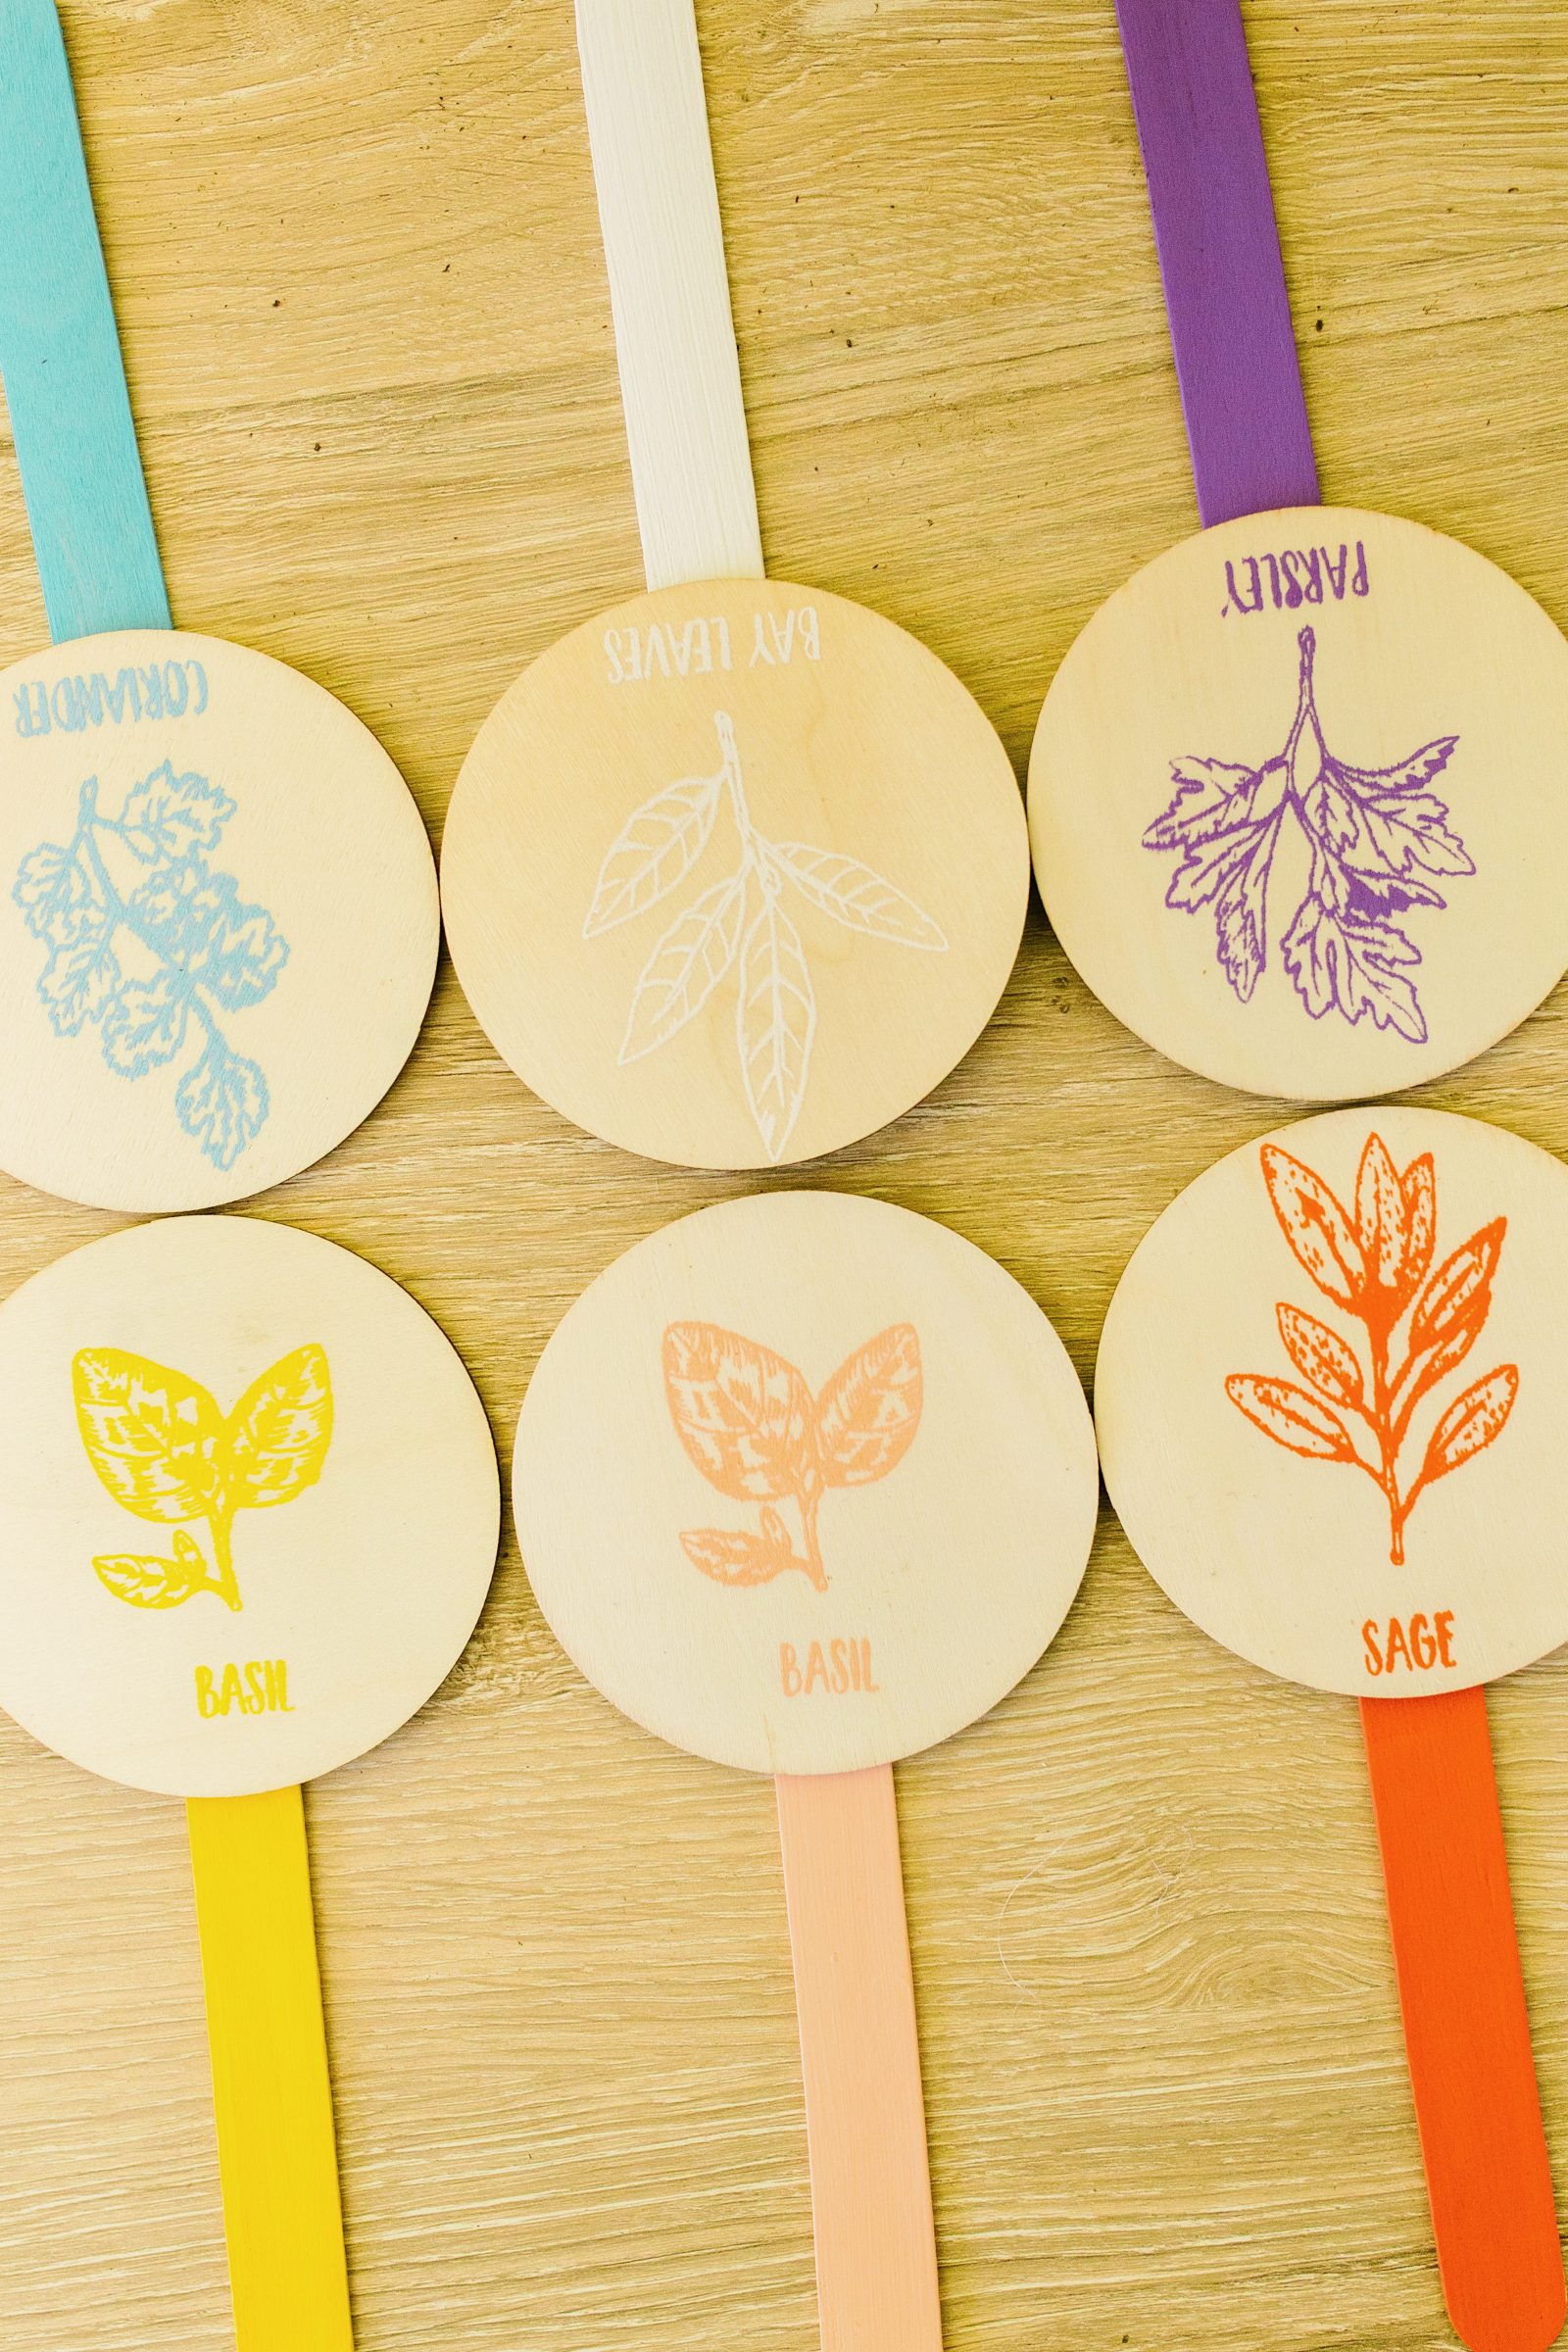
Step 5. Paint your popsicle sticks with corresponding colors to your herb circles. Let dry completely.
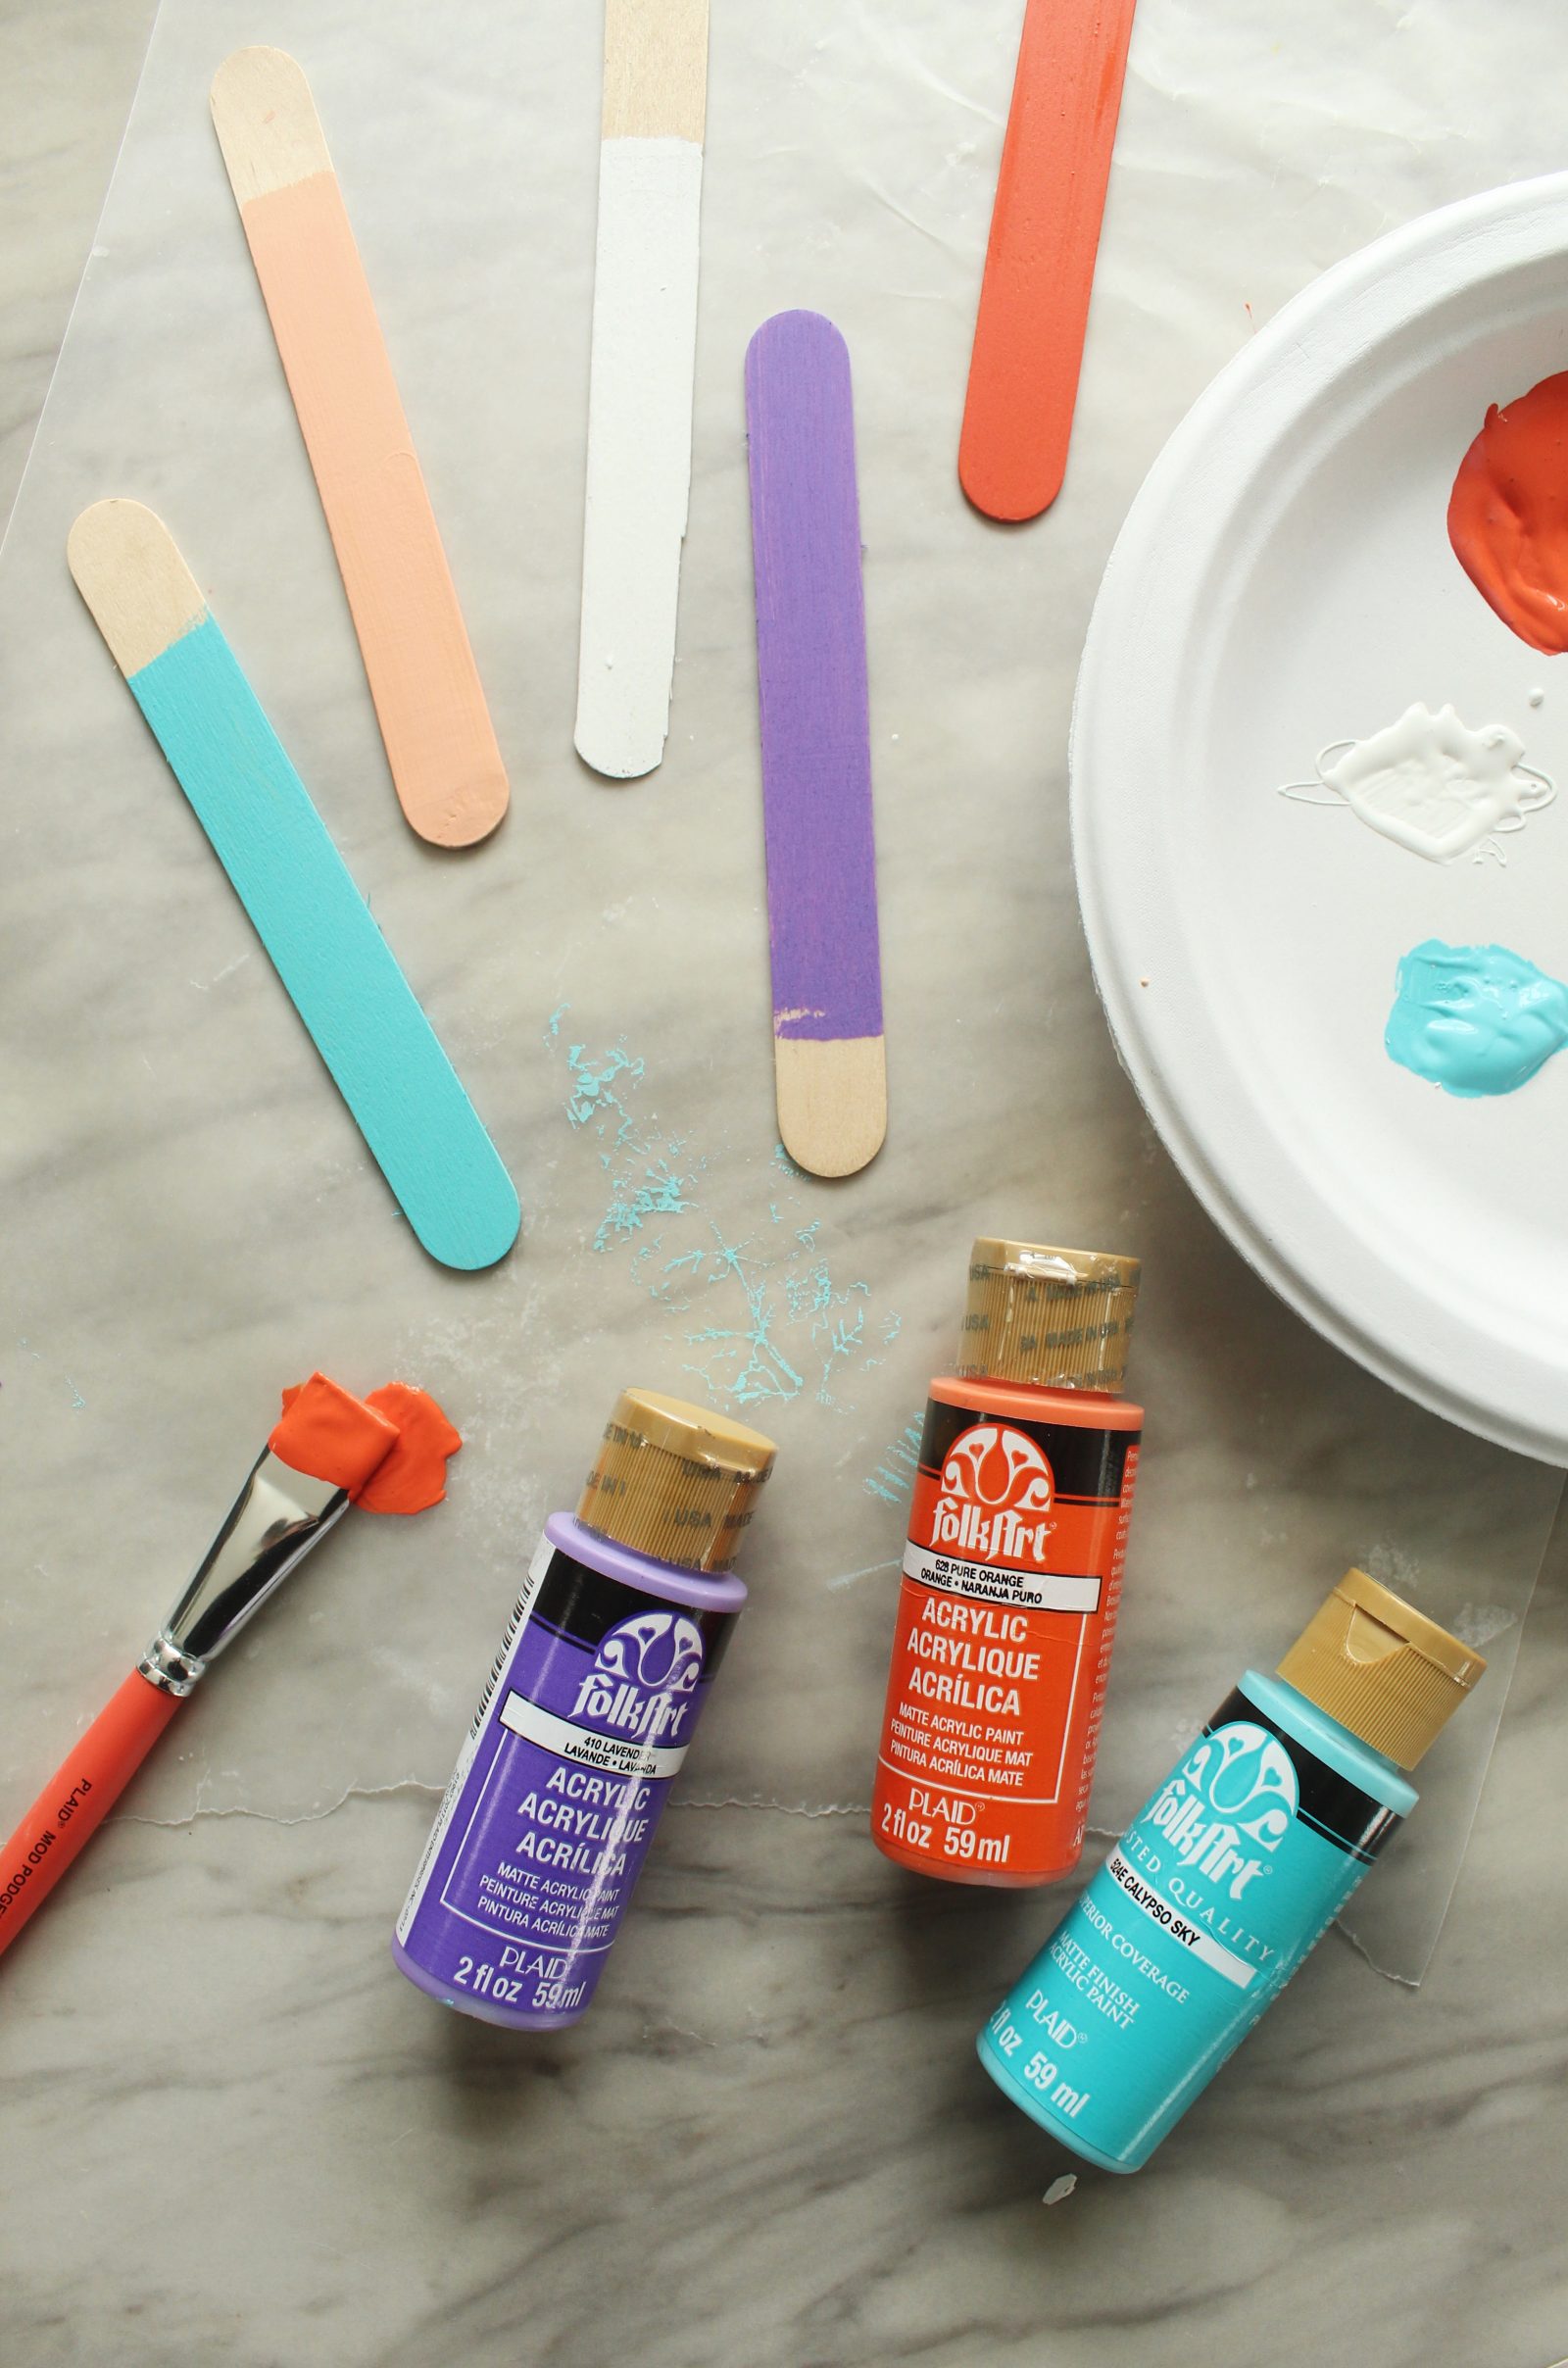

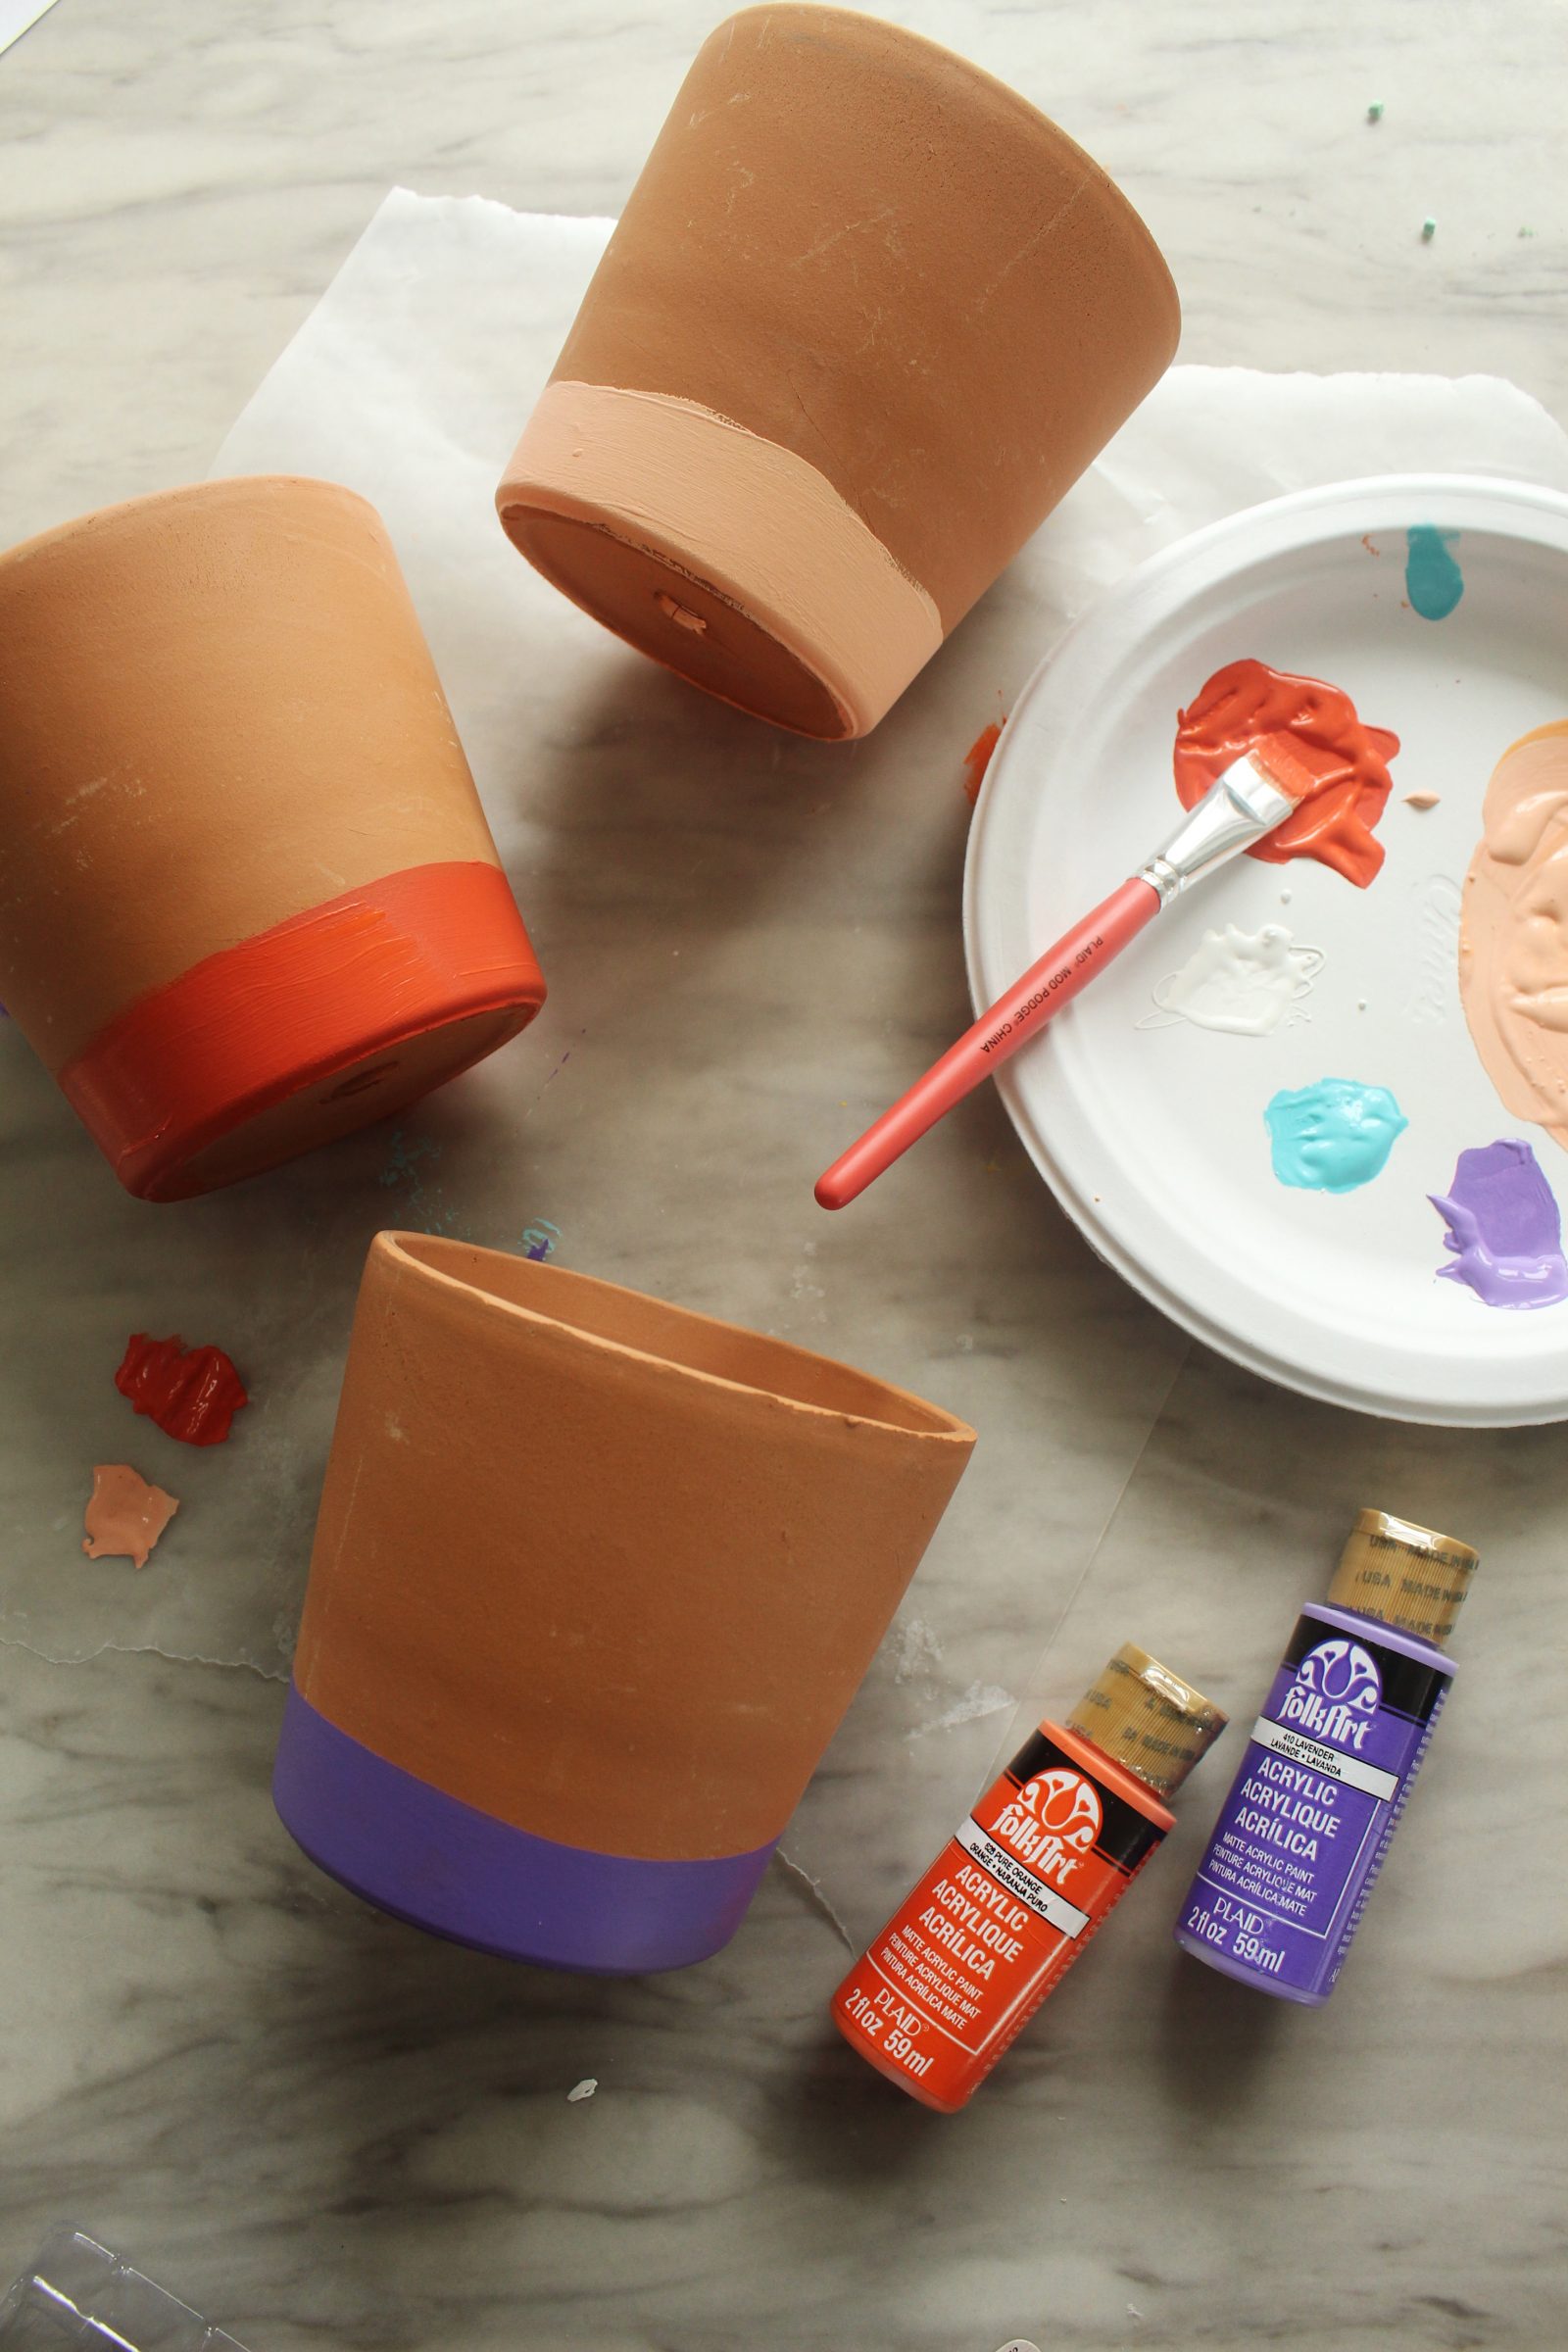
Step 6. Paint the bottom of the pot to match the popsicle sticks and wood circles. We didn’t tape or anything and did it free hand to give it a more rustic finish.

Step 7. Attach the popsicle sticks to the circles using a hot glue gun.

Step 8: Plant your pots and insert your markers!
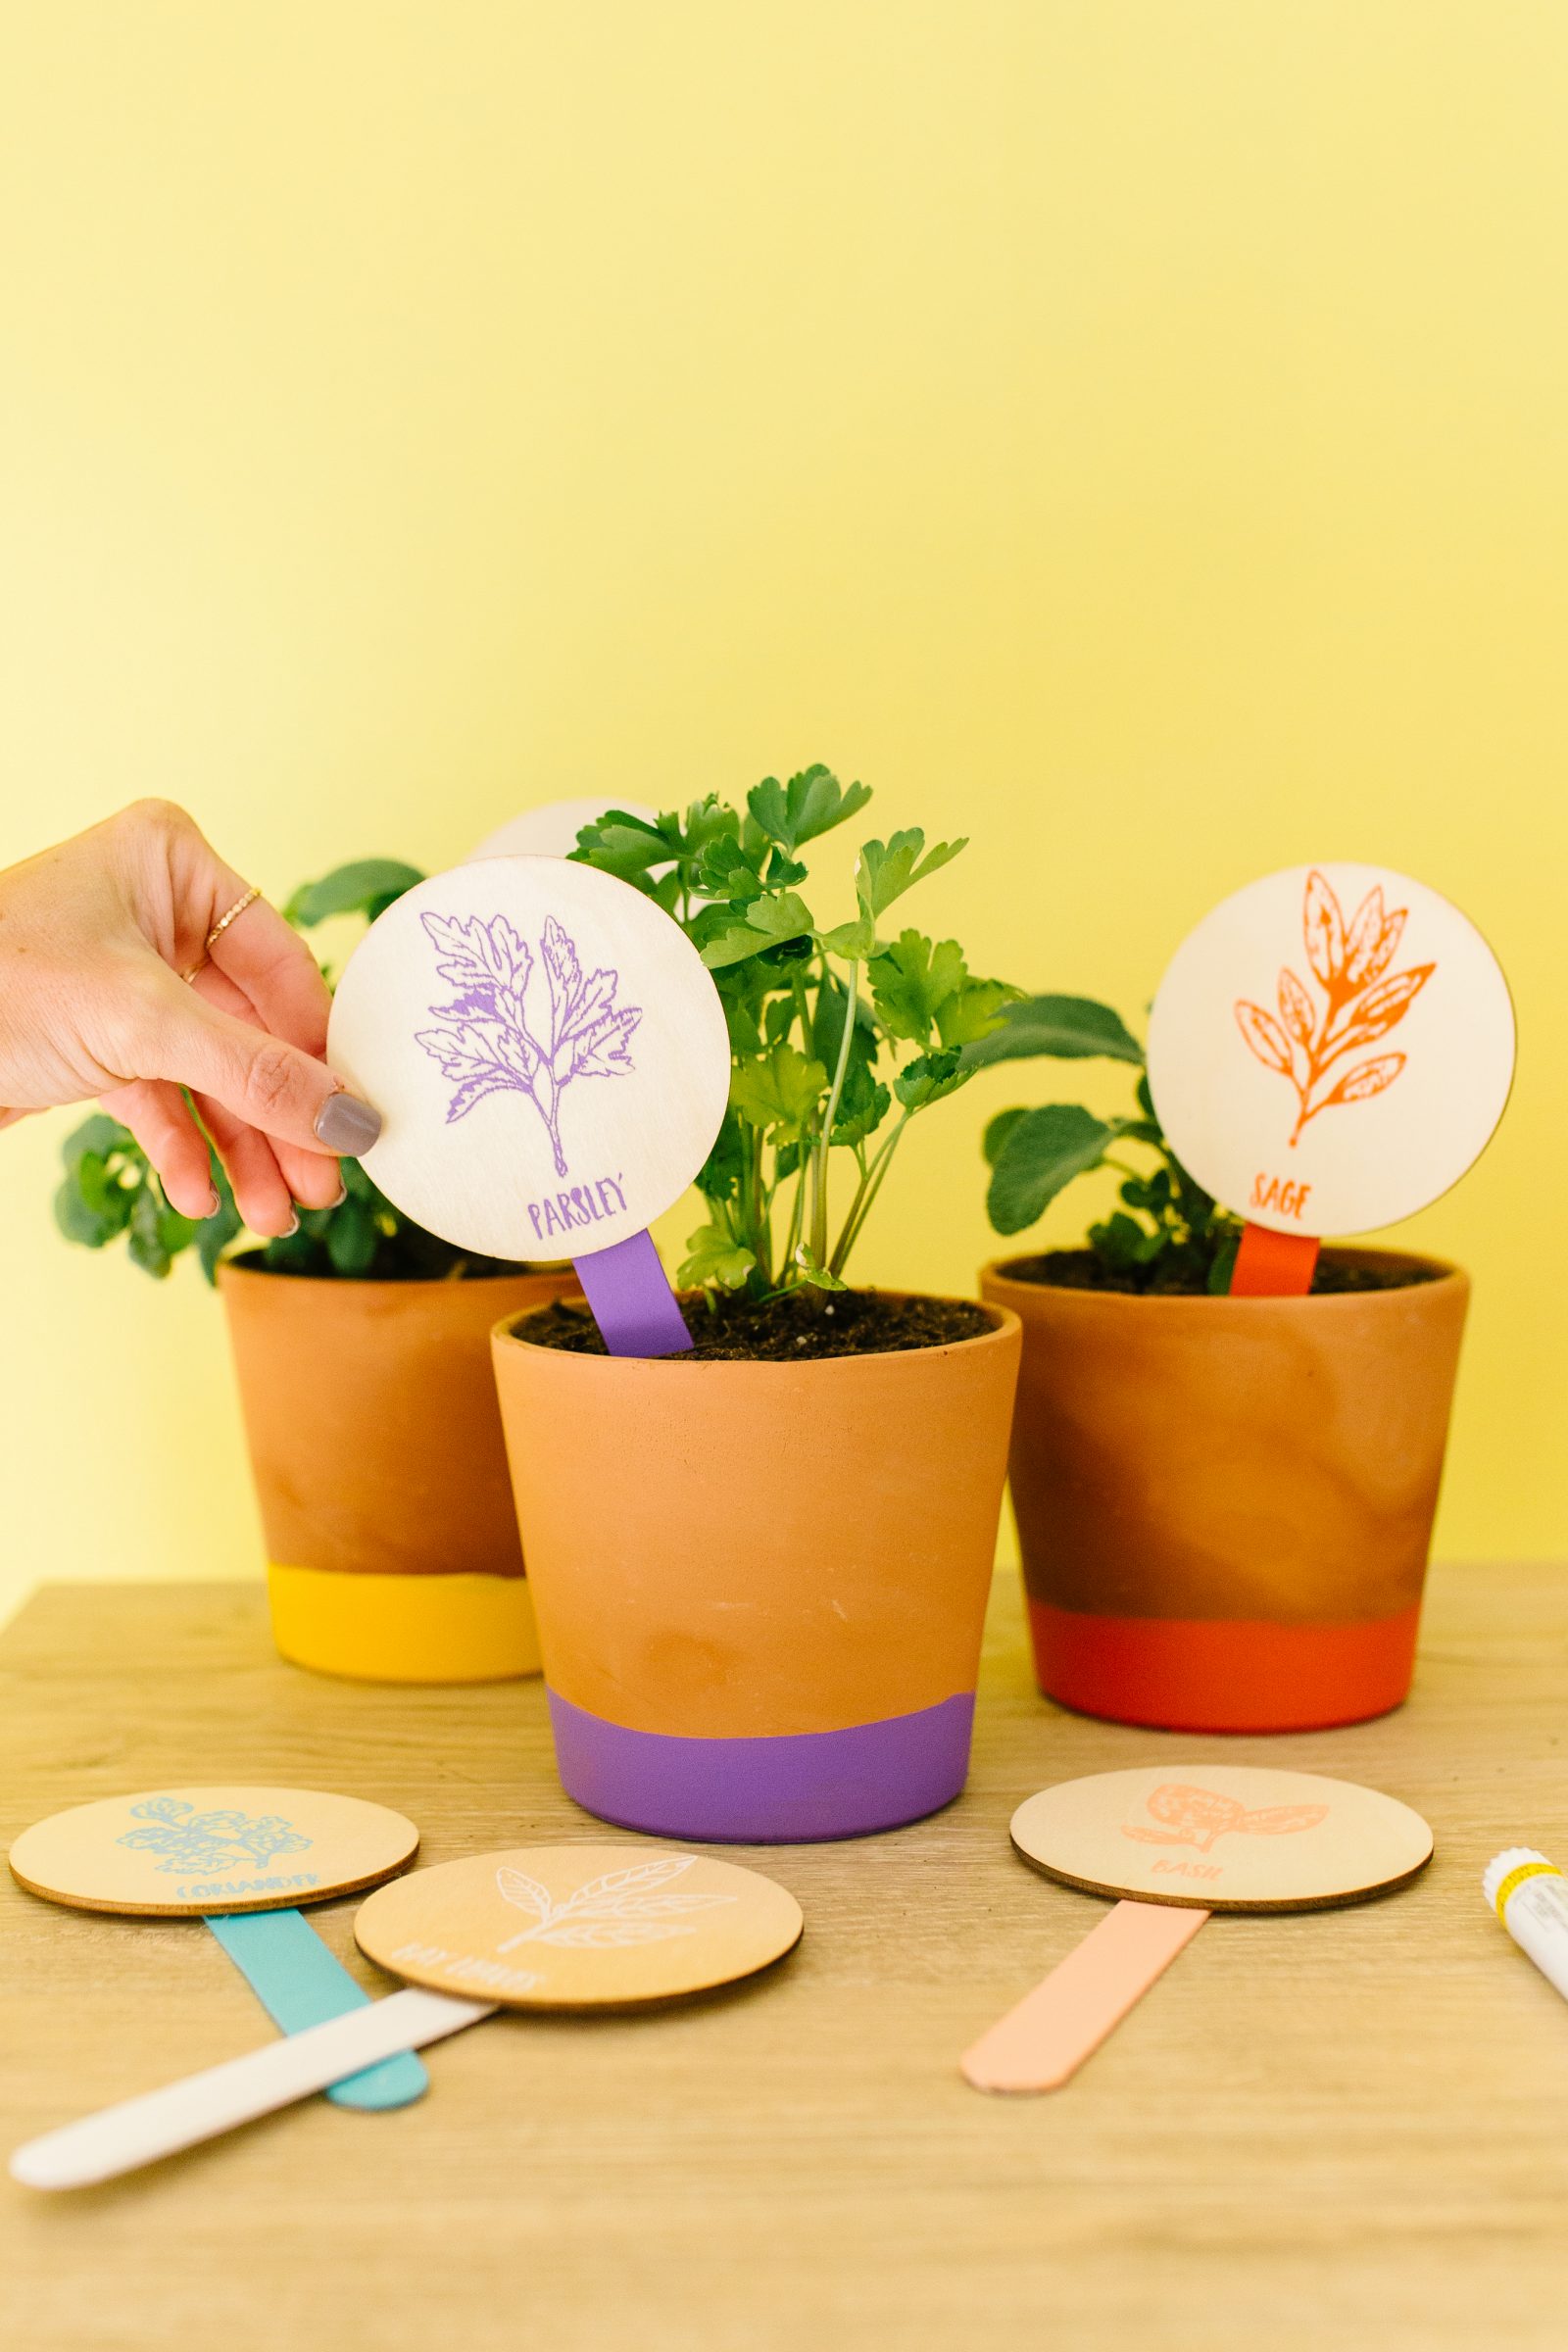

You did it! Now your herbs will have an adorable home where they can grow all spring long!
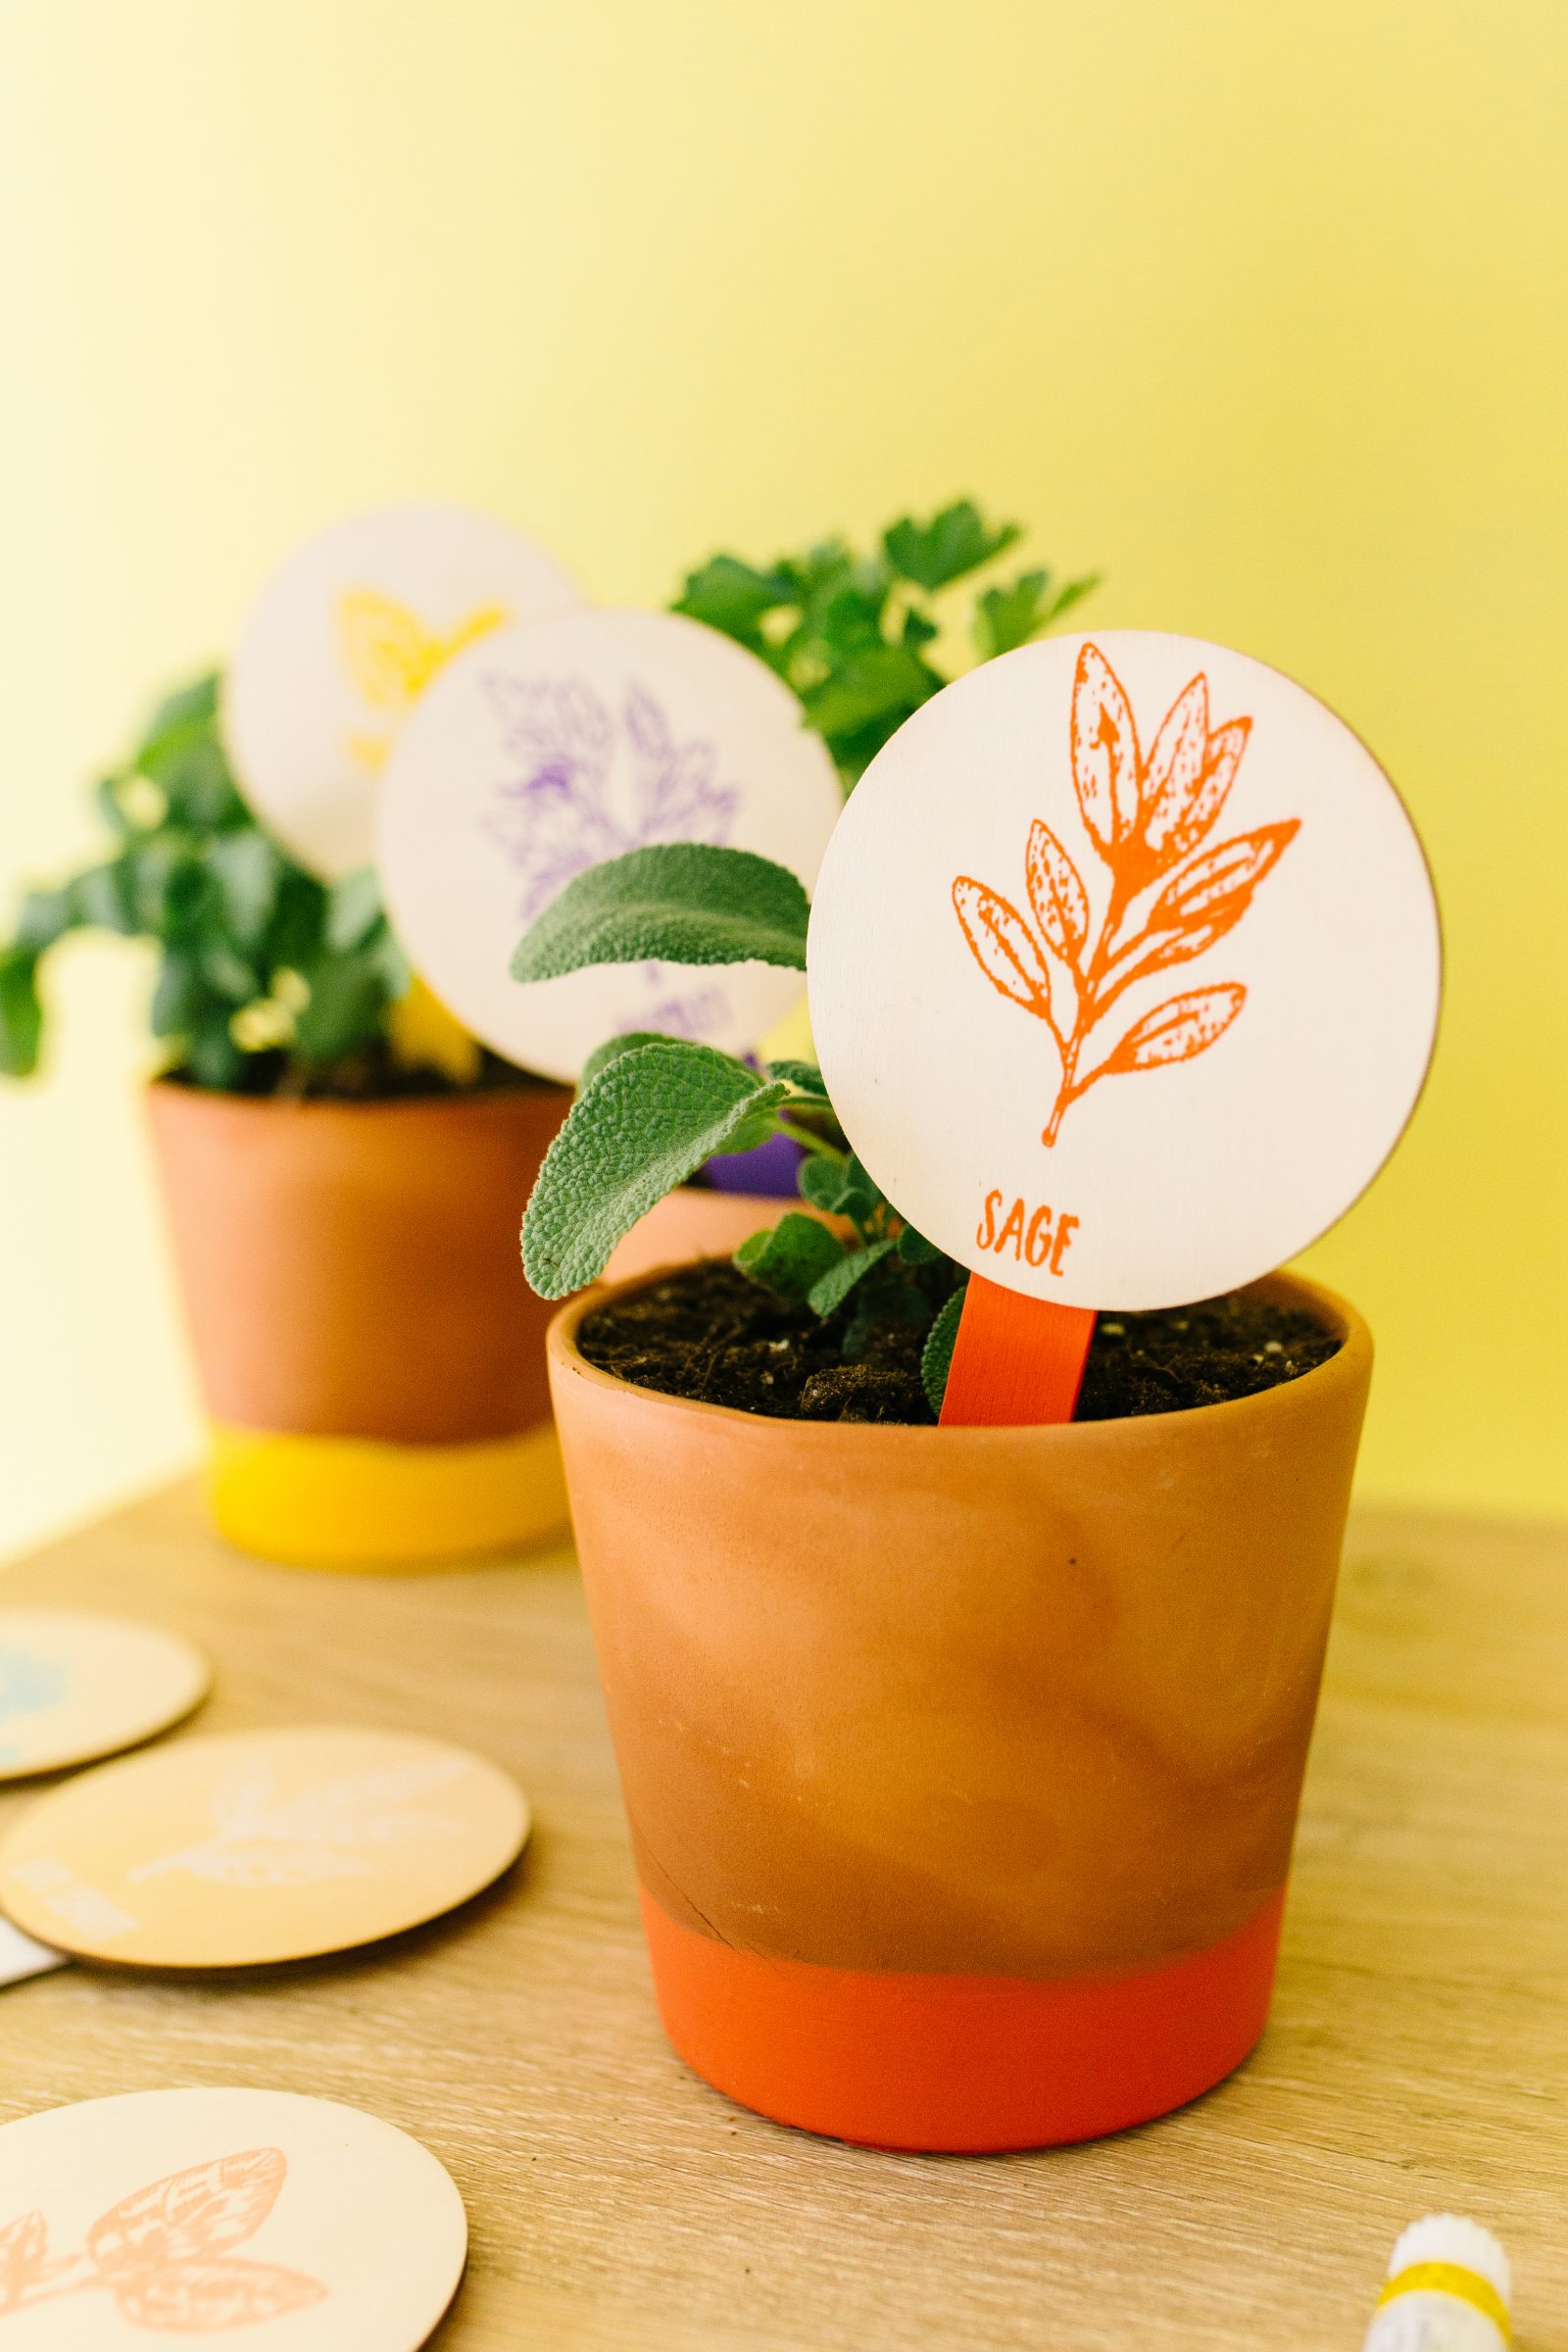

We know we may be biased with our love for Plaid Crafts’ products, but we were legitimately impressed by these tools. The mesh stencils and paste almost make your feel like you are screen printing something and the way they allow you to create incredibly detailed designs without any bleeding was mind blowing! I can’t wait to try some of their other stencils because the process is so full-proof while making you look like a pro!
To learn more about FolkArt Sign Shop visit here and be sure to visit the Plaid Crafts YouTube playlist for ideas and product information!


Happy making!
ox. Liz and Sam
Looking for more springy craft inspiration? Here are a few ideas!
