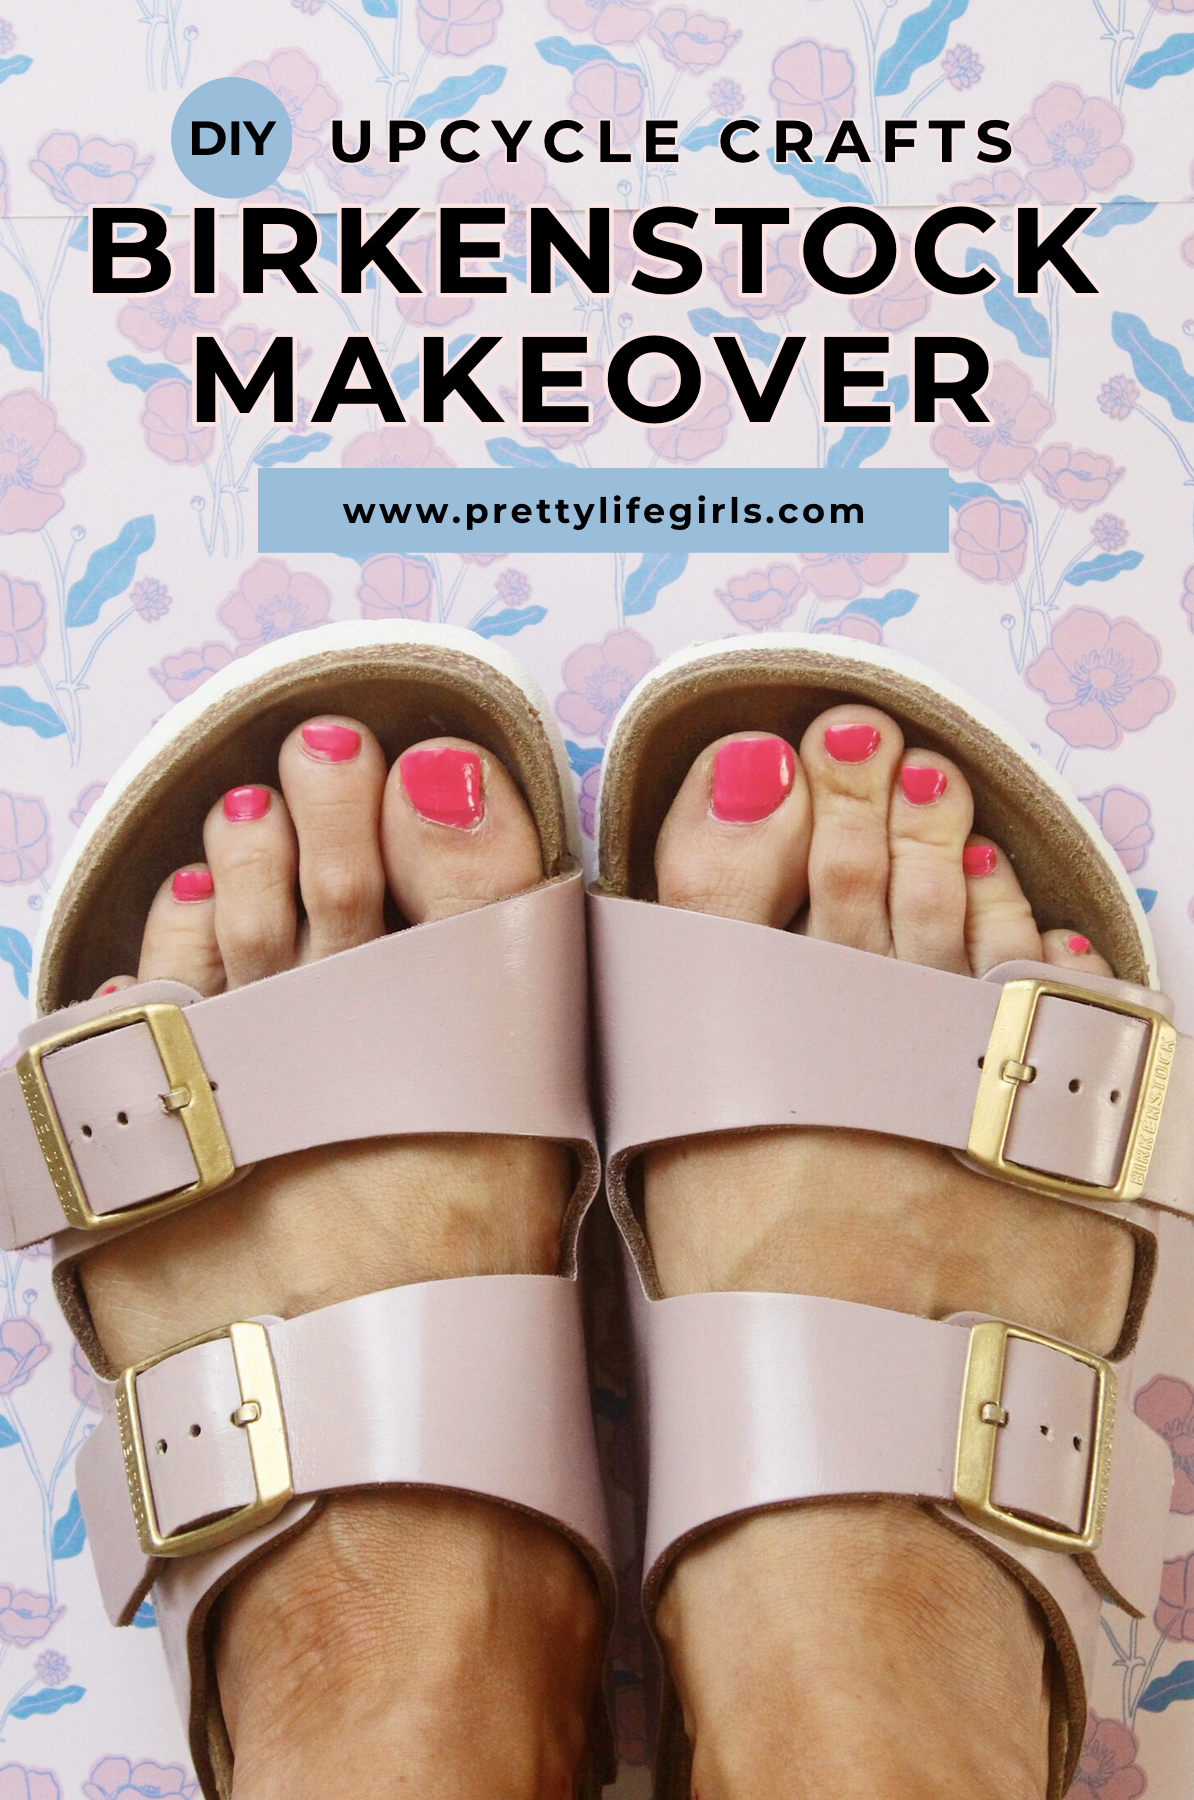
Are your beloved Birkenstock sandals starting to look a little worse for wear? You can makeover Birkenstocks easily with the a few simple supplies and steps! Keep reading for all of our tips!
What can I do with old Birkenstocks?
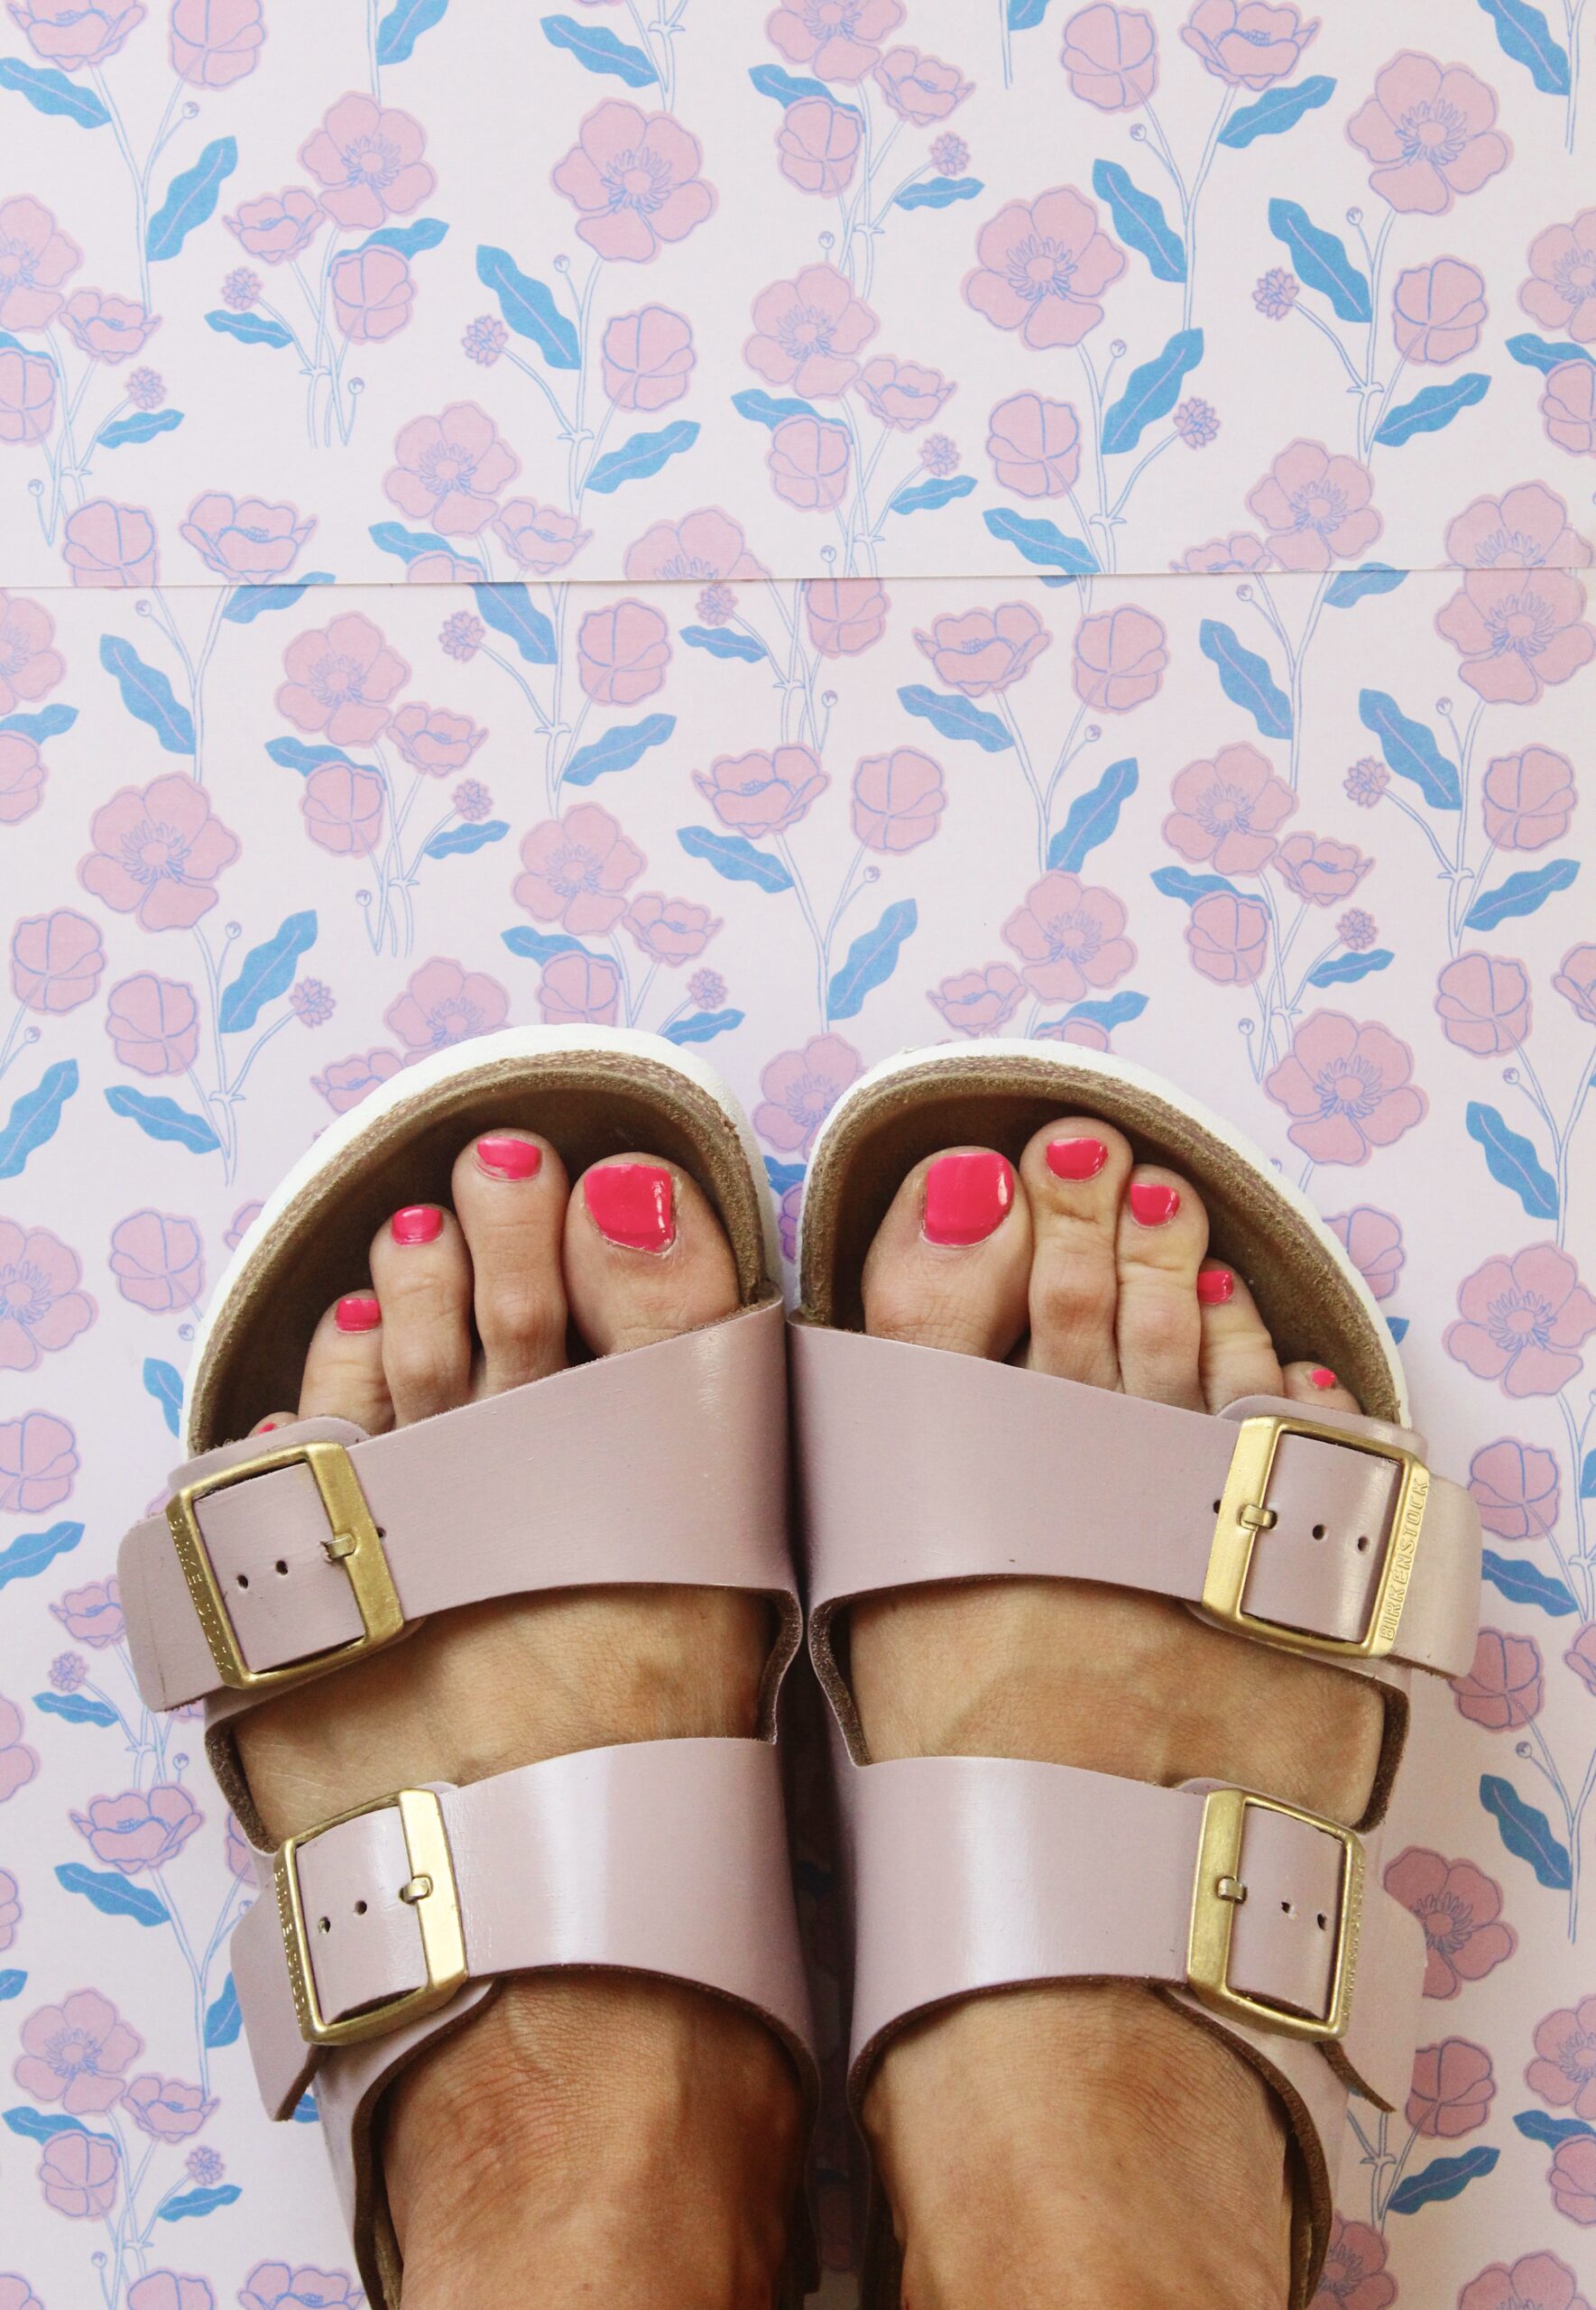
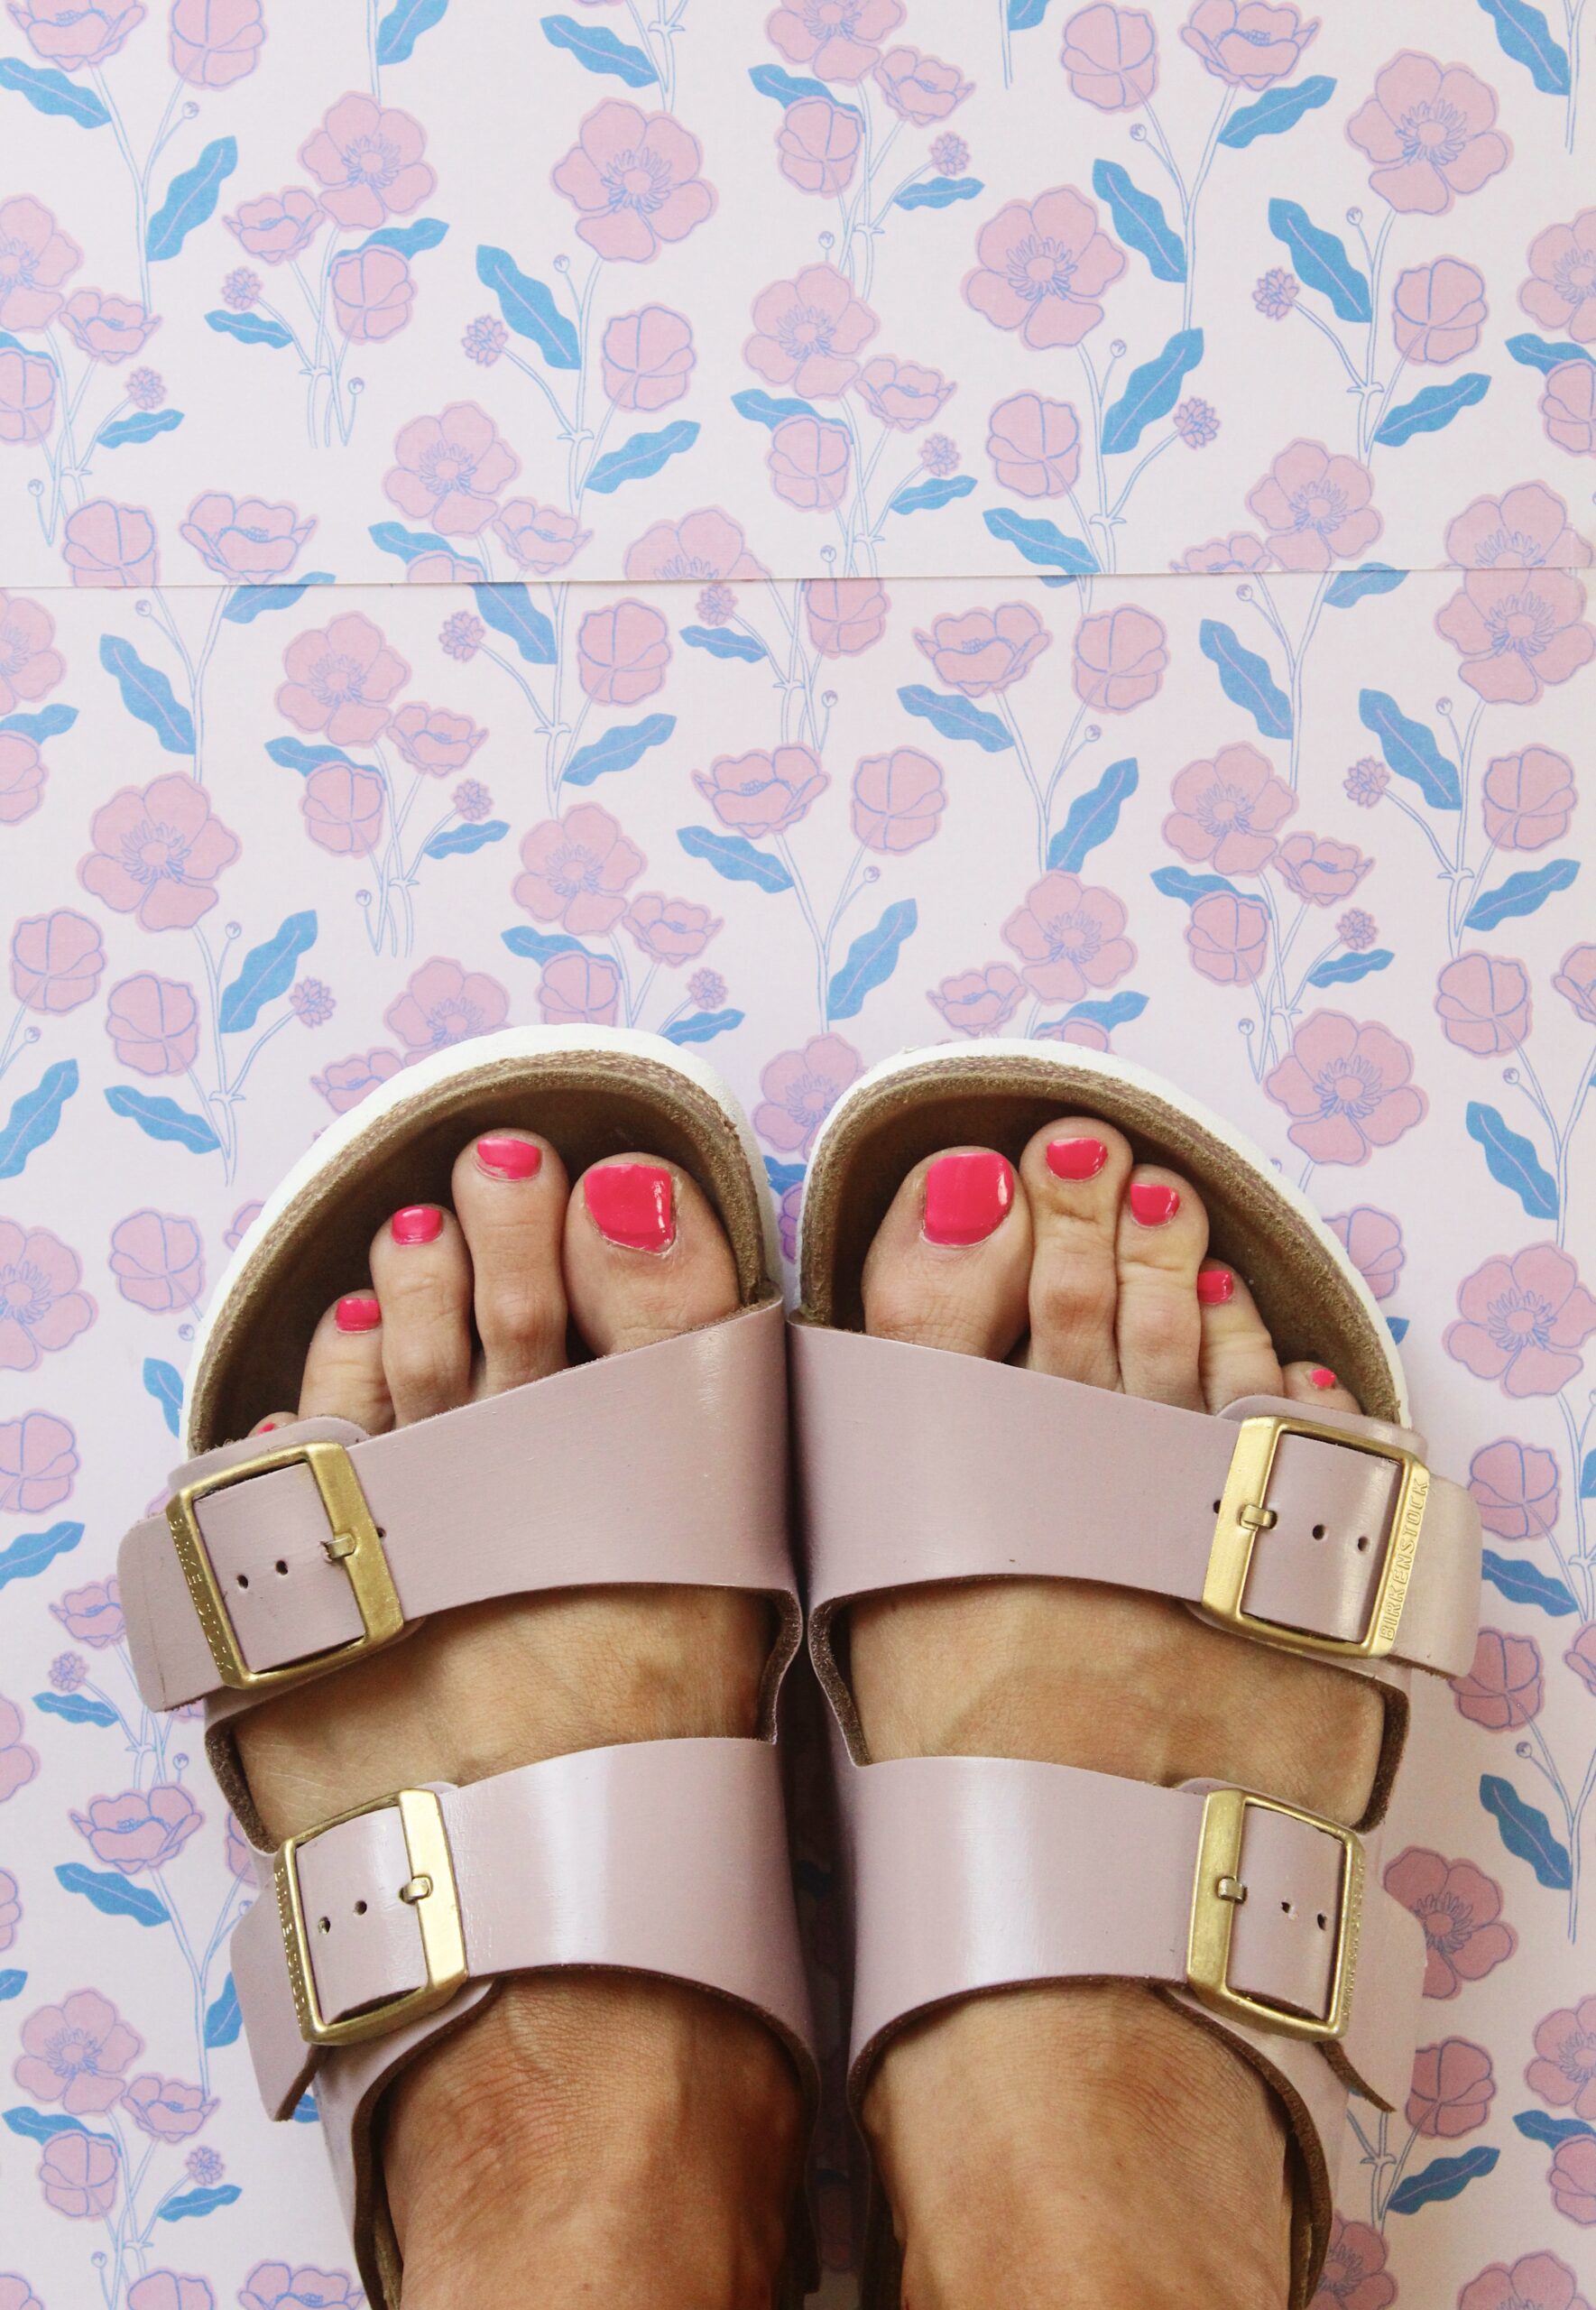
When I pulled out my well-loved Birkenstocks this summer it was clear that they had seen better days. While the footbeds were actually in decent shape, the leather straps, buckles, and soles were scratched, stained, and worn. I hate the idea of throwing something out and replacing it with something new when it is structurally fine but surface-level damaged, and given that we have seen so much innovation first-hand when it comes to specialty paints for different surfaces, I started researching ways to give my sandals a facelift. The result? A couple of pairs of Birkenstocks that truly look like new–so much so that some of my close friends didn’t believe it when I showed them the finished product!
How do I make my Birkenstocks look new?
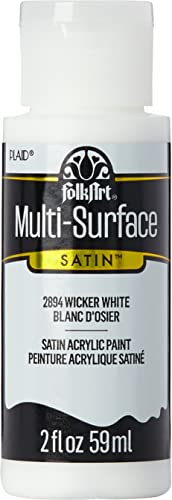
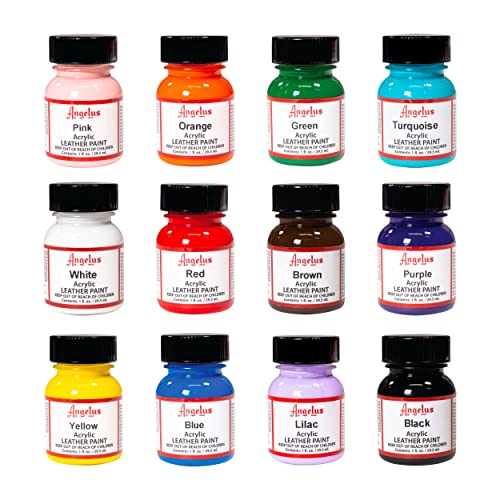
The key to success with this project is the quality of the products used and patience in the application. Paints made specifically for the surfaces you will be applying them on as well allowing the appropriate dry time with each coat will yield gorgeous results. We used a paint made for leather on the straps which won’t scratch or crack (super important with all of the bending shoes do), and a paint made specifically for metal to touch up the buckles. For the rubber soles we used a multi-surface acrylic paint.
Another great part of doing a DIY makeover of your Birkenstocks is that you can paint them any on-trend color you want to make them feel extra new. I looked for inspiration in the newest line of Birks to help guide my color choices and it was so fun!
Is it worth repairing Birkenstocks?
Prior to beginning the process of making over my Birks, I wasn’t sure if it would be worth it to try and repair them. However, now that it has been a few weeks since working on them, I have worn them consistently, and they still look fresh and new, I would say there is no question that repair is the way to go.
That said, I mentioned that the cork footbed of my sandals was in good shape which meant I only had to repair surface-level cosmetic issues. So, I did a bit of research on replacing the cork bed and it actually seems like a reasonably affordable fix that can be performed at a Birkenstock store or at a cobbler. This Reddit thread on the subject was super informative and gave a bunch of solutions for repairing/replacing the footbeds of your Birks, if needed.
Watch us make them here:
@prettylifegirls Birkenstock Makeover! ✨ Do NOT throw away your beloved Birks if they are still structurally sound but surface level tired—make them over instead! The key to success here are quality supplies. Make sure you use a paint specifically for leather so it won’t crack or flake off. If you want to update your buckles we recommend a metal-grade paint pen (like the kinds hobbyists use for models), and to touch up the souls, use a paint that notes rubber as a surface the paint will cling to. Clean them thoroughly, let each coat dry completely before you apply the next, and enjoy your new/old @BIRKENSTOCK sandals! #upcycle #upcyclefashion #birkenstock #birkenstockmakeover #birkenstocks #diybirkenstocks #diysandals #upcycledclothes #diystyle #leatherpainting ♬ LUNCH – Billie Eilish

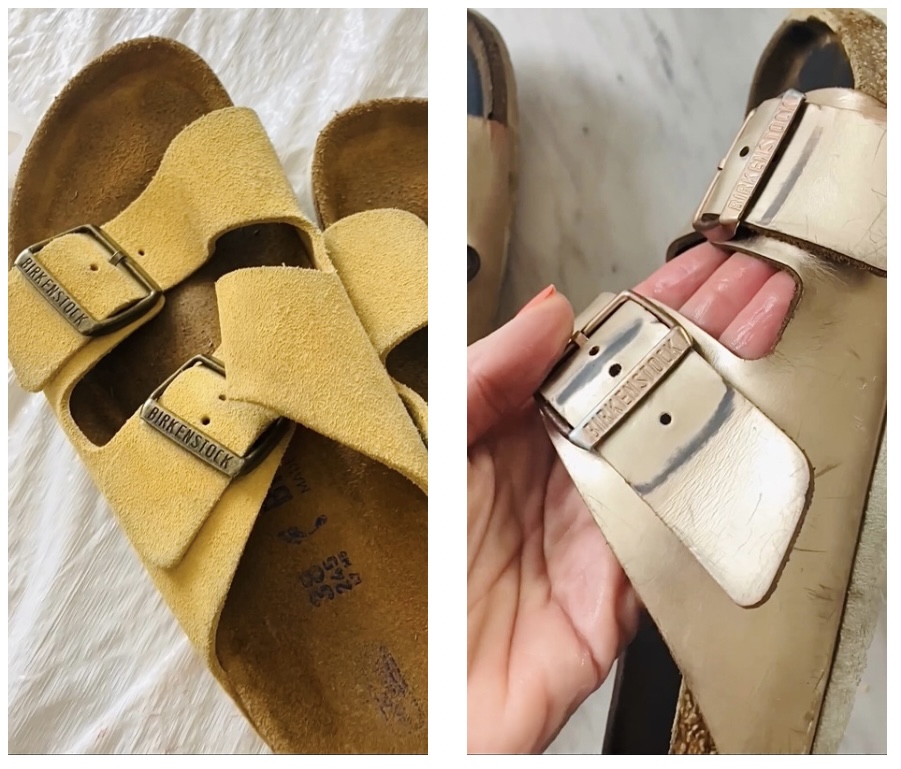
Supplies Needed
- Angelus Leather Paint (this paint is super mixable so you can create any shade you want!)
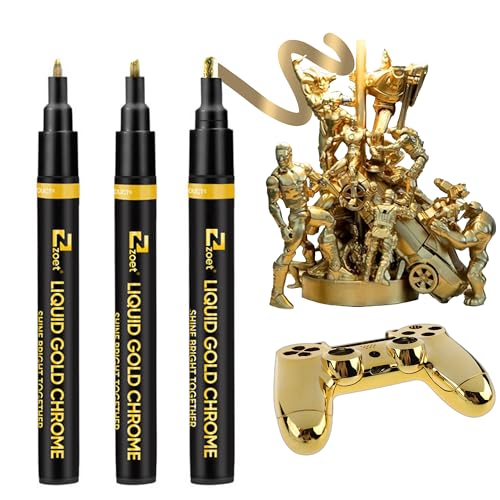
- Metal Paint Pen
- Multi-Surface Acrylic Paint
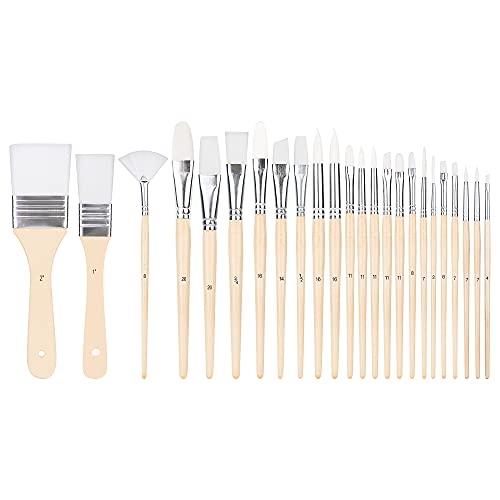
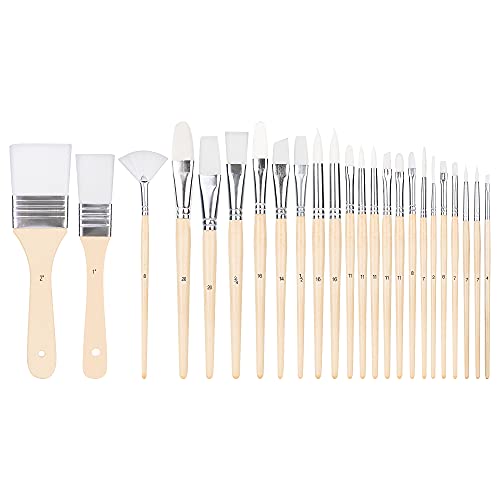
- Paint Brushes in Various Sizes
How to Makeover Birkenstock Sandals
Step 1. Thouroughly clean the surface areas you are going to paint to remove any dirt/dust. I used soap and water on washcloth.
Step 2. Using a medium paintbrush, apply a thin, first coat of leather paint to the leather surface. I didn’t paint the underside of the straps because it doesn’t show, but feel free to paint the underside too, if you’d like. Let the coat dry completely until no longer cool to the touch.

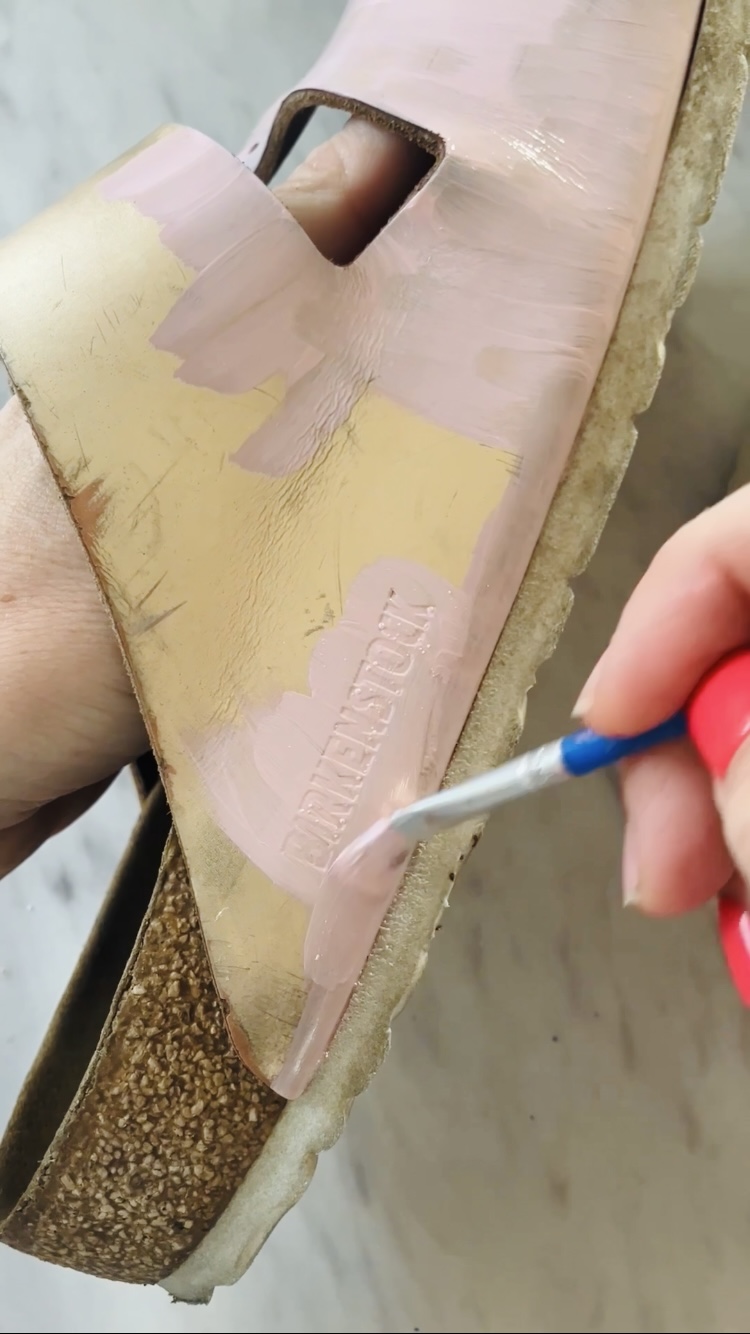
Step 3. Repeat step 2 until you are happy with the coverage and color of the leather paint, making sure to let the paint dry completely after each coat.
Step 4. Using a thin paint brush, paint the outer edge of the rubber sole with multi-surface acrylic paint. (I didn’t paint the bottom of the sole for obvious reasons.) Repeat until desired coverage is achieved.
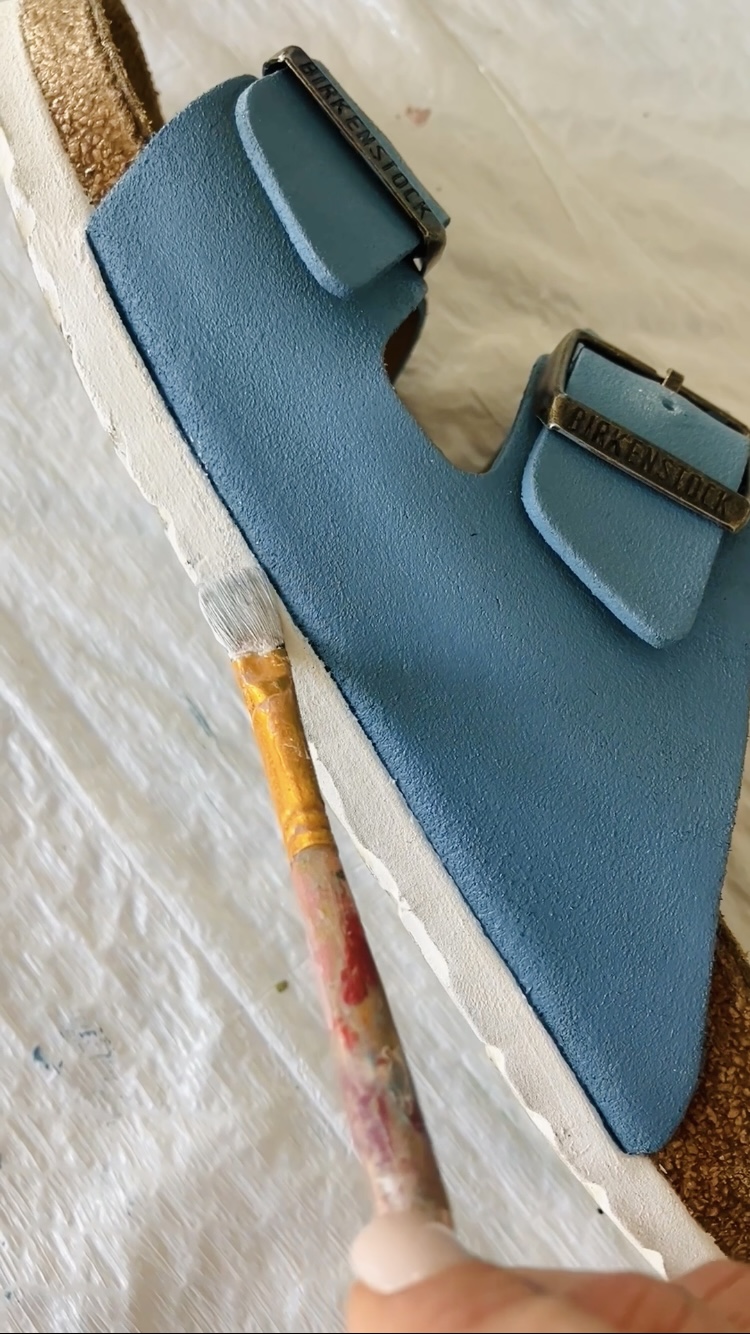
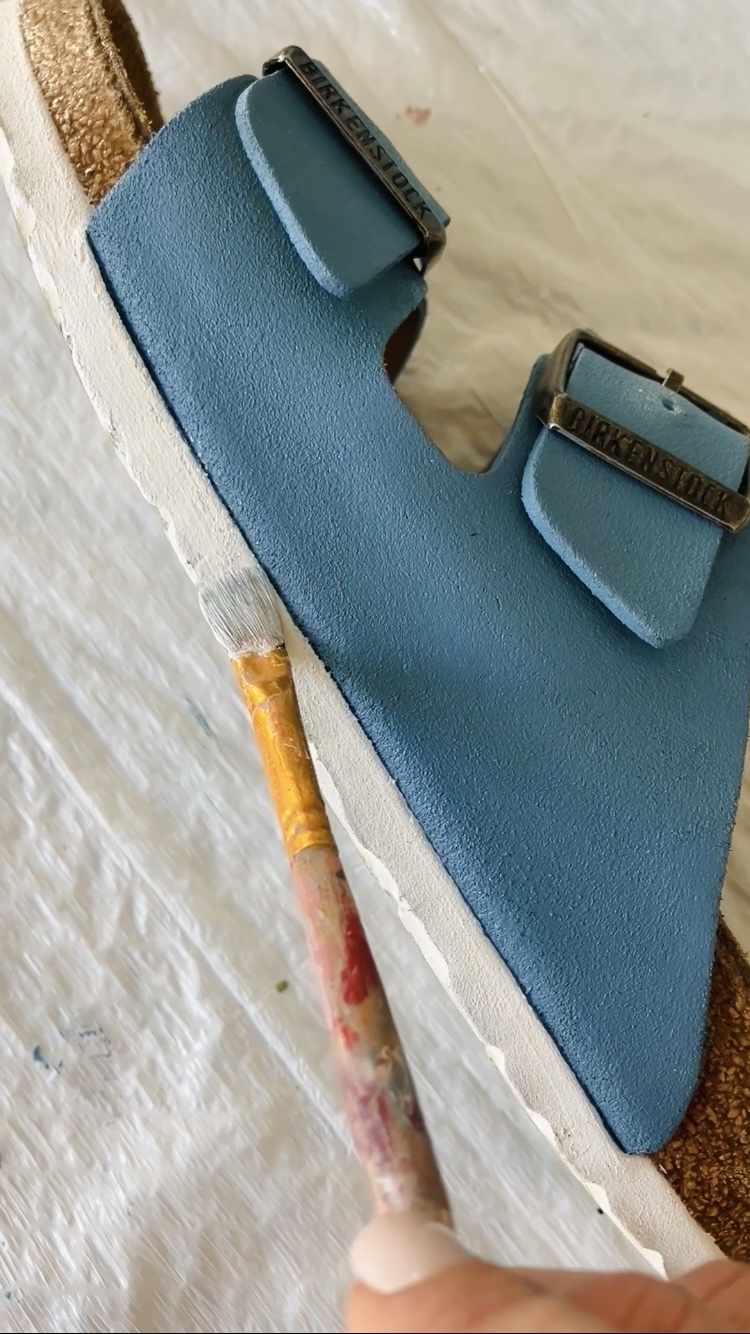
Step 5. If desired, use a metallic paint pen to touch up your buckles. For my gold buckles I used a pen that is specifically for metal surfaces with a super metallic finish. I left my pair with nickle buckles as-is.

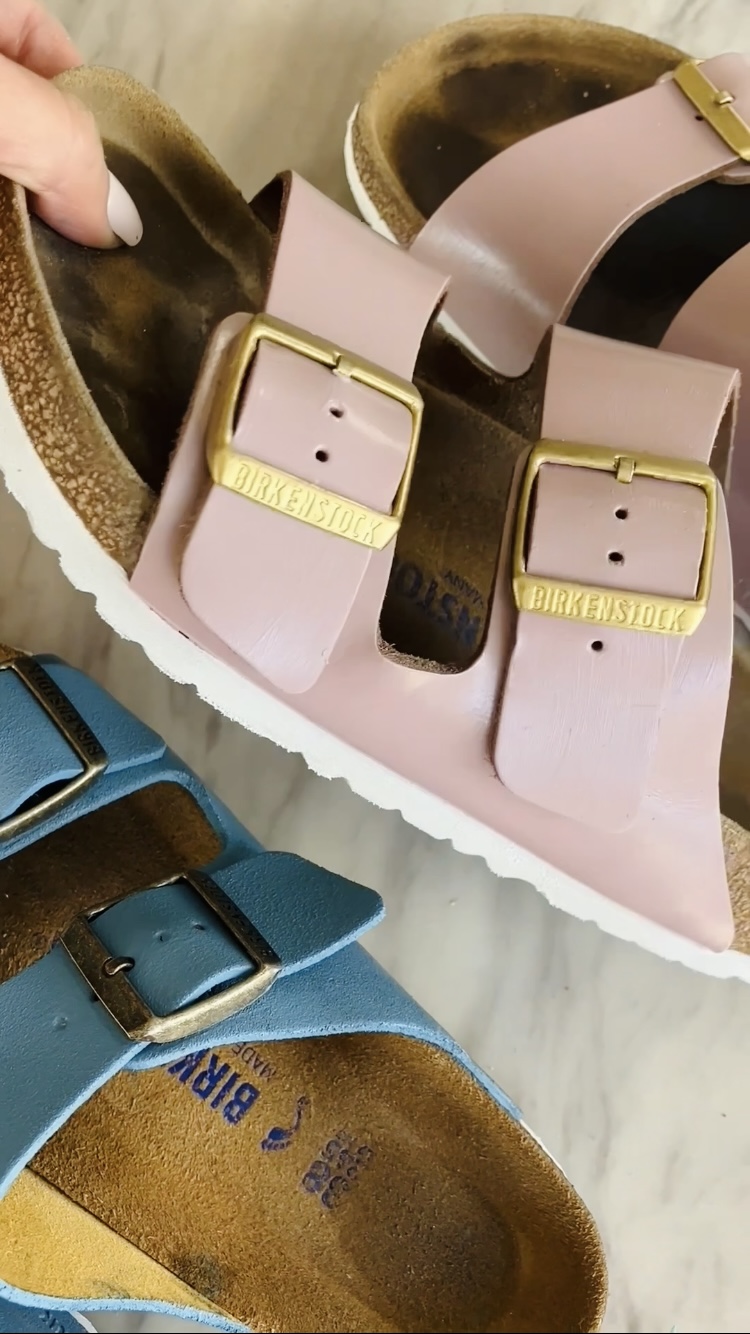
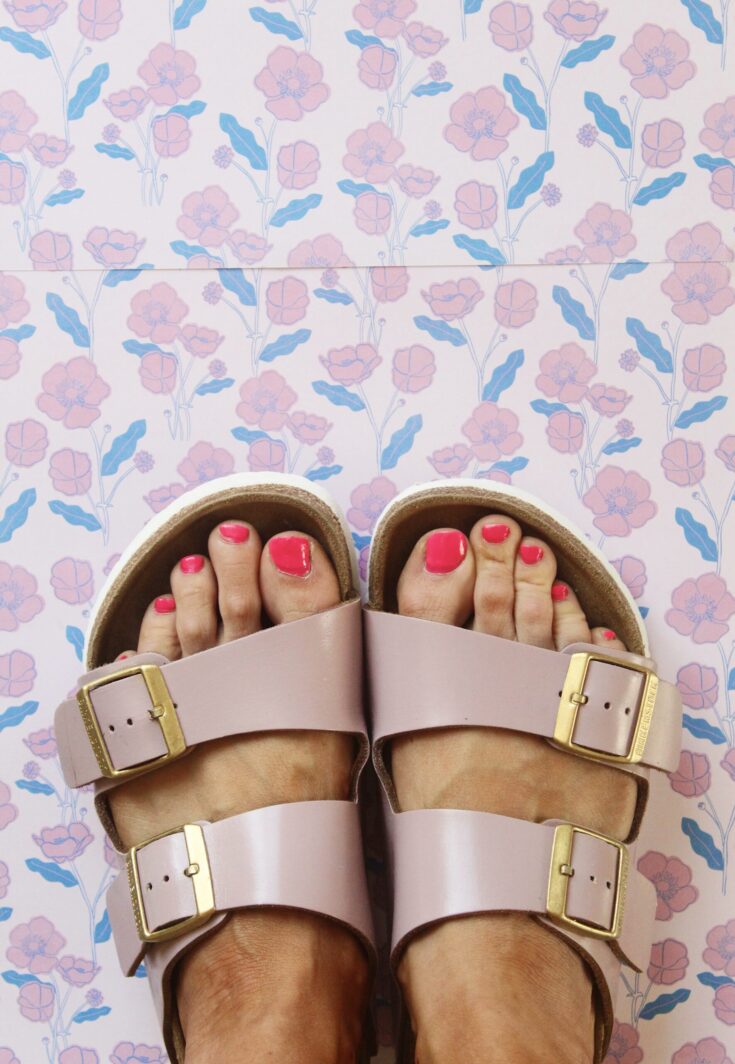
That’s it! I really can’t believe how satisfying this makeover has been. Given that I wear these sandals nearly everyday in the summer I am thrilled to have given them a refresh.

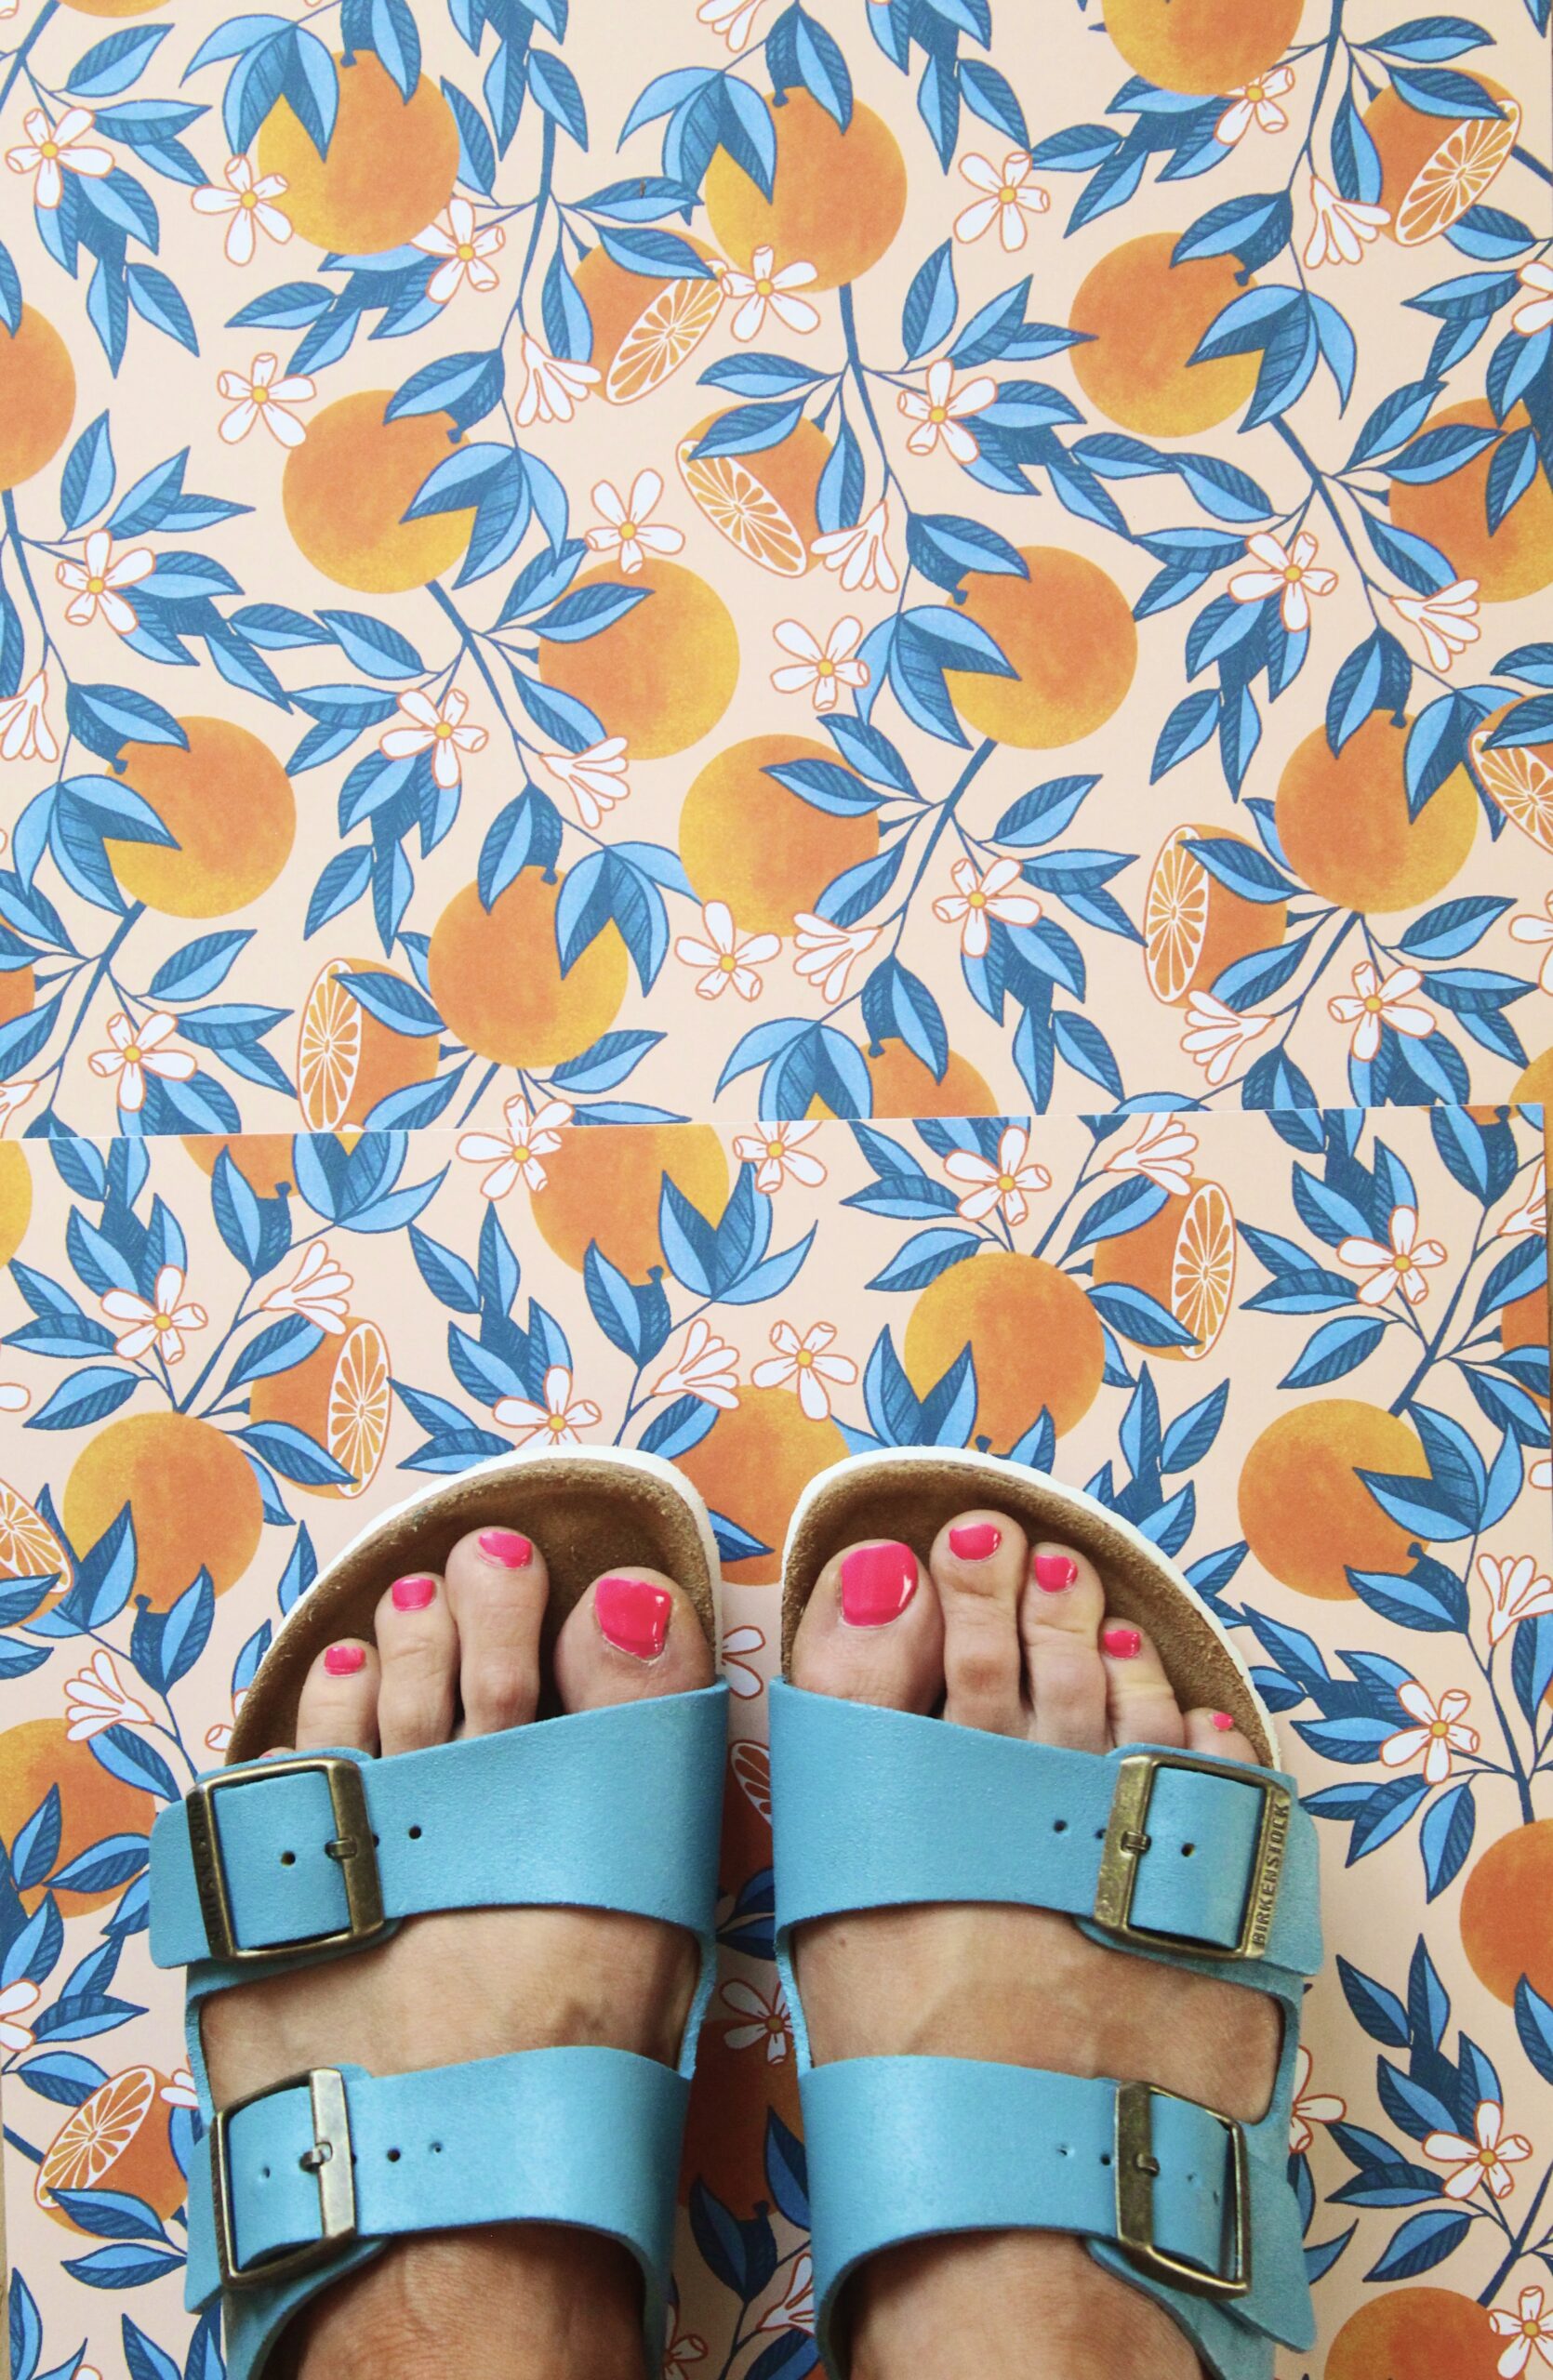
Would you try this with your tired sandals? Let us know!
Are your beloved Birkenstock sandals starting to look a little worse for As an Amazon Associate and member of other affiliate programs, I earn from qualifying purchases.Upcycled Footwear: How to Makeover Birkenstocks

wear? You can makeover Birkenstocks easily with the a few simple
supplies and steps!Materials
Instructions
Recommended Products



Happy Making!
OX. Liz & Sam
SAVE THIS POST FOR LATER!

